Let's Get This 1UZ Tacoma Swap Started
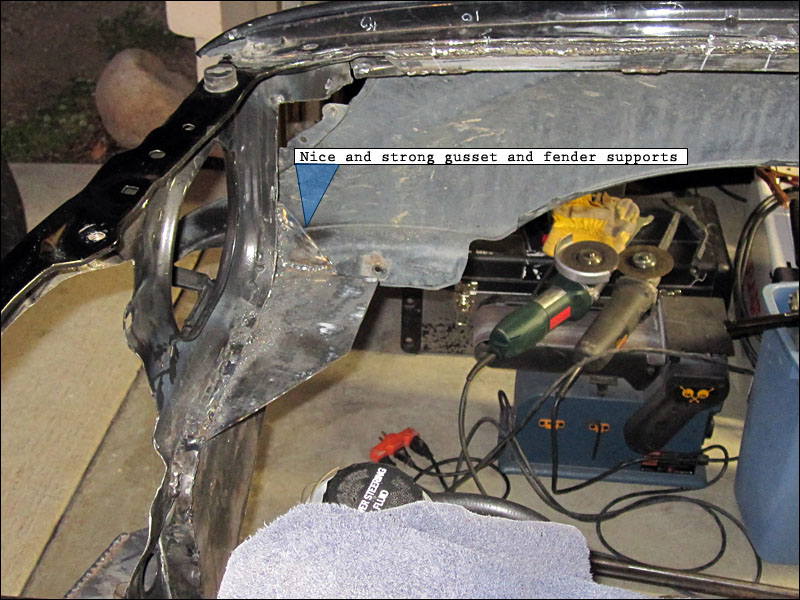
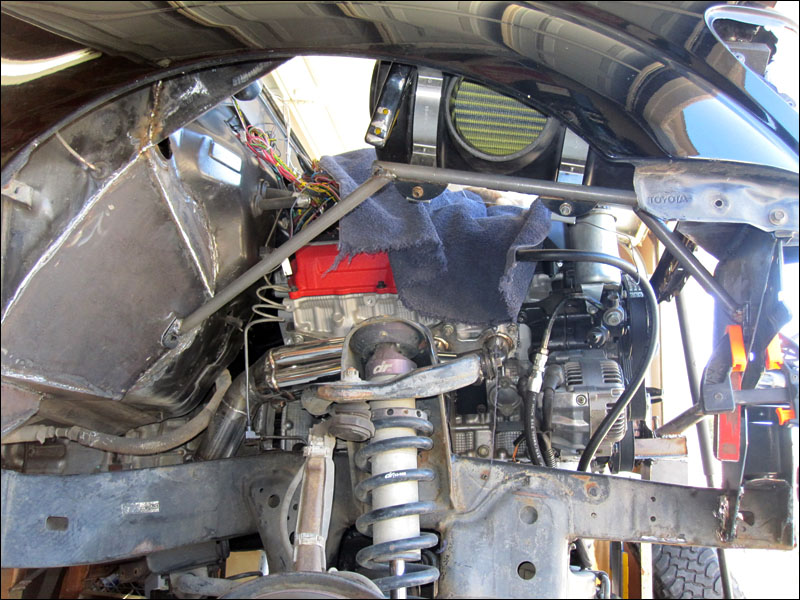
Well I did get to spend some time on the truck today and I realized I just had to spend more time thinking about how to make an adequate mounting system for the AFE air intake. It's not really too heavy but it just has to be mounted properly and the fender supports will serve as the mounts. The more I looked at things the more I realized I had to weld in some more support for the body.
I went ahead and welded in some plating near the top of the inside fender. This will let me mount anything I want across it. I'll be welding another bracket to this for the filter support and then the tubing will go down from there. The numbers on the very top of the fender are measurement in inches of how far down the stock inner fender line went. I just wrote these down for reference before I cut the inner fender out.
The circles are where the AFE air filter canister will bolt to.
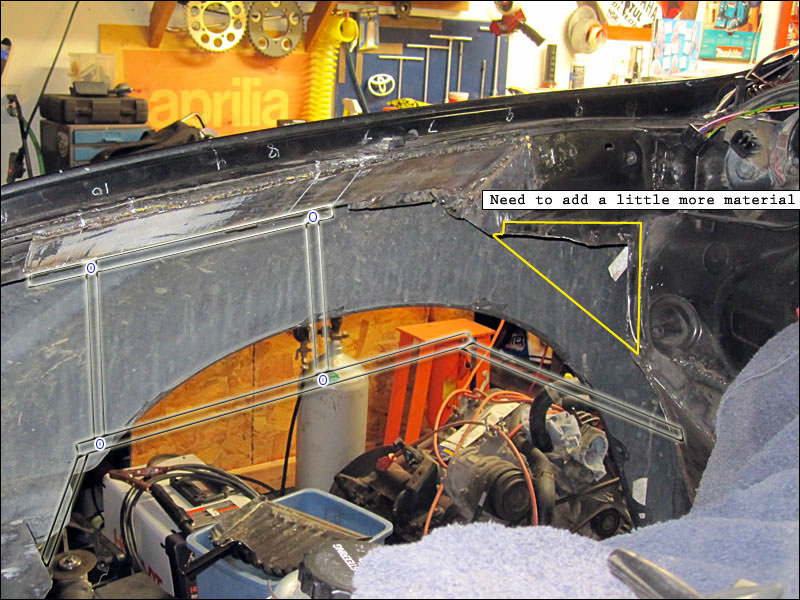
I'm very happy with how strong things are turning out. I cut 2 of each of these plates so I'll be ready to install these on the other side to match. Now that I have things designed out the other side will go really quickly. I'll easily have the air filter canister mounted up tomorrow and then I'll make some fender baffling to deflect any debris from the inlet on the air canister. This will be the air system of my dreams.
The circles are where the AFE air filter canister will bolt to.
I'm very happy with how strong things are turning out. I cut 2 of each of these plates so I'll be ready to install these on the other side to match. Now that I have things designed out the other side will go really quickly. I'll easily have the air filter canister mounted up tomorrow and then I'll make some fender baffling to deflect any debris from the inlet on the air canister. This will be the air system of my dreams.
Ok I just dropped off the parts I fabbed at the powdercoating shop this afternoon. Things went well just as planned for the intake mounting. I got some extra heavy material for making the mounting tabs and it's just perfect.
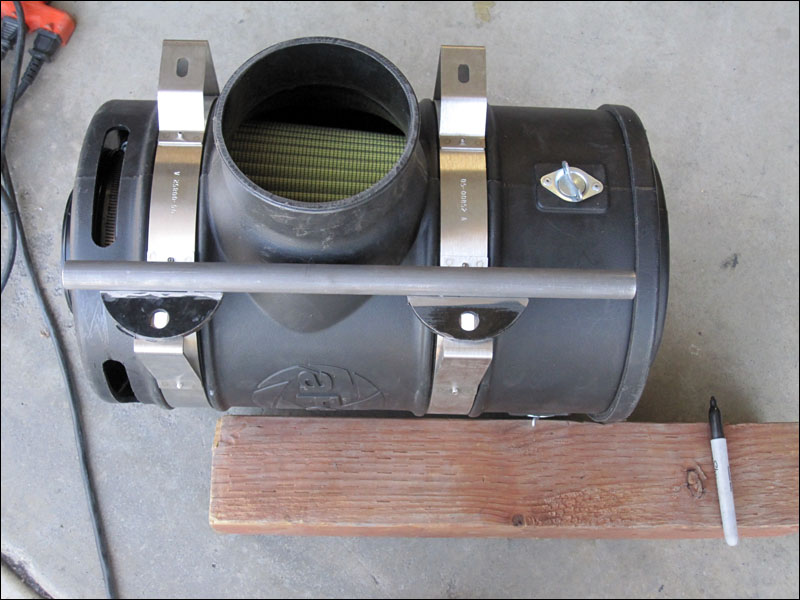
Not too shabby for being in a hurry with the little 110V Hobart 125 welder.
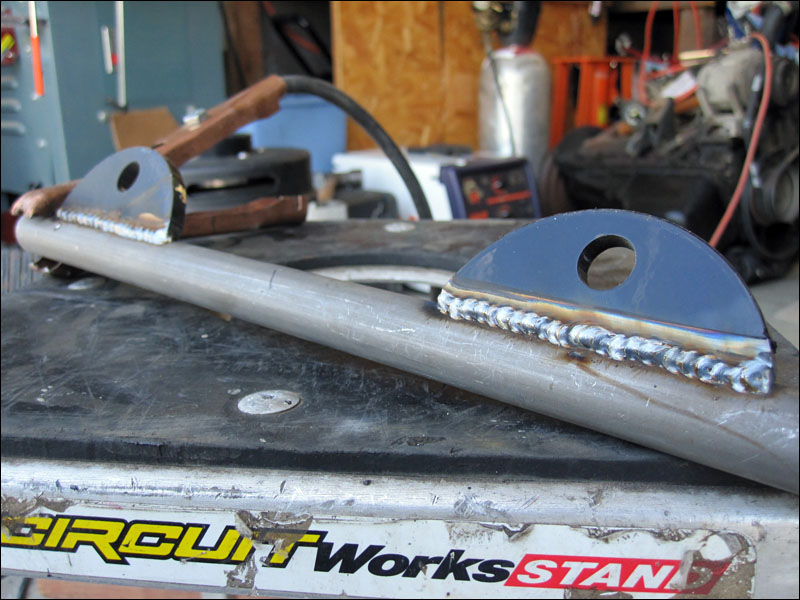
Not too shabby for being in a hurry with the little 110V Hobart 125 welder.
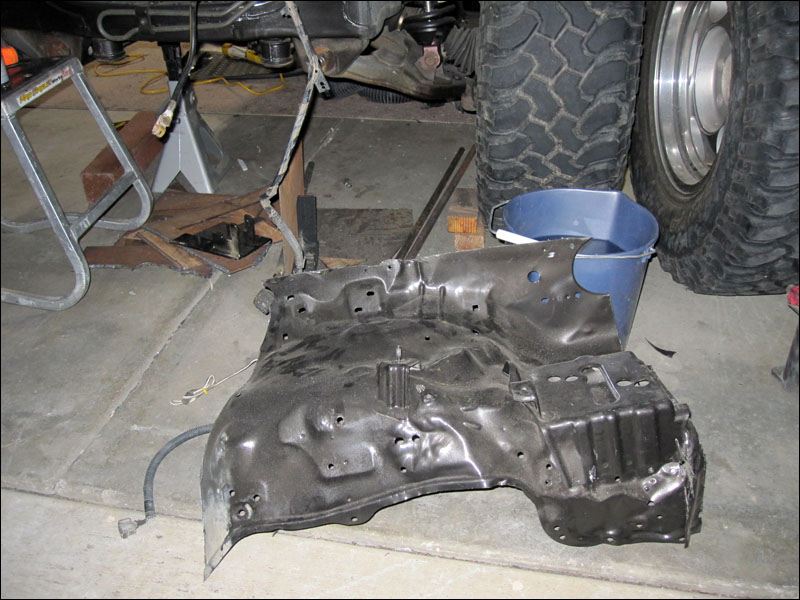
And where do you think this came from? Oh yes! Time to get chopping on the drivers side fender. I sliced it out of there very quickly. Now that I know the dimensions for building the other side of the front end this shouldn't take too long. The only thing that I'm really not looking forward too is designing the battery tray and supports. I have some ideas already but it will slow me down a little. At least all of the charcoal canister, fuse panel and battery will be tucked further outward when I reinforce the fender like the other side. I'll get a couple more inches of room to work with so it will be really nicely laid out compared to stock. And I'll be able to run the wires a little cleaner.
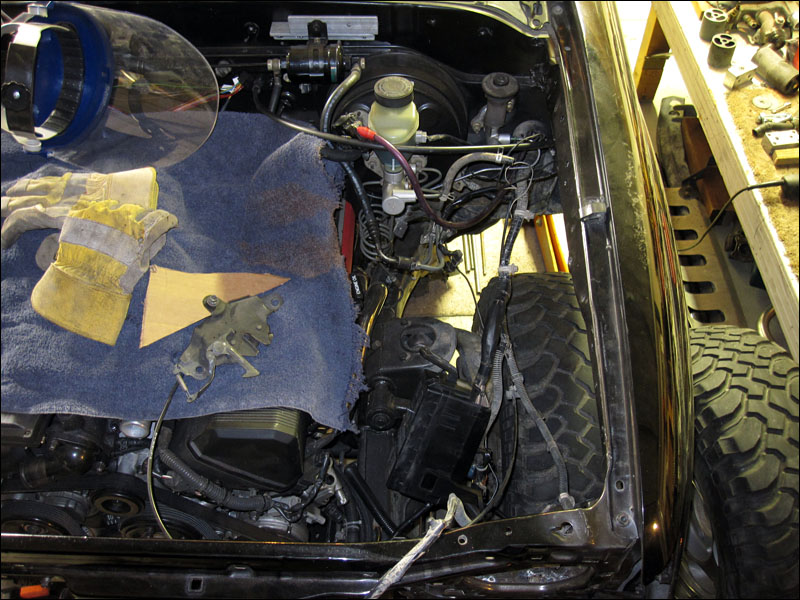
So I started another thread putting all of this boring front end work in another section. Here is the link to the thread showing my work rebuilding the whole Tacoma front end.
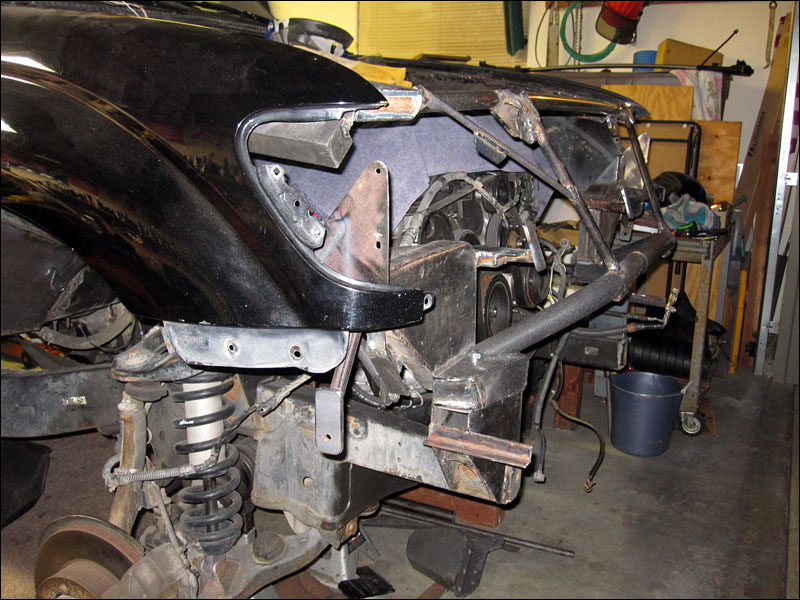
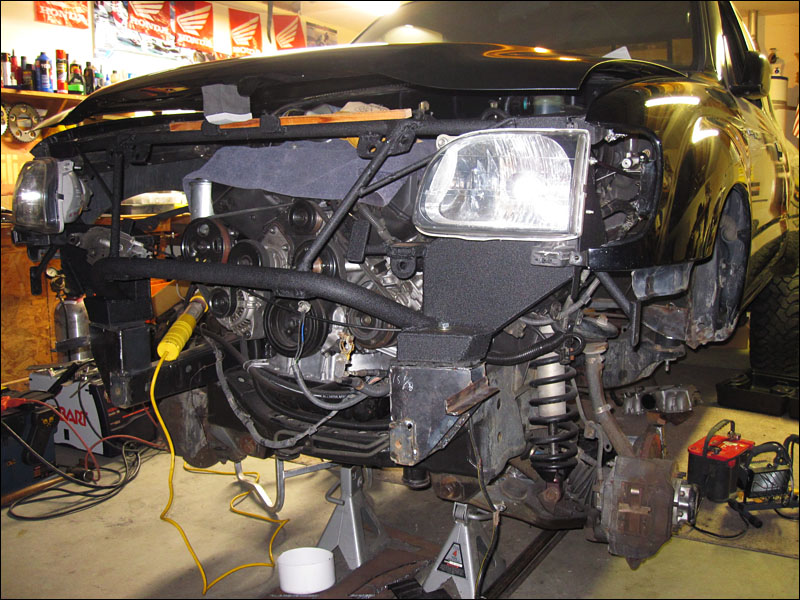
To update this main thread showing the 1uz-fe engine swap progress here is a picture of the main front end supports nearly done. From here I just need to weld a little tubing to tie the fender supports in and then lay down some paint on it. I'm pretty happy with the way things have turned out considering that going ahead and building the boxed support sections was a last minute decision.
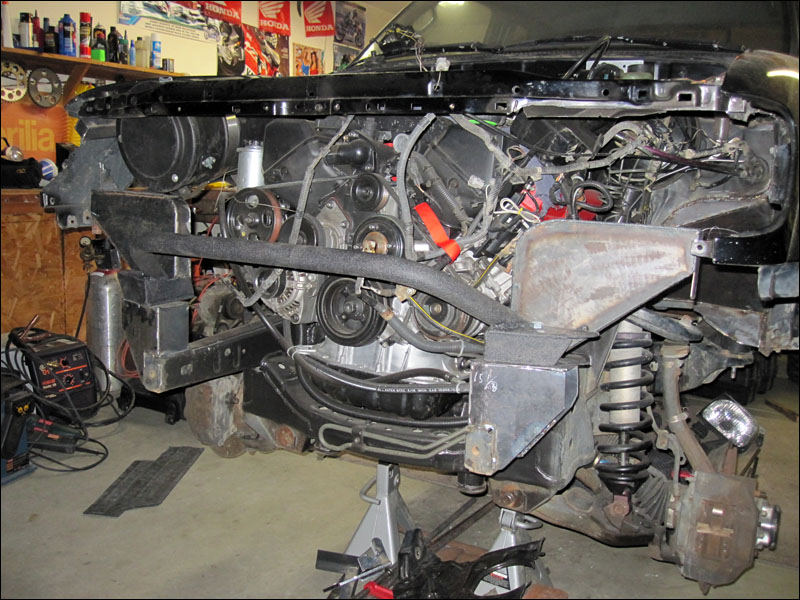
To update this main thread showing the 1uz-fe engine swap progress here is a picture of the main front end supports nearly done. From here I just need to weld a little tubing to tie the fender supports in and then lay down some paint on it. I'm pretty happy with the way things have turned out considering that going ahead and building the boxed support sections was a last minute decision.
The front end has undergone quite the transformation! Tomorrow I'll post some more interesting pictures. I just put only a few hours into it over the weekend but the fender supports are just about done and I put some paint on it for a good base. Tomorrow I'll be shooting some black undercoating on the firewall areas and finishing up a little welding underneath. I got my powdercoated front supports back and they fit perfectly and really came out good looking.
Before the coating process:
Before the coating process:
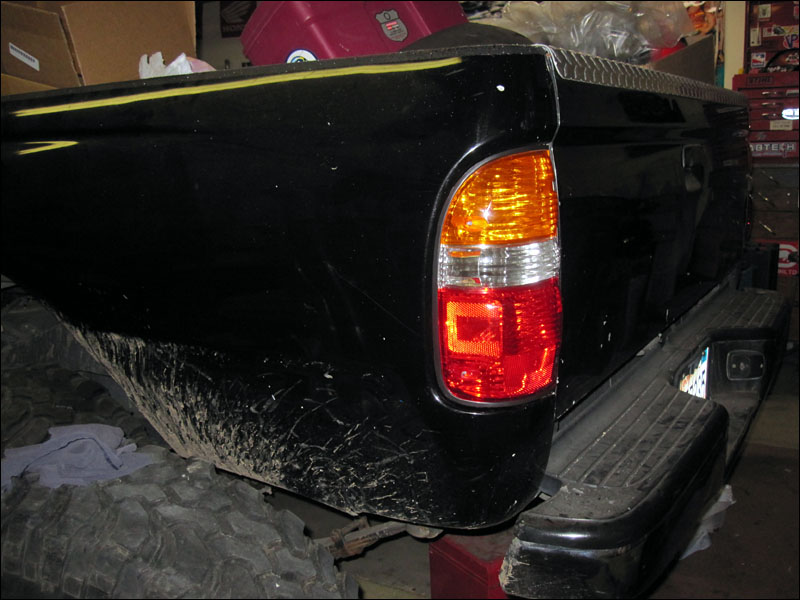
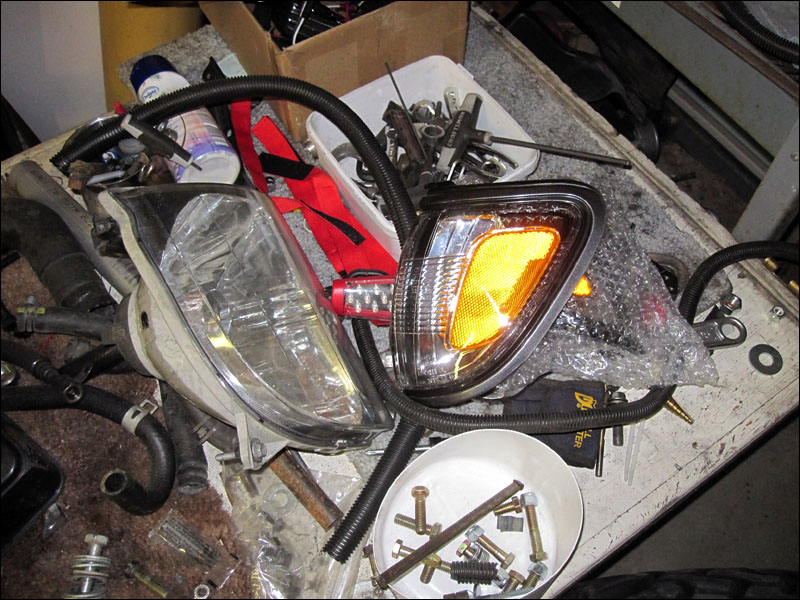
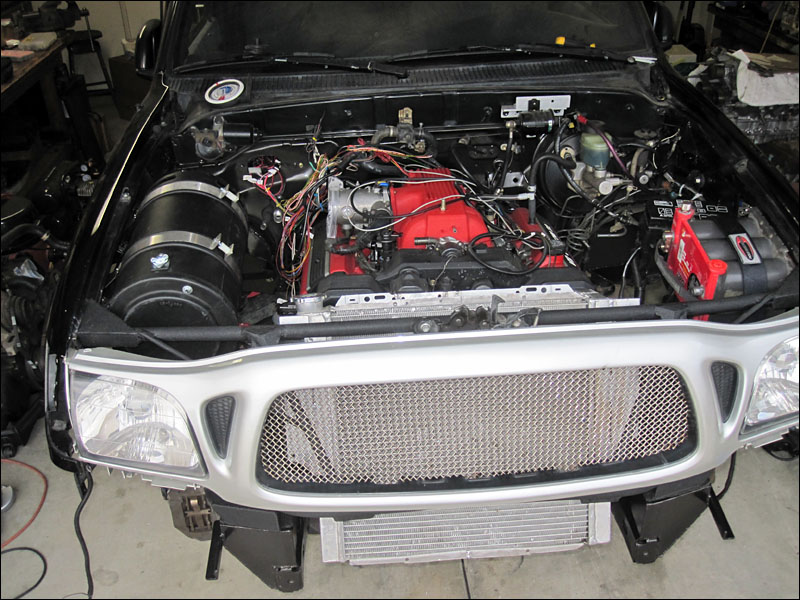
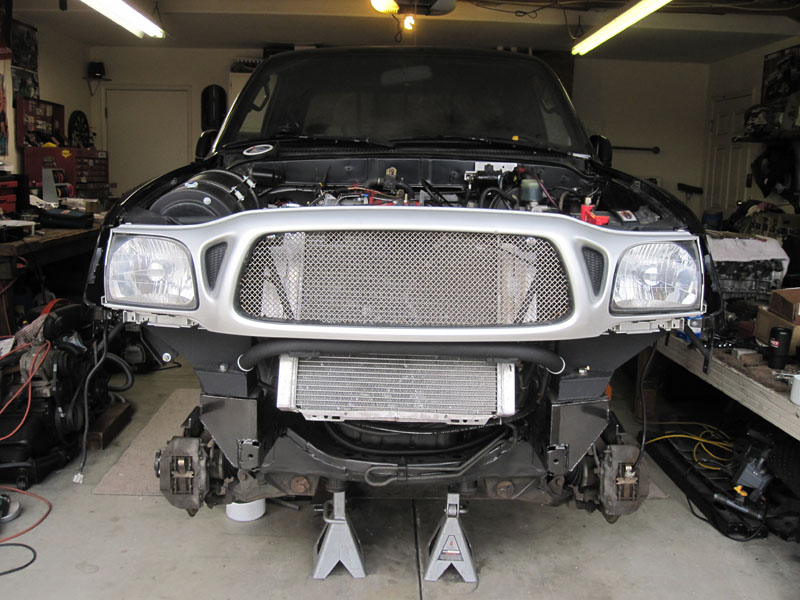
Yes sir there are lots of updates I need to get caught up on. Time is hard to come by this holiday! I got the new hood on and it looks 100% better. It already feels like a whole new truck to me. I also "rebuilt" the shifter mechanism with new bushings, washers, gaskets and grease so it will shift like new. If anyones manual Toyota transmission feels worn out by shifting it - it's purely from the shifting mechanism being worn out - not because the transmission is worn!
Santa also bought me a new Clarion double-din size stereo for x-mas. Ok I bought it for myself because Newegg.com was playing around with people offering them for $199 shipped for free if you kept checking back at the website. You would have to "add to cart" in order to see the price of the item and a couple times they updated the price from $399 to $199 (for a few hours I found out on a forum!) then to $299 THEN $399 (I lost hope and was totally bummed at this point) AND THEN one morning when I was drinking coffee at 5:30am someone announced that it was back down to $199 !! So I jumped on it! I've had some sweet Eclipse and Clarion head units in the past for my truck that cost $400 and stuff but this Clarion will be the best yet. I can't wait. Anyhow I'll update later on with some good pictures.
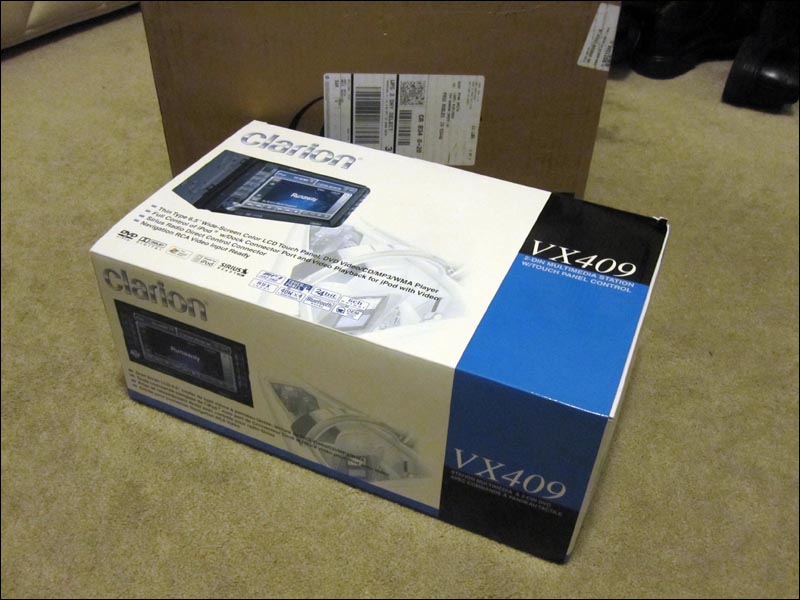
Here is my new head unit as it arrived in the mail - feels good to get a big heavy box - talk about bang for the buck:
And here is a picture of it in a forum members truck after he installed it:
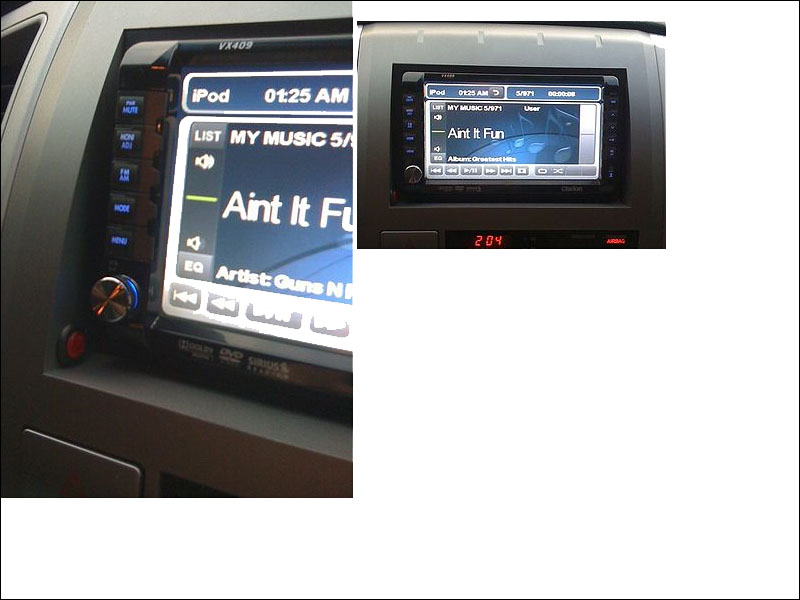
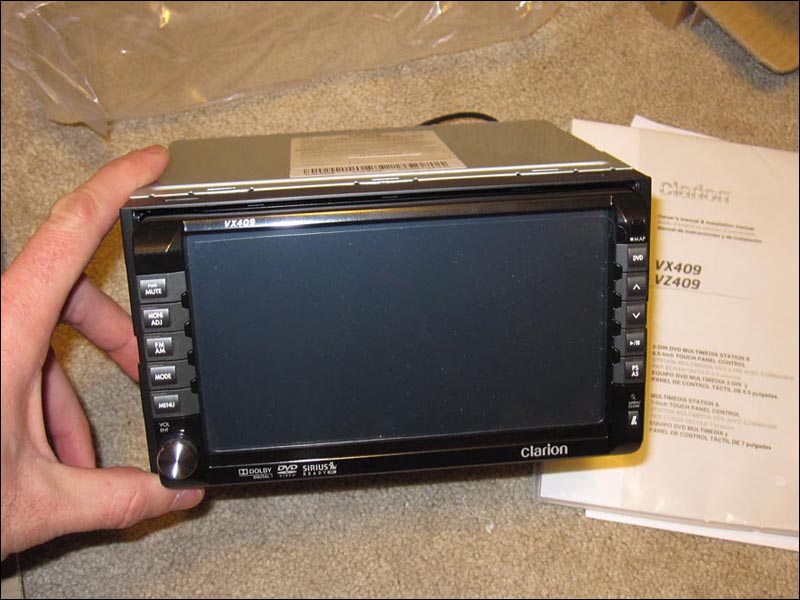
And mine as it sits now waiting to be installed (after the engine is running of course!):
Santa also bought me a new Clarion double-din size stereo for x-mas. Ok I bought it for myself because Newegg.com was playing around with people offering them for $199 shipped for free if you kept checking back at the website. You would have to "add to cart" in order to see the price of the item and a couple times they updated the price from $399 to $199 (for a few hours I found out on a forum!) then to $299 THEN $399 (I lost hope and was totally bummed at this point) AND THEN one morning when I was drinking coffee at 5:30am someone announced that it was back down to $199 !! So I jumped on it! I've had some sweet Eclipse and Clarion head units in the past for my truck that cost $400 and stuff but this Clarion will be the best yet. I can't wait. Anyhow I'll update later on with some good pictures.
Here is my new head unit as it arrived in the mail - feels good to get a big heavy box - talk about bang for the buck:
And here is a picture of it in a forum members truck after he installed it:
And mine as it sits now waiting to be installed (after the engine is running of course!):
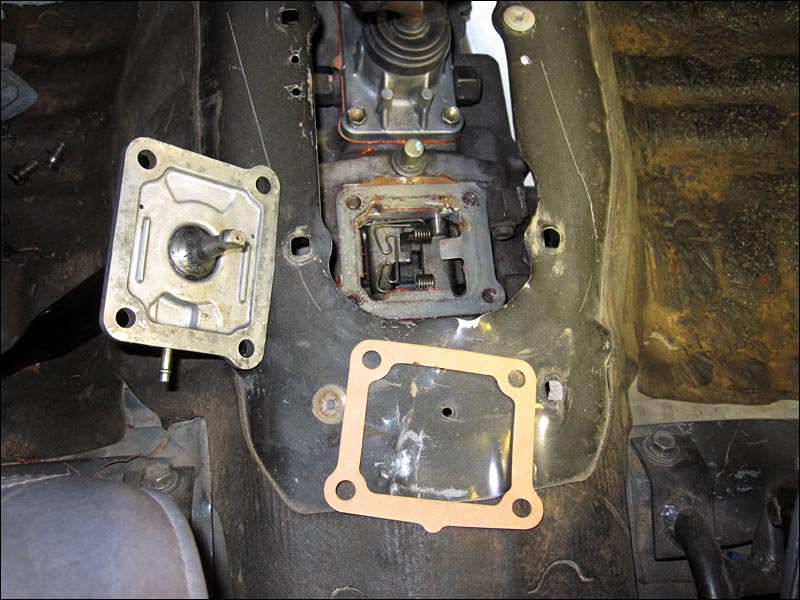
And back to getting my hands dirty... a little Tacoma manual transmission maintenance had to be done before I thought about firing it up. Upon taking the W59 trans apart I knew something had been wrong with it. It just felt sloppy and worn out but it's because of the shifter bushings so I ordered new ones and replaced em. This thing feels nice and tight now. It's a fairly easy set of parts to replace but you have to make sure to get the gaskets for the oil baffle plate and the 4wd selector. Every transmission shop in the world will just use gasket sealer but I know they designed the transmission with gaskets in mind so I made sure to order some.
New shifter boots are a MUST too. If your Taco is 5+ years old then it's a no-brainer that you need new shifter boots to help keep the sand and dirt OUT:
New shifter boots are a MUST too. If your Taco is 5+ years old then it's a no-brainer that you need new shifter boots to help keep the sand and dirt OUT: