So are you using the adapter flange, or the welded bellhousing?
BTY, looks good.
Let's Get This 1UZ Tacoma Swap Started
Hey good to hear from ya. I'm using both my adapter which allows them to bolt up. Then I had to shorten the bellhousing to get the transmission shaft to mate properly into the pilot bearing of the engine. It's perfect as far as I can tell so far. The new part for the Dynasty 200 Miller machine will be here tomorrow supposedly. So I crossing my finger that the we'll be able to finish up the welding this weekend. I have plenty to do in the meantime but it would love to start installing the radiator.
I have a couple racing steel bellhousings to use for material and I can easily make a jig to fab a steel bellhousing. I don't think I'll need to since the aluminum should be strong enough IMO. But it's an option. Looking back at the whole process I would have built a steel one if I had to do it all over again.
Time for sleeeeep. I need to start dragging out the wiring components. I think I'll be starting on that this weekend.
I have a couple racing steel bellhousings to use for material and I can easily make a jig to fab a steel bellhousing. I don't think I'll need to since the aluminum should be strong enough IMO. But it's an option. Looking back at the whole process I would have built a steel one if I had to do it all over again.
Time for sleeeeep. I need to start dragging out the wiring components. I think I'll be starting on that this weekend.
So waiting for some parts for the welder left me with some time to button up the interior. It's nice to have it all together and over with now. No more stray parts inside. I'm on my way to having a totally rejuvenated truck inside and out.
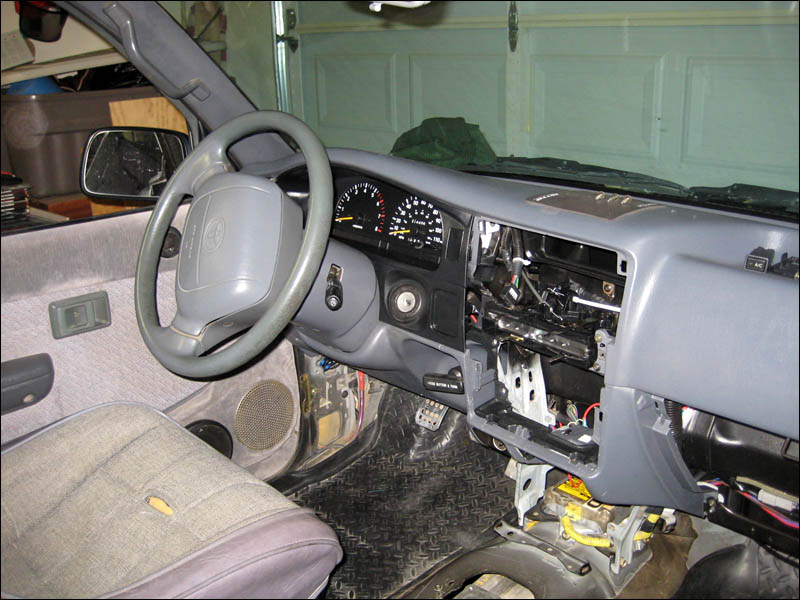
I'm most happy with how the instrument cluster came out. It was really really dirty before and the plastic casing was scratched from cleaning it. Now it's nearly new after taking it completely apart and polishing it clear again.
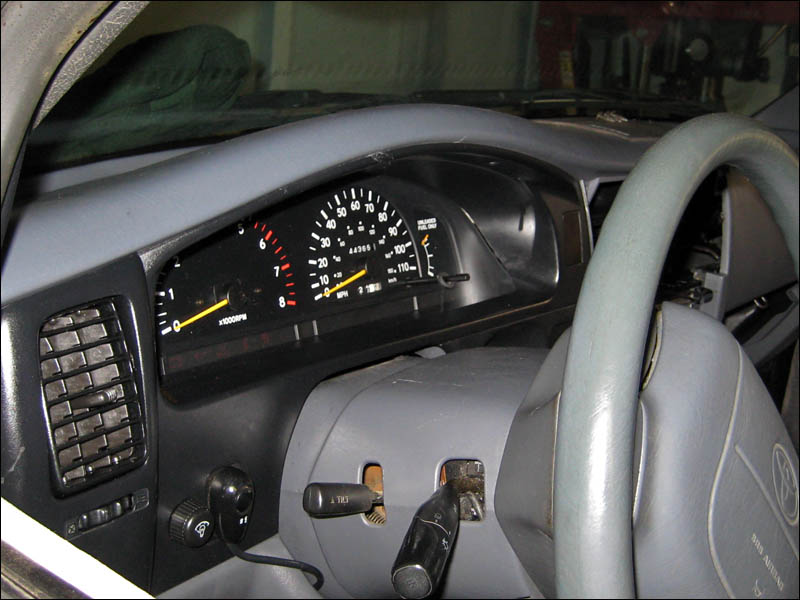
I'm most happy with how the instrument cluster came out. It was really really dirty before and the plastic casing was scratched from cleaning it. Now it's nearly new after taking it completely apart and polishing it clear again.
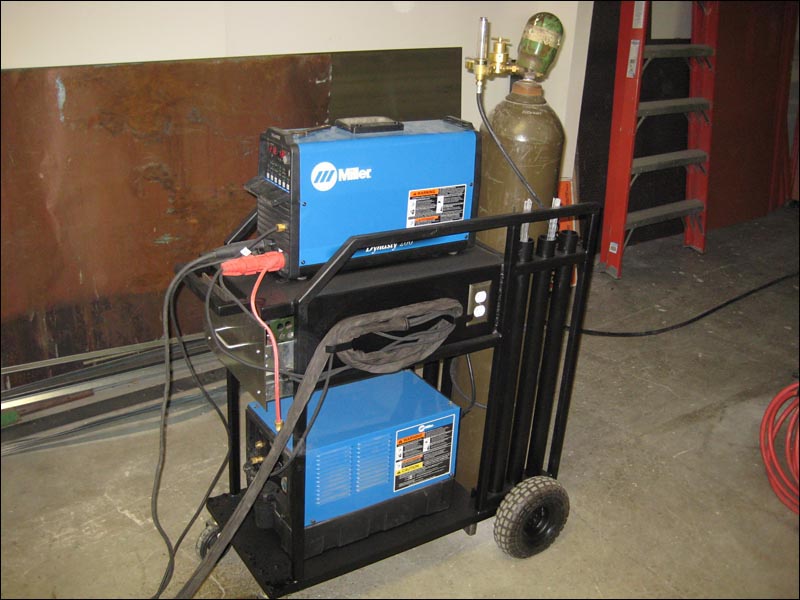
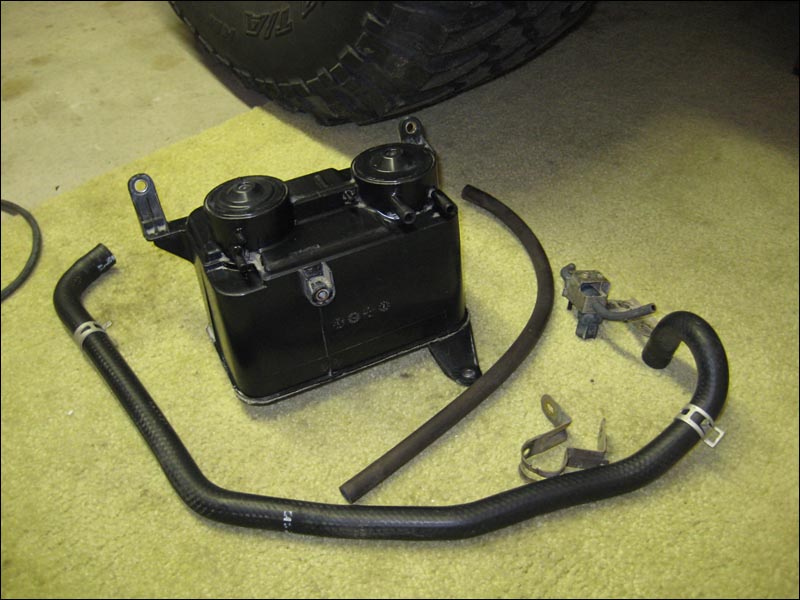
Ok since I had to do a lot of boring things today and yesterday I thought I would at least do something fun and locate and prep some goodies I've been keeping in boxes. Well first I'll show the boring stuff. Cleaning up some dirty scum from under the hood. Since the paint looks so good now I have to clean all the brackets, hoses and wires.
Before:
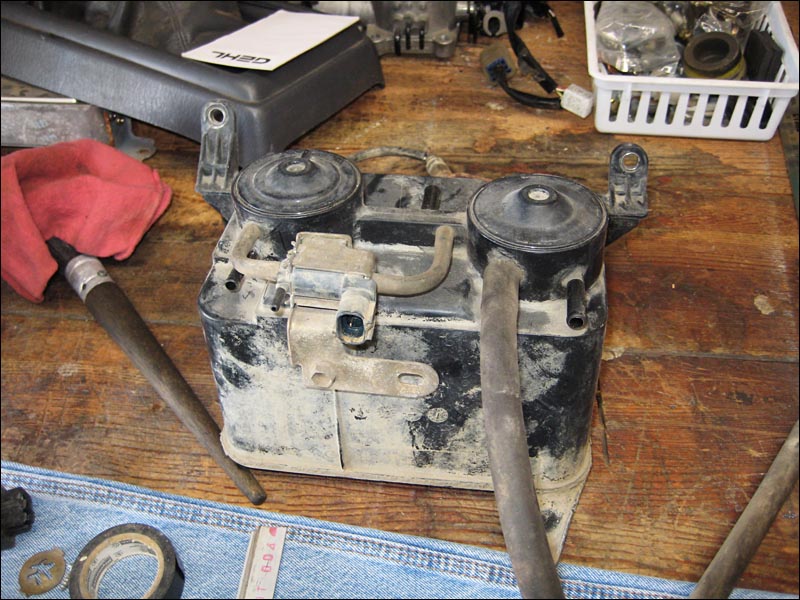
Before:

Here is the Innovate Wideband o2 system. This will surely help the Adaptronic controller really get a good reading on how well the engine is being tuned. I would never run the 1UZFE engine with any mods, let alone an aftermarket EMS, without a wideband monitor of some sort. Your engine will thank you.

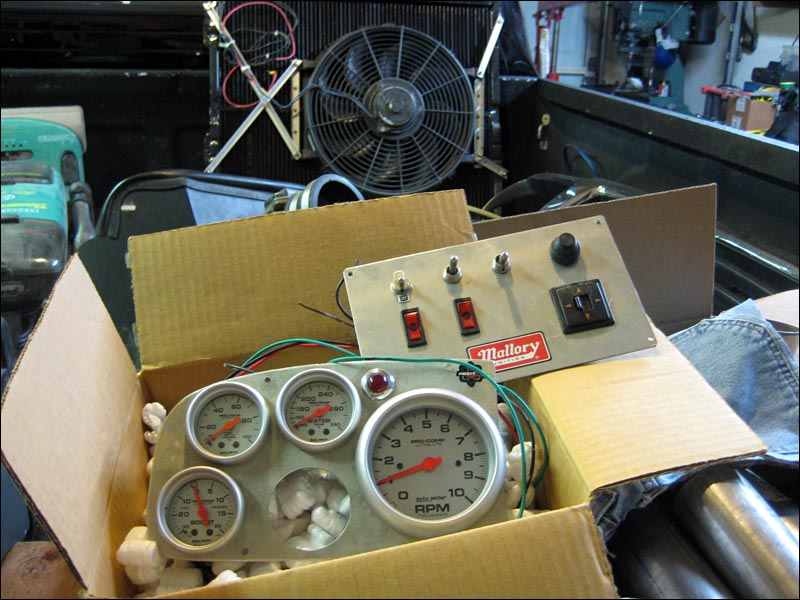
And finally here are some gauges I keep wondering if I should put in the cab. I had to save a lot of weekend job money to buy these back when I was a kid. I made a nice little aluminum panel out of a sign to fit in front of the instrument cluster in my 88 RX-7 turbo. Ahhh that car ripped. Yeah I need to start thinking up where I can fit these in without them being annoying. I won't be using a big panel for switches though. I might use a couple underneath though.
A little about the power steering adapting to make the 1UZ-FE power steering pump work the Tacoma rack. I have been given the tip that the pump will work correctly but I need to extend the power steering lines to reach. The Lexus pump is on the right side of the truck and the Tacoma power steering rack is located down on the left side. I was getting a fitting from the back of Carquest yesterday and I saw that they had all of the hydraulic fittings and hoses you could ever need. So later this week they will take care of that for me. It's pretty simple so they'll be able to do it while I wait... or maybe they will just make me do it myself.  Either way it won't be as much of an issue as I was thinking it would be.
I was told that the V6 Tacomas have the longer power steering lines that would hook up the Lexus pump but it will be cheaper and a lot faster for me to just have them extended.
A local friend of mine is putting a 1UZ into his friends 96 4Runner. I went to visit him and see what he's doing for the steering. That older truck has the torsion front suspension and those have the power steering box on the right side whereas the newer ones and Tacomas have a rack/pinion with the lines connecting on the left side. So he basically had to go from the right side of his engine straight down to the box which was a really short distance.
Either way it won't be as much of an issue as I was thinking it would be.I was told that the V6 Tacomas have the longer power steering lines that would hook up the Lexus pump but it will be cheaper and a lot faster for me to just have them extended.
A local friend of mine is putting a 1UZ into his friends 96 4Runner. I went to visit him and see what he's doing for the steering. That older truck has the torsion front suspension and those have the power steering box on the right side whereas the newer ones and Tacomas have a rack/pinion with the lines connecting on the left side. So he basically had to go from the right side of his engine straight down to the box which was a really short distance.
Yesterday I was able to track down some 3/16 nuts to put on my 1/8" clutch hard line. By doing this I'll cut off the metric nut and make it standard. That way I can simply use my steel braided standard line to connect it up to the Quarter Master hydraulic throwout bearing. The progress has been slow but sure in these last couple of days.
The work has been slow but steady. Special tool after special tool I have to go borrow. Here is the whole thing all together. I don't recommend going this route to anyone thinking of using this engine and transmission combo. It was much more work than would have been needed for building a steel bellhousing.
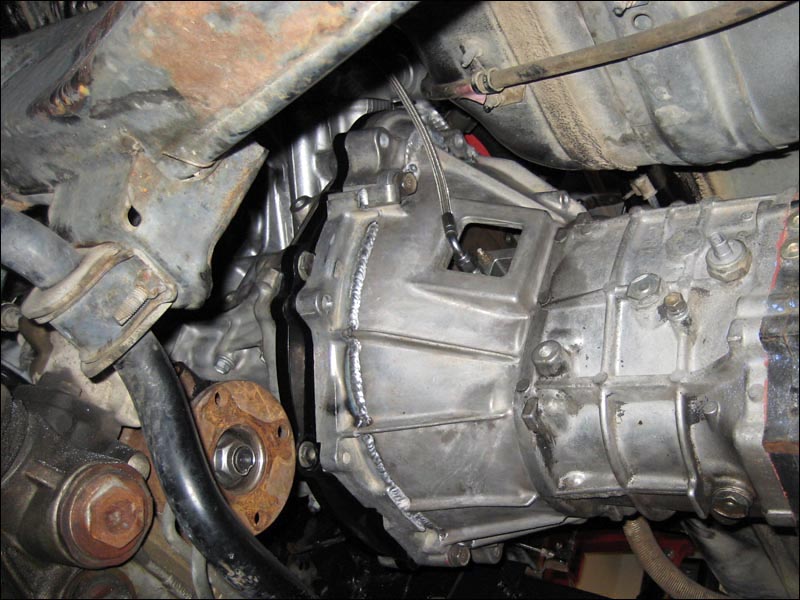
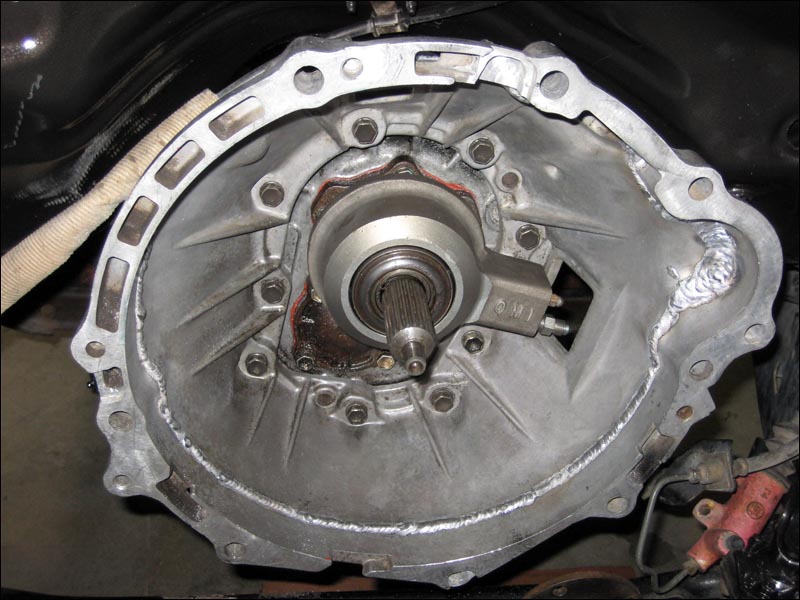
There was plenty of space when I test fitted the clutch and flywheel combo in the Tacoma. Since the housing was shortened I was a little nervous about clearance but it's all good. The flywheel won't even fit this far back and the starter pinion will have enough space with the notch I machined into the top of it.
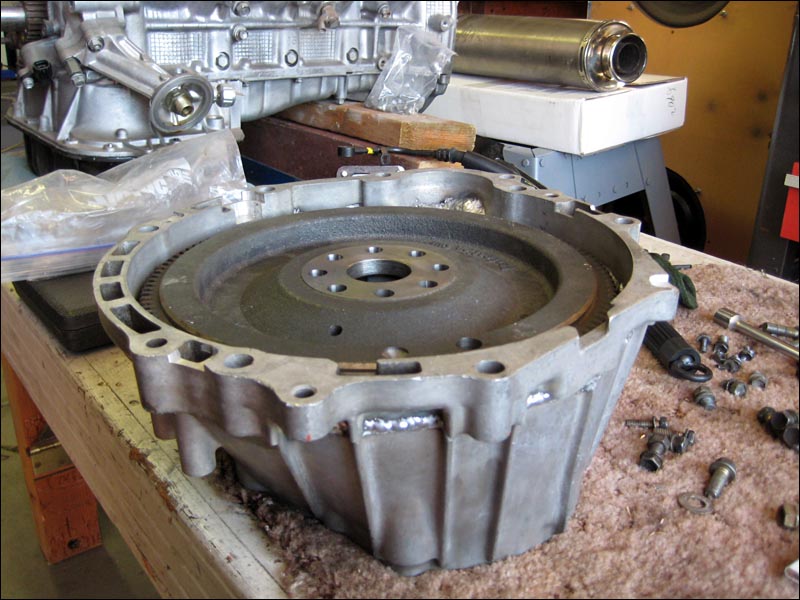
I have the flywheel and the clutch connected to the engine but I can't put the thing together permanently until the I connect the hydraulic throwout. What a PITA. Going from Metric to Standard is very difficult. I finally cut off the metric nipple from the Tacoma and tracked down a flaring tool so I could attach my own 3/16 fitting. THEN I had to go rummage around my friends race trailer and spend some quality time searching for the combination of fittings I needed to go from that size to 1/4" AN fitting to connect to the Quarter Master throwout mechanism. This was not fun at all. Here is what you can look forward to:

I'm sure you can just buy a braided line with a metric female and a male end on the other side, maybe if anyone makes them. A custom one will be even more $$. It would be nice to have a single line but what I have put together will work just the same and let me move on with the swap.
I'm sure you can just buy a braided line with a metric female and a male end on the other side, maybe if anyone makes them. A custom one will be even more $$. It would be nice to have a single line but what I have put together will work just the same and let me move on with the swap.