Page 1 of 1
Double Din Stereo Install in Dodge 2500 Pickup
Posted: Mon Jan 16, 2012 11:41 pm
by Smithers
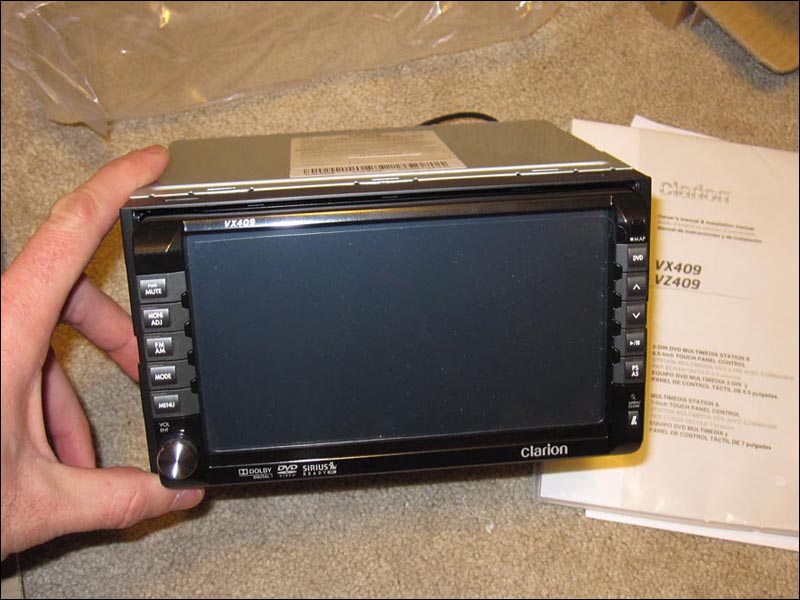
This VZ409 is one thick car stereo and it's not something I want to put into a truck that will be going offroad and in the sand. It's also much larger then the dash will allow in the space designated for the radio but I'll have to make it fit somehow. I know it will take some cutting and trimming but I'm sure I can make it work. I haven't seen hardly ANY other Dodge guys fit something like this in their dash boards so I thought I would share how I go about installing this in my 1995 Dodge 2500 pickup.
Posted: Tue Jan 17, 2012 12:34 am
by Smithers
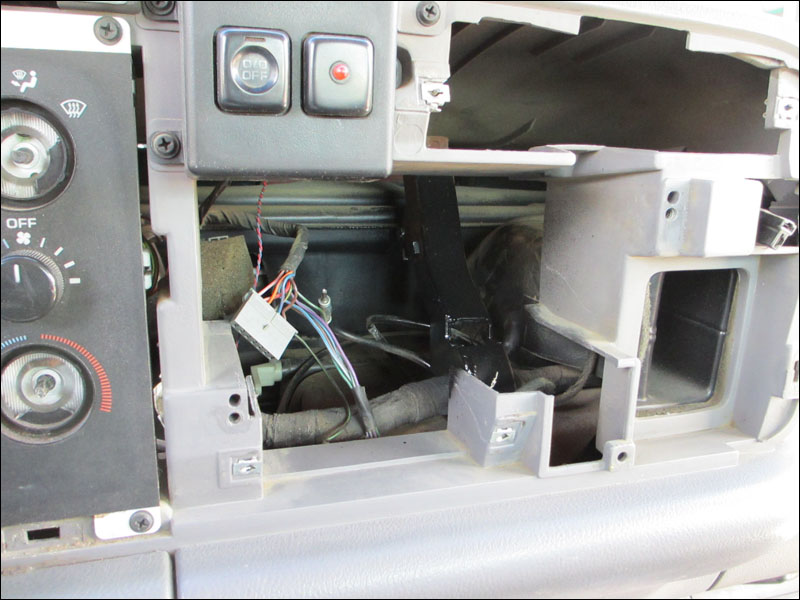
This is nothing new. Just the stock Din & 1/2 size stereo FM tape player. This unit has seen better days. It barely puts out any sound and the buttons don't work half the time. It has to go.
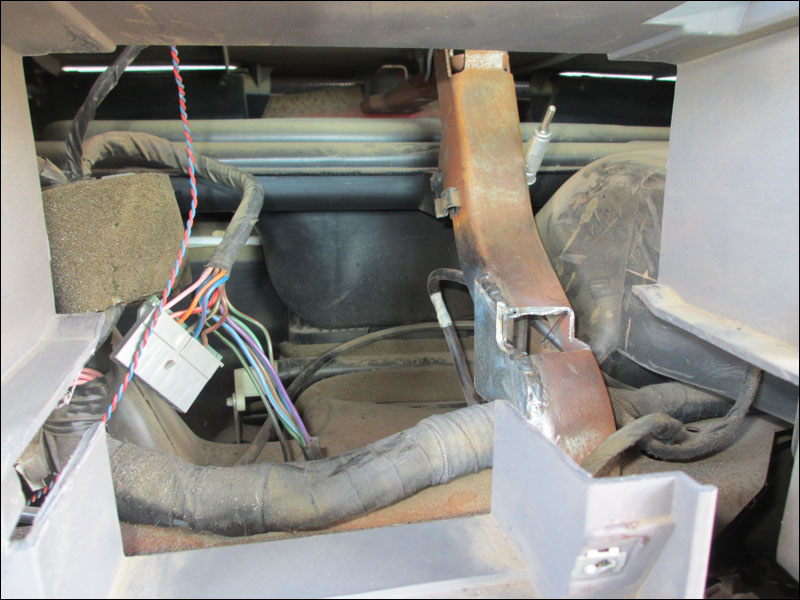
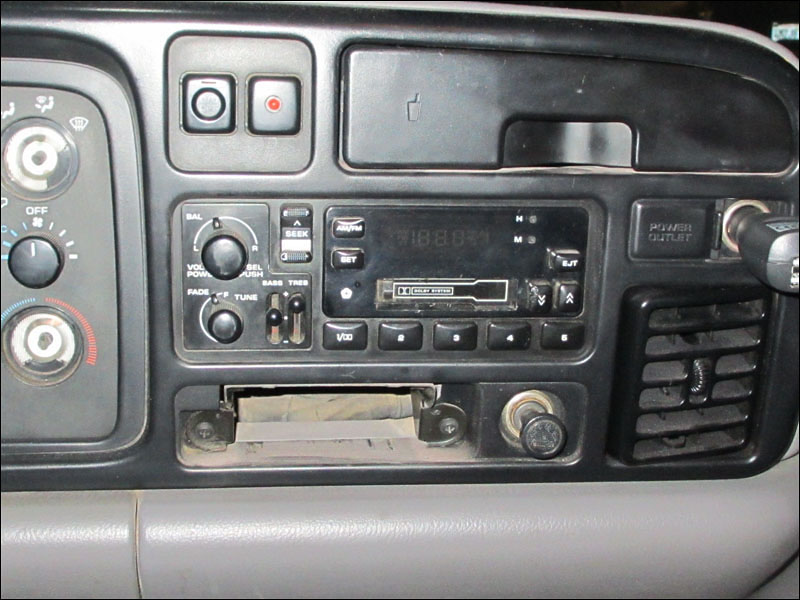 Out it goes! Just a couple of plugs and then unscrew the bolt holding on the ground wire.

Posted: Tue Jan 17, 2012 12:39 am
by Smithers
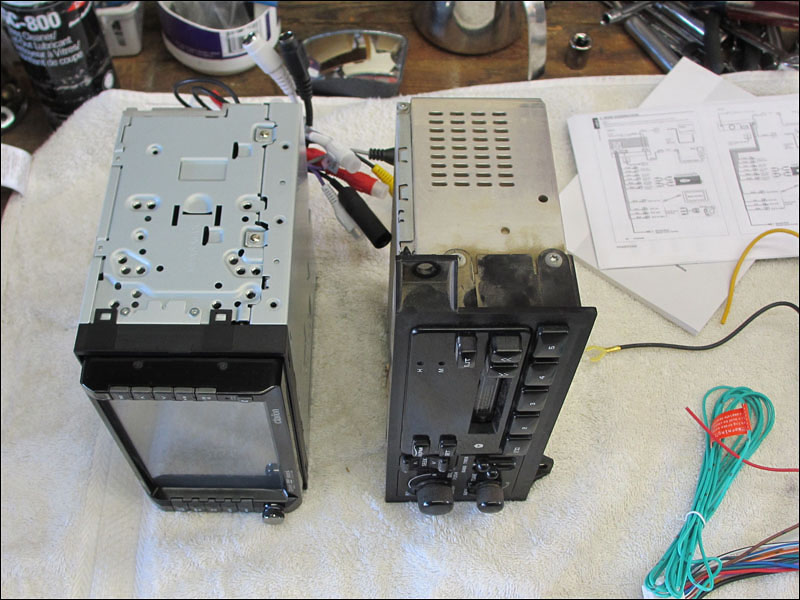
Here are both the old stocker and the new Clarion side by side. The factory deck is much wider and not quite as deep as the new one. It's nothing close to a plug and play install. I knew this would be a chore.

And just for fun I held the mounting plate up to the stock stereo to get a feel for how much work was ahead of me. I don't mind ditching the ash tray and lighter. There is a power supply up to the right of that one and the ash tray won't be missed. I would rather build a shelf to put a cell phone or Ipod or something below.
Posted: Tue Jan 17, 2012 12:43 am
by Smithers
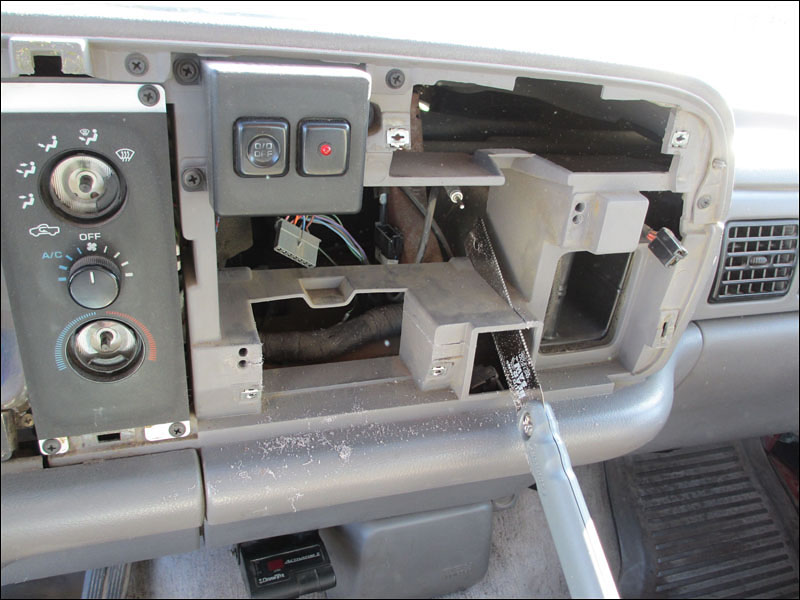
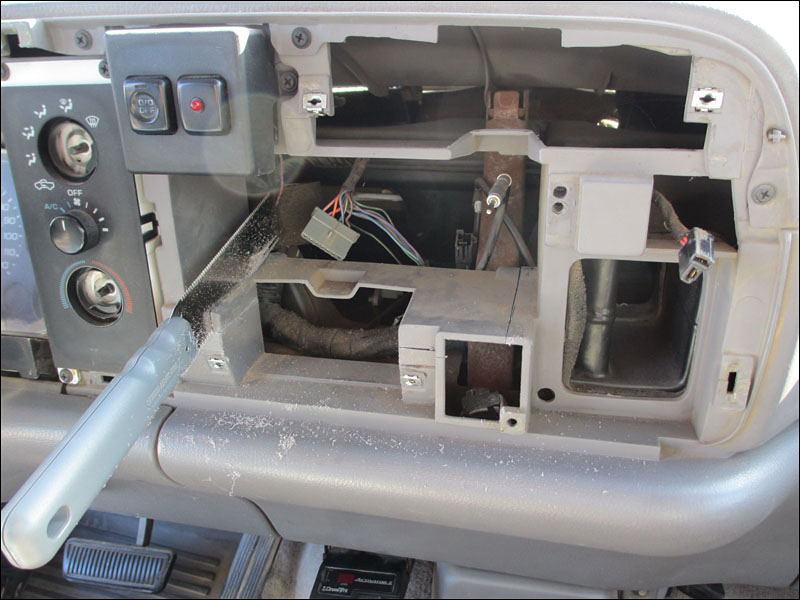
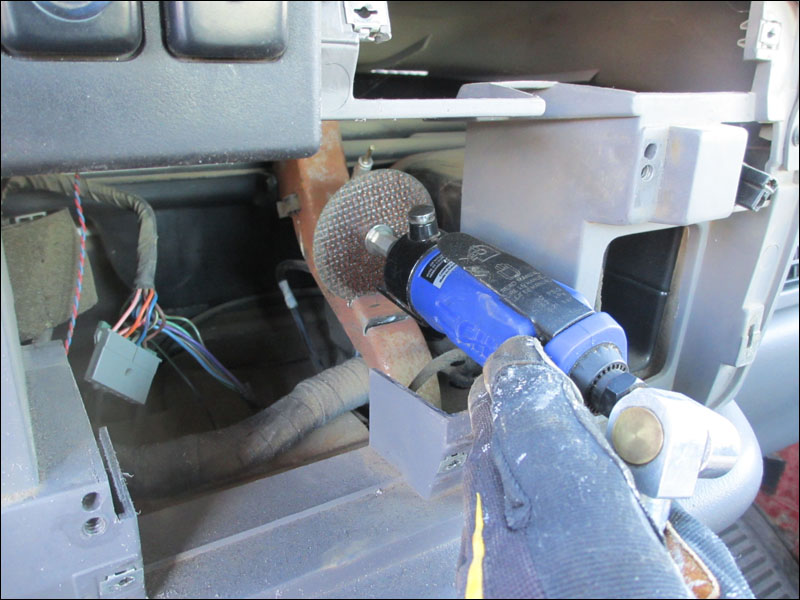
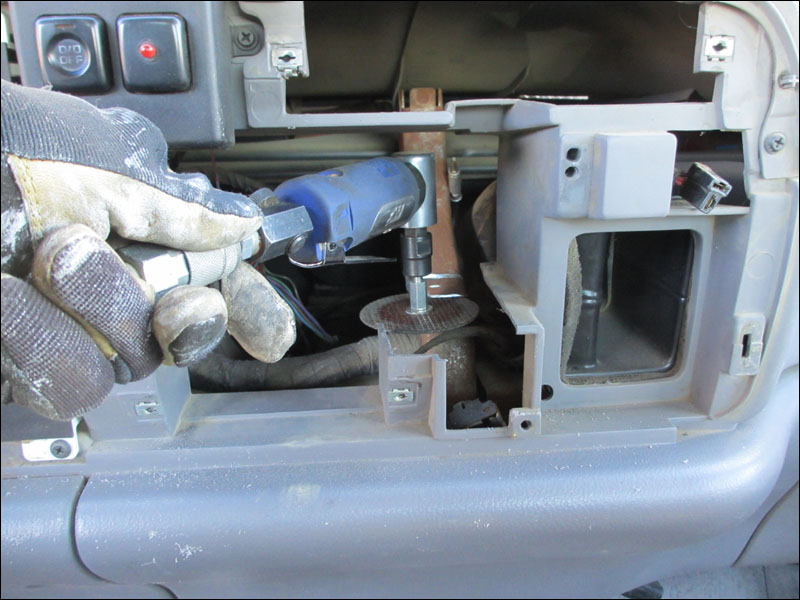
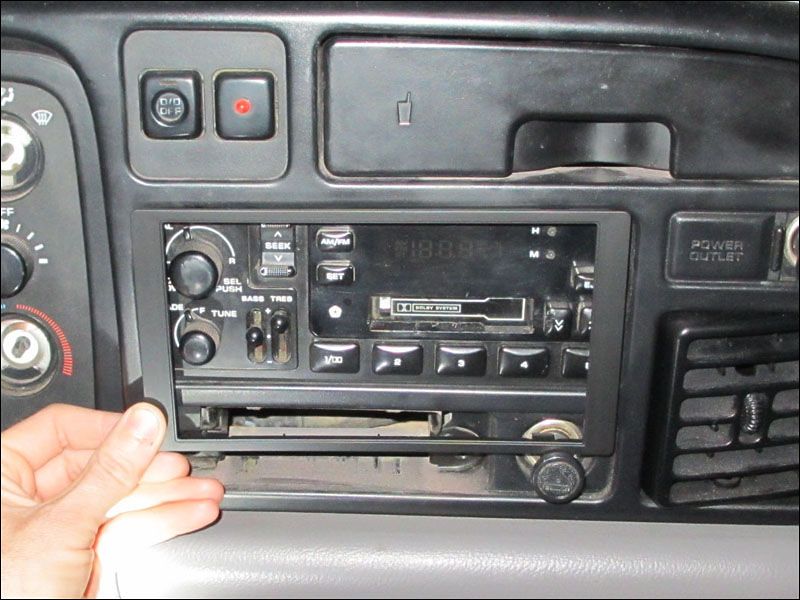
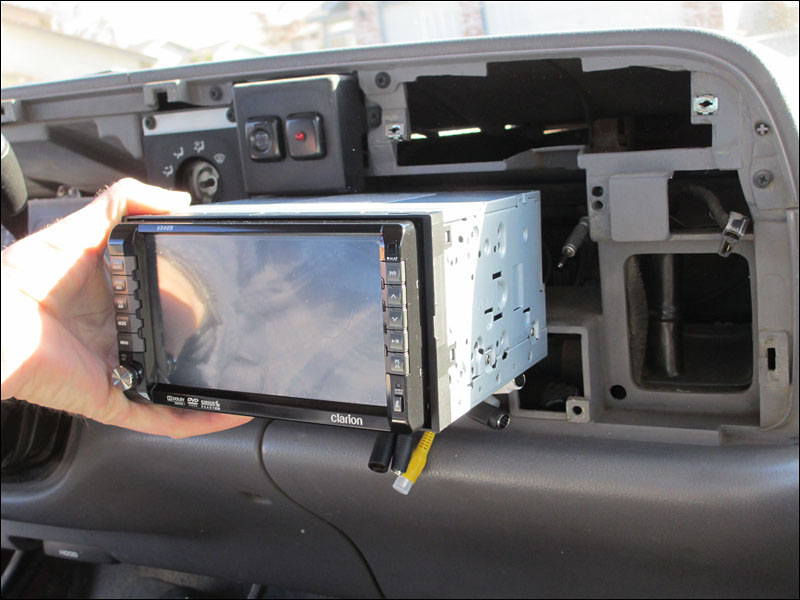
Yeap I got some work ahead of me at this point. I just made a couple of marks on each side to give me a starting point to start cutting. Just hold the unit up to the opening then line it up right up to the little switch panel on the upper left. I used that as a reference point to start.
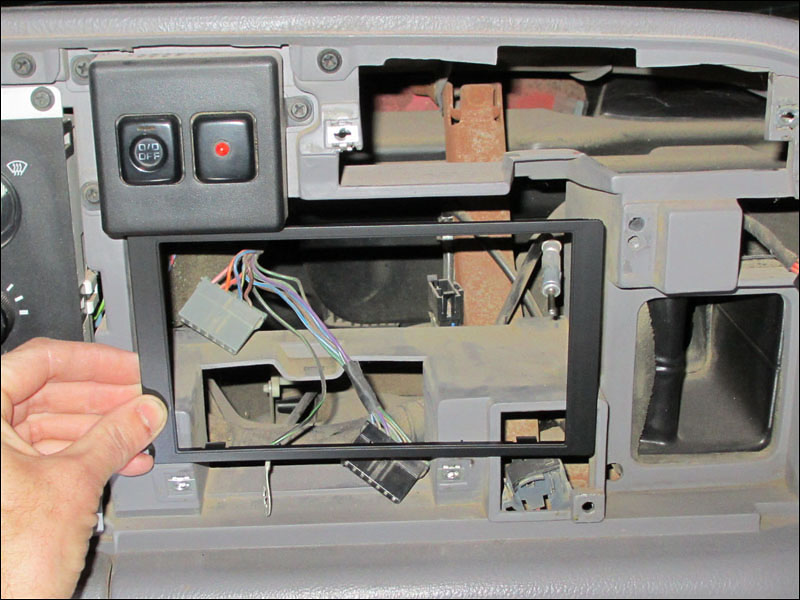
 I did some more checking by holding the trim piece up to the hole. Of course to center it you won't line it up with the switch panel above it. You just have to jump in and start cutting.
Posted: Tue Jan 17, 2012 12:47 am
by Smithers
Posted: Tue Jan 17, 2012 12:50 am
by Smithers
Posted: Tue Jan 17, 2012 12:52 am
by Smithers
Posted: Tue Jan 17, 2012 12:56 am
by Smithers
Posted: Tue Jan 17, 2012 1:04 am
by Smithers
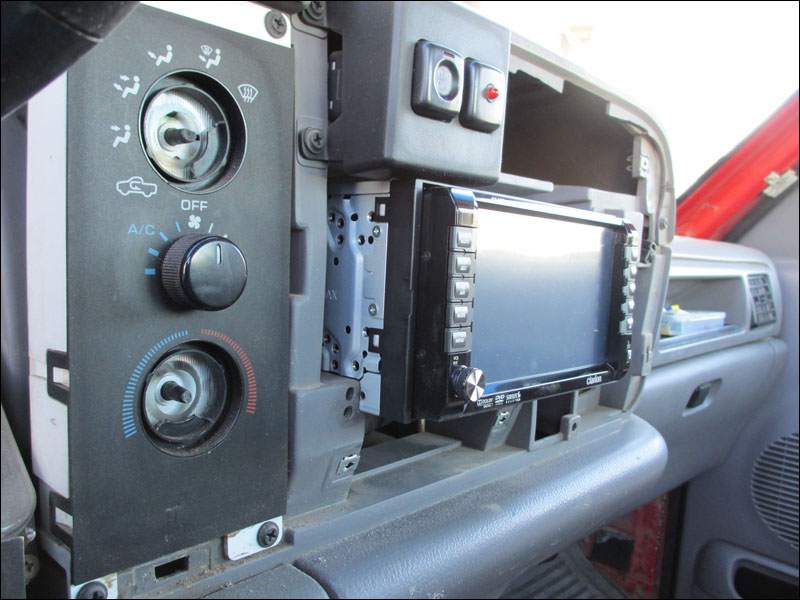
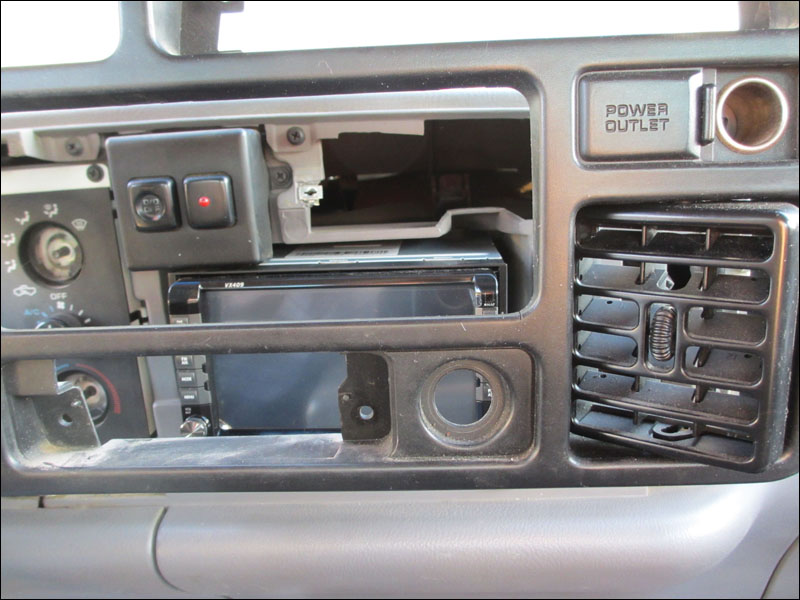
On with the install. In order to get the trim piece around the new stereo you have to get cutting on it. I just put the panel up in front of the Clarion and made a couple small cuts to get the ball rolling. Then I pulled it back and removed the plastic enough so it would fit around the deck. I did cut it really close because if you cut it back too much it won't look so good and you can't go back once the cut is made. It fits too tight for now but I'll go back and make some final adjustments later. Once I cut some more plastic back I'll be able to open and close the motorized faceplace without a problem.
Posted: Tue Jan 17, 2012 1:10 am
by Smithers
Posted: Tue Jan 17, 2012 1:13 am
by Smithers
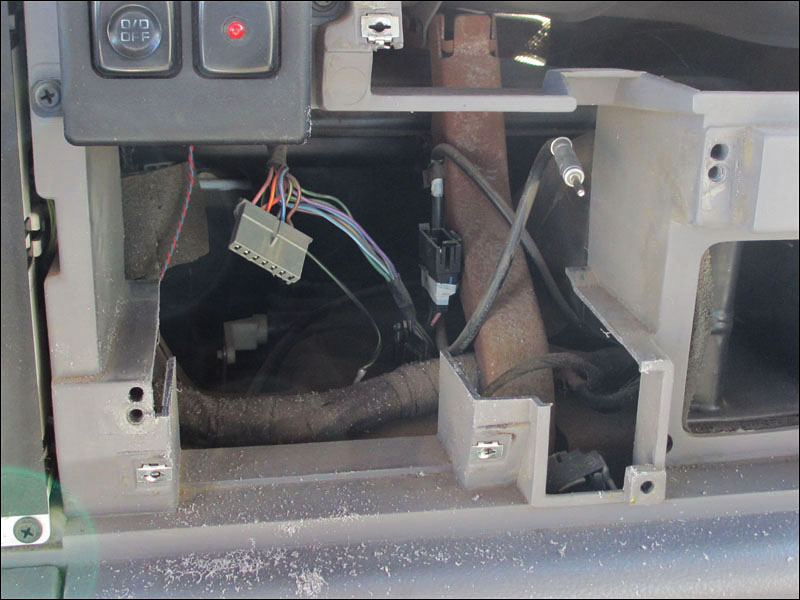
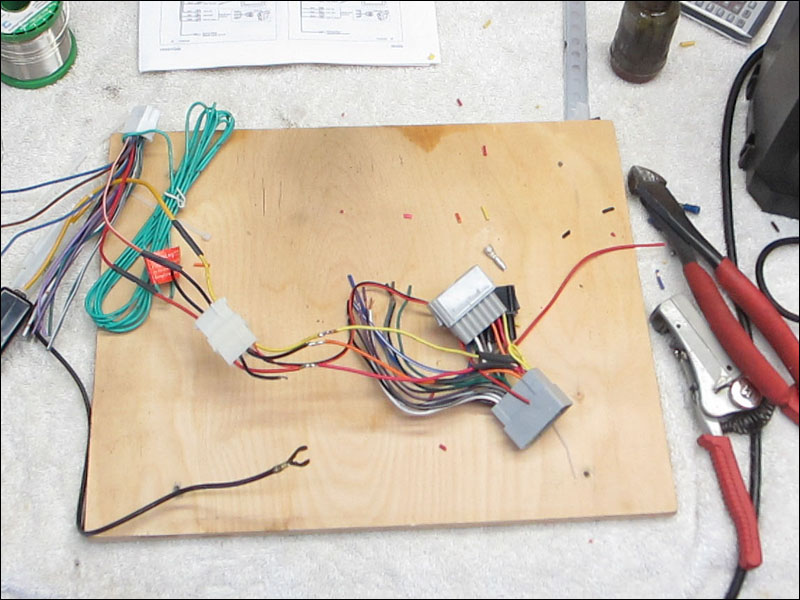
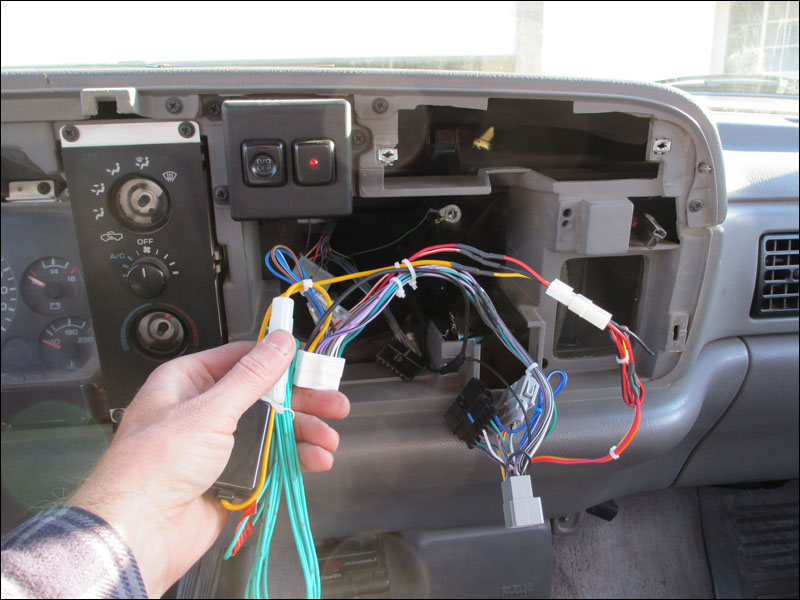
The wire harness simply plugs in and is then tucked in back in the dashboard. There is a ton of room to place all these wires and connecters. I'm used to working on much more compact vehicles so working on this Dodge dashboard is a huge relief.
Posted: Sat Feb 18, 2012 10:36 pm
by Smithers
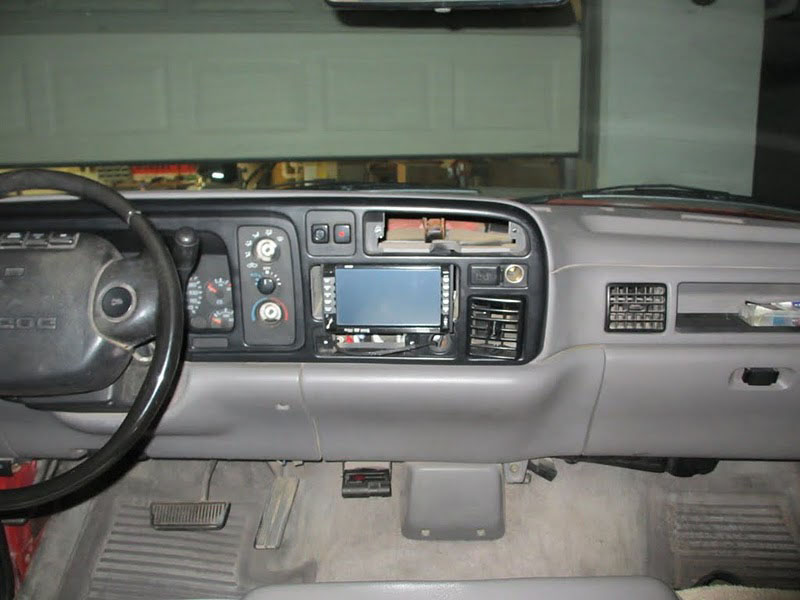
More pictures to come. I am going to fab a carrier so that the whole head unit can be angled left or right for easier viewing and a better fit in general.