Page 19 of 22
Posted: Thu Jan 21, 2010 11:36 pm
by Smithers
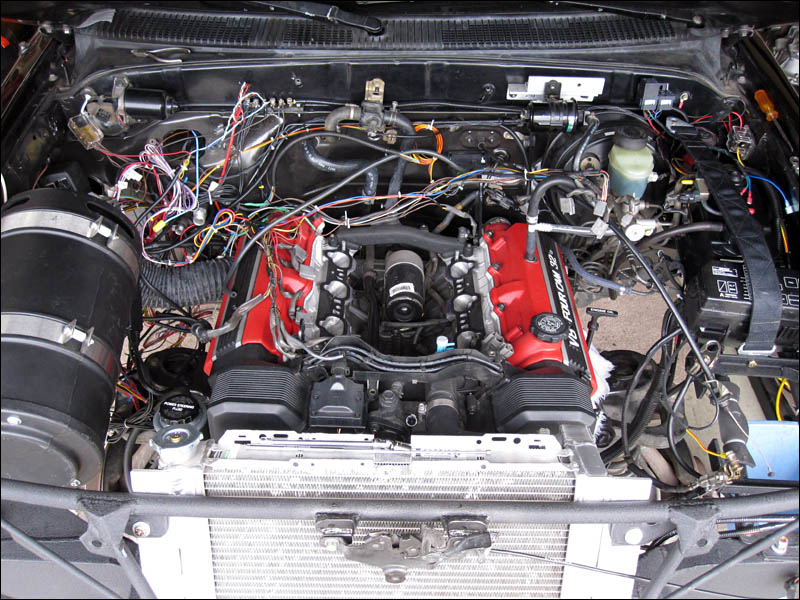
All I have to do it jack up the engine like 2 inches to take the headers off. Then I can take the heads off in under 20 minutes no problem (since I already have the intake off of course). It's just a matter of time... There is plenty of work to keep me busy until the new gaskets get here, that's for sure. I'm also considering polishing the block surface and putting them back in. I'll have a machinist show me the proper tools for this of course. I built this truck and engine so that it would be serviceable like a race car. I'm actually going to take note of every single tool I use and catalog them into my toolbox that I'm going to build inside the rear cab. It actually doesn't take much to do the operation at all now that I have everything easily accessible. The front end comes off with like 10 bolts while being 10x stronger than the factory. Too bad I wasn't getting paid for all this work. That's the only bummer.

Posted: Fri Jan 22, 2010 5:21 am
by grammy
Are you sure that a small leak on the head gasket would cause that much of a leak? Is is possible there is somthing else going on?
Posted: Fri Jan 22, 2010 6:46 pm
by Smithers
Hell yeah I'm sure. I'm not just taking a guess at this! I pressurize the cooling system and could see water DRIPPING in the oil drain hole down the side of the head. I called Cometic today and they recommended spraying some copper sealer on them and to try em again. I'll just have to examine the block surface with a magnifying glass. I have regular gaskets on they way so I'll decide what I'm going to do when I get to that point. Thanks for checking out my progress Gammy. I'll be doing burnouts to break in the new head gaskets before too long.
Posted: Sat Jan 23, 2010 4:15 pm
by Smithers
Ok lesson learned... DON'T RE-USE 1UZ HEADBOLTS! haha =]
I remember that they felt fine when I torqued them down but whoa-nelly when I took them off today they felt all over the board in terms of how tight they were. If anyone out there is doing the heads on a 1UZ don't waste your time by using the head bolts again.
ARP hardware is on the way. I've re-used head bolts on other rebuilds but never with MLS gaskets and I don't think they would have worked with regular Lexus gaskets either. And if they did work there is no way they would have held with all the revvin I'm going to put to this block. I didn't cheap out myself when I was putting mine together I just thought they would work. Well this is the first time re-using them didn't work for me.

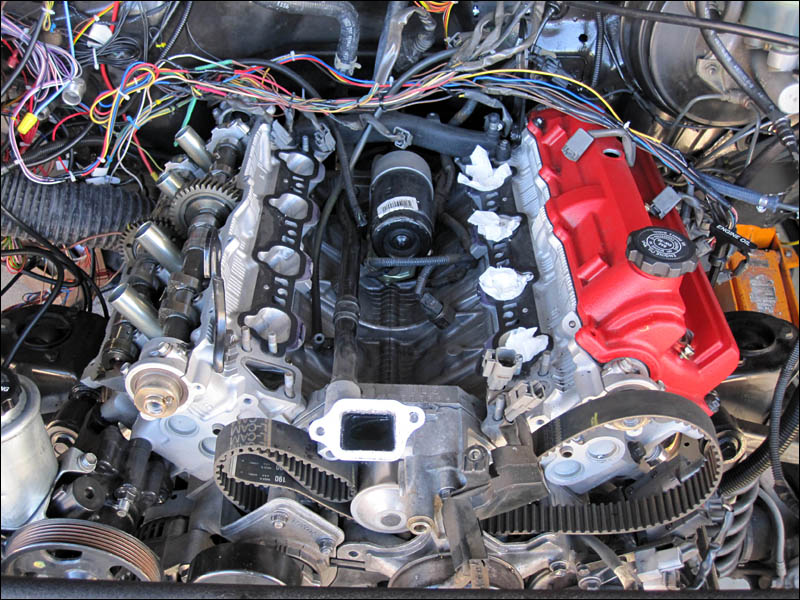
It took about an hour to tear down the one side of the block and the other head will come off pretty quick since everything on the front is removed. I didn't even have to lift then engine to clear the exhaust header studs rather, I just unbolted the head and lifted the whole thing with the exhaust header bolted on. It's nice having that much room for sure.
Posted: Tue Feb 02, 2010 11:06 pm
by Smithers
It's been a rough past few days for me as my work has tripled and I'm haven't stopped working on this truck one bit at all. There is no way I'm stopping now. I finally have some time to put up a couple pictures of last weeks progress.
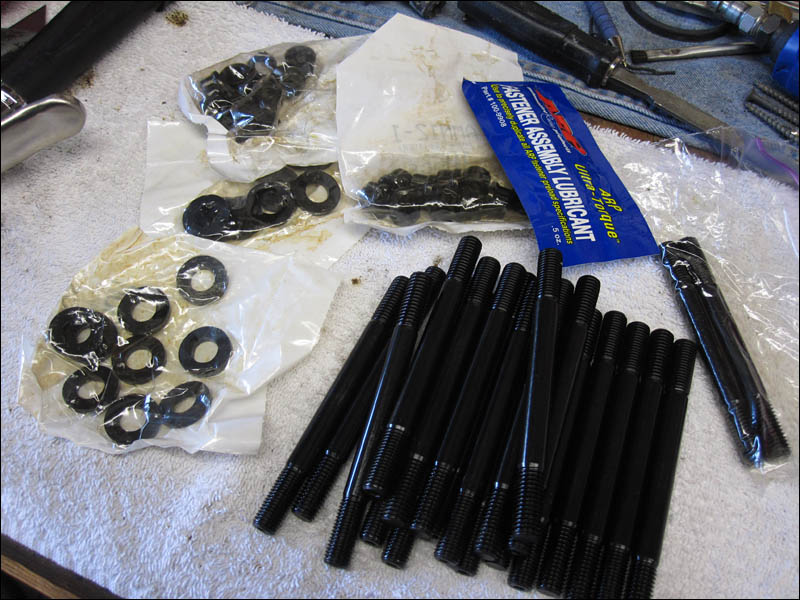
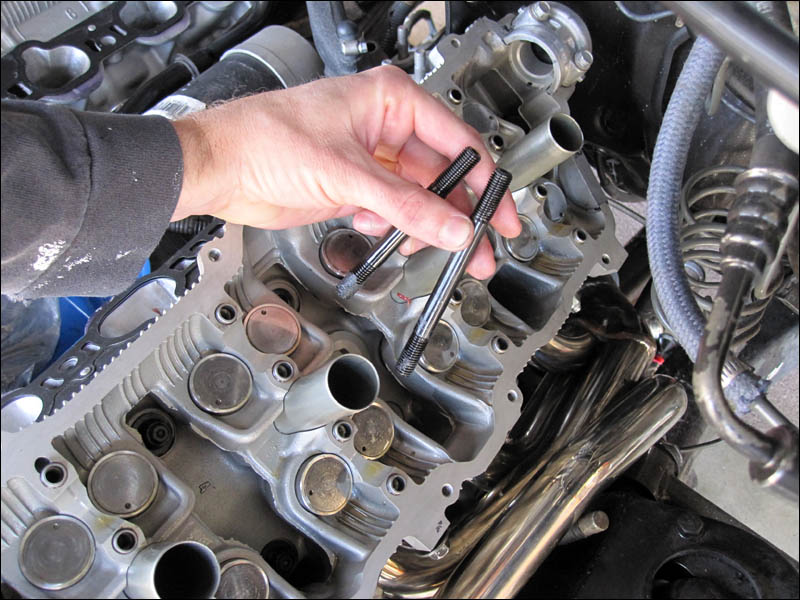
ARP Studs fresh out of the mailbox and going right into the assembly line:
Posted: Tue Feb 02, 2010 11:09 pm
by Smithers
The Cometic gaskets are still just as new and I cleaned them off in between the plates just in case. I degreased them and then sprayed them with a film of copper coat sealer while the sun was shining one afternoon. I checked and double checked everything while assembling the heads to make sure there wouldn't be any question if I forgot anything. Putting everything back together so fast sometimes you just can't remember if you torqued those last bolts. I did go a little stir crazy while tightening the head studs but everything went well.

On the 1UZ-FE when installing ARP head studs a shorter stud must be installed under the camshaft gear as the regular length will obstuct the cam gear but not enough for you to notice until you try and rotate the cams! Not good so you have to be careful. They shorter one goes to the inside and the longer to the outside just as I'm showing here.
Posted: Tue Feb 02, 2010 11:14 pm
by Smithers
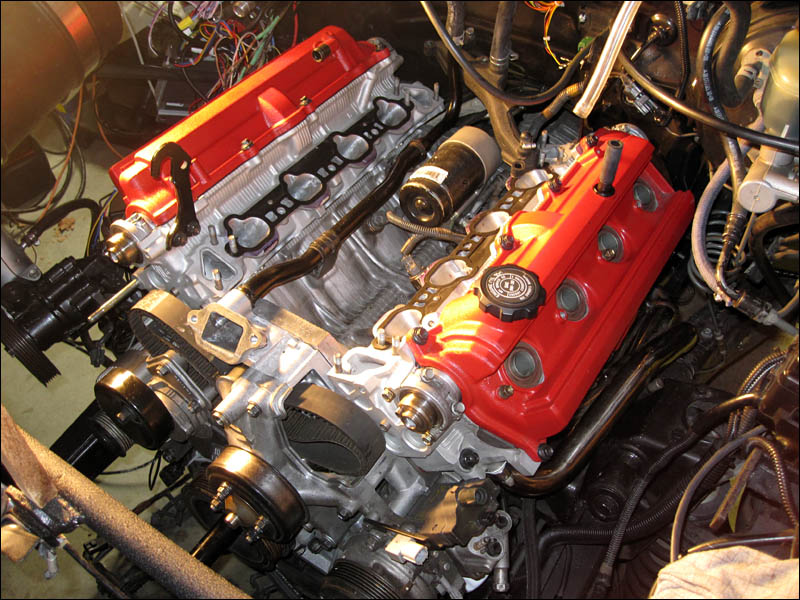
Everything all tightened up at this point and I'm just about ready to line up the timing marks on the cam gears and the crank pulley. Then the com position sensors and the wiring for the coils needs to go around the front just before you install the water bridge and then the intake manifold.
Posted: Tue Feb 02, 2010 11:27 pm
by Smithers
Water passageways put back in place, wiring is set back in position and cams aligned right on the mark for the timing belt. Moving right along.
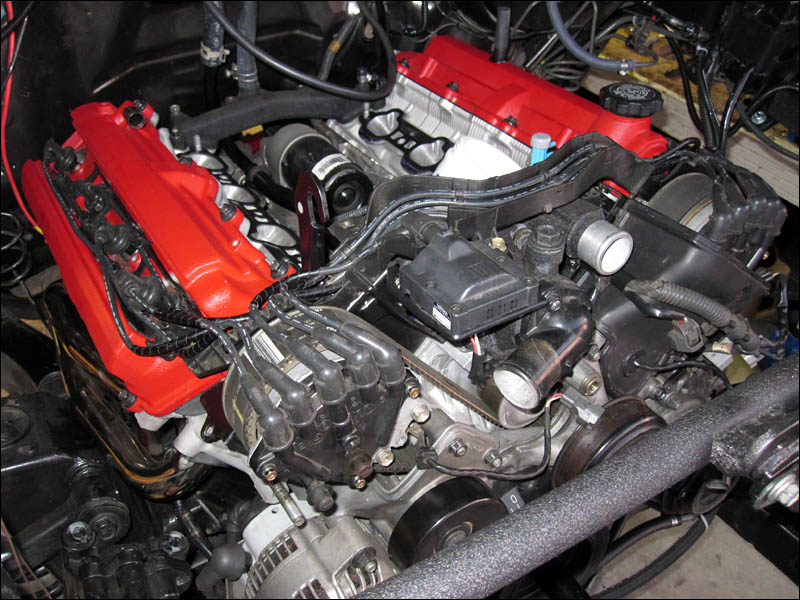
And here the upper manifold is back in place and I'm just continuing on with making the custom wiring harness. Now that the engine is operational I can go ahead and cut the wires to length and begin cleaning them up finally. This is just a long process and I recommend that people have the ability troubleshoot all of this type of stuff before they try an engine swap like this. This stiff super time consuming to say the least. But if you just put your head down and tell yourself exactly what needs to get done by the end of the day before you can allow yourself to quite... then you have a good chance of completing something like this. The details on mine are a little over the top but still to do one of these swaps you can't be afraid of a few wires here and there. It's all pretty basic once you strip the whole wiring harness and you can see where each ones goes.
Posted: Wed Feb 03, 2010 10:21 pm
by Smithers
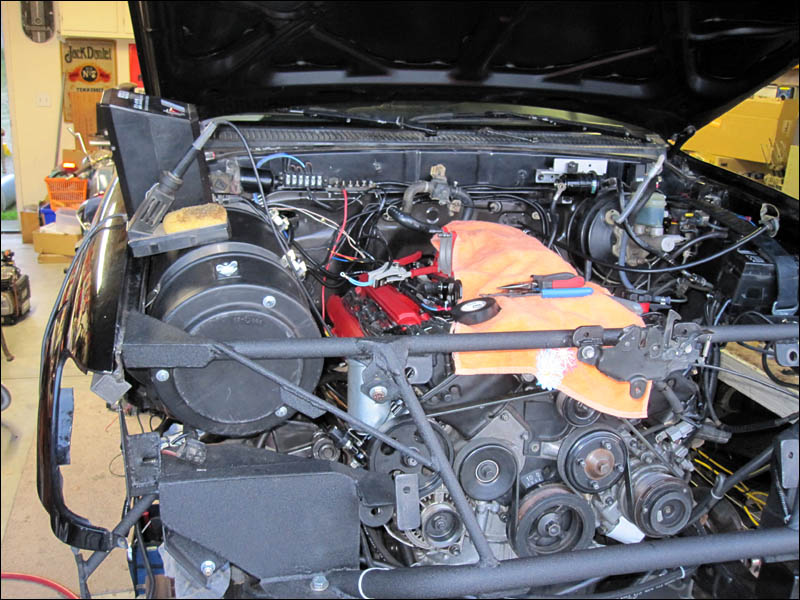
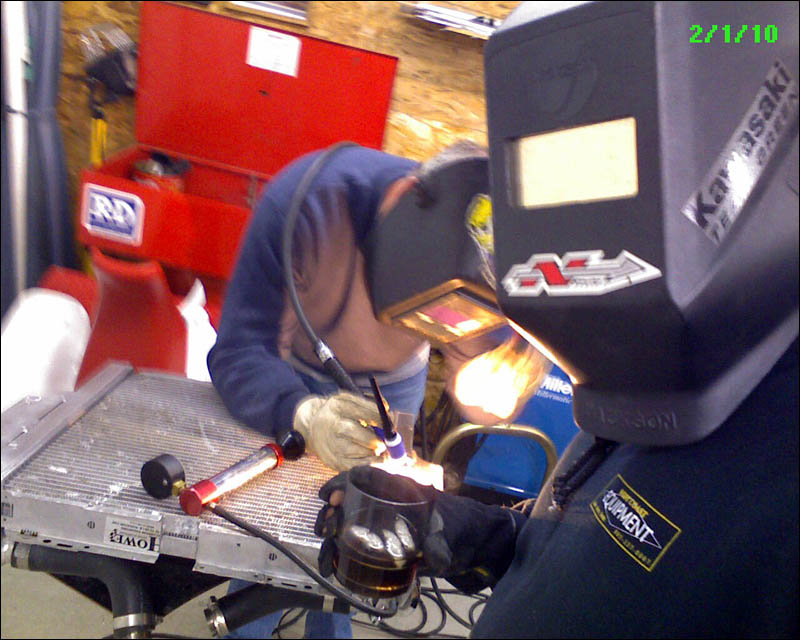
Words to the wise: NEVER accept a used aluminum radiator from anyone. If it's cracked it's basically trash. The one I took was totally contaminated with oil and since aluminum is porous it soaks it up which makes for hell when you are trying to weld it up. I've spent who knows how many hours welding up this radiator I'm using. The problem is that I went ahead a modified it which took a few hours. THEN I decided to leak test it which basically showed leaks all over it from the previous owners beating. I finally got the last leak welded up today but it was pretty miserable. I plan on buying a generic size aluminum radiator and starting off with a fresh stock of aluminum tubing and materials to complete it. I know this radiator I have will hold up ok but I can't be to confident in it considering the amount of welding it took to seal the cracks. At least it's done for now. Putting pressure to it and submerging it in someones pool was the only way to be sure of it holding.
Posted: Wed Feb 03, 2010 10:29 pm
by Smithers
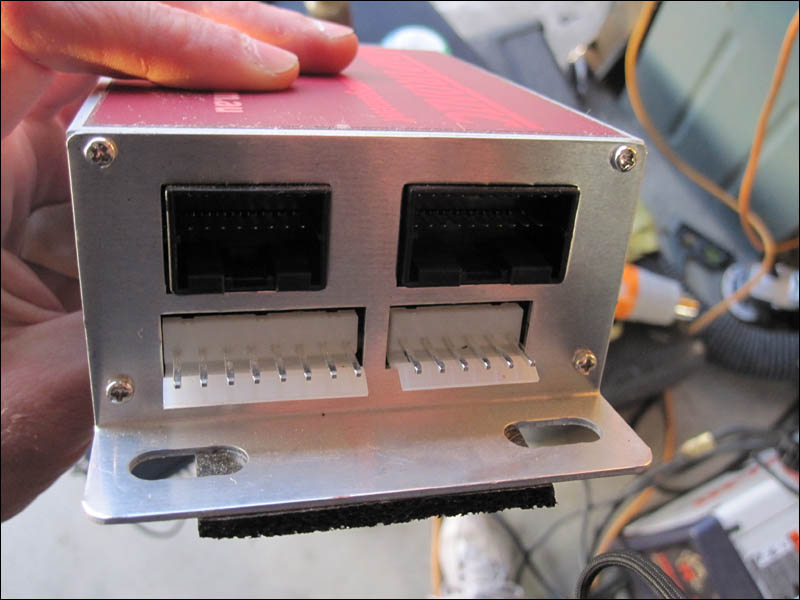
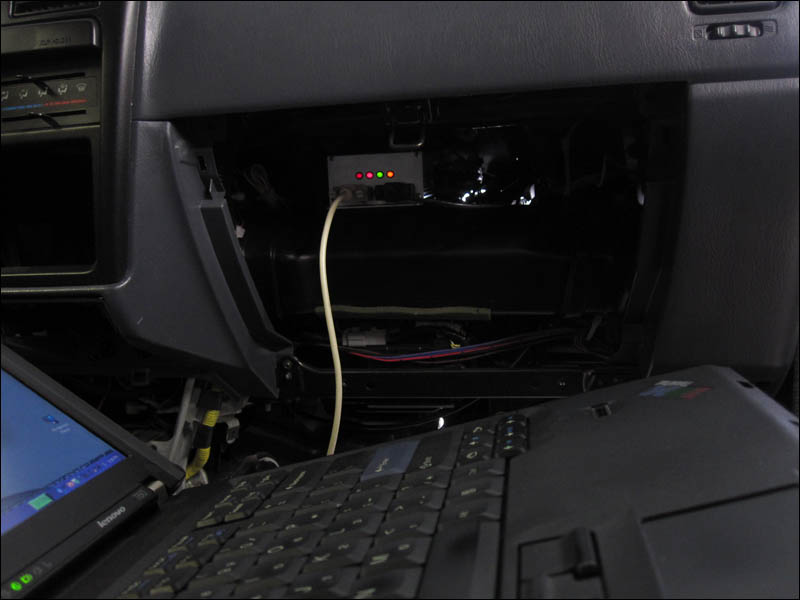
The Mission: Make this box control the whole engine on it's own.
The Australian Adaptronic e420c
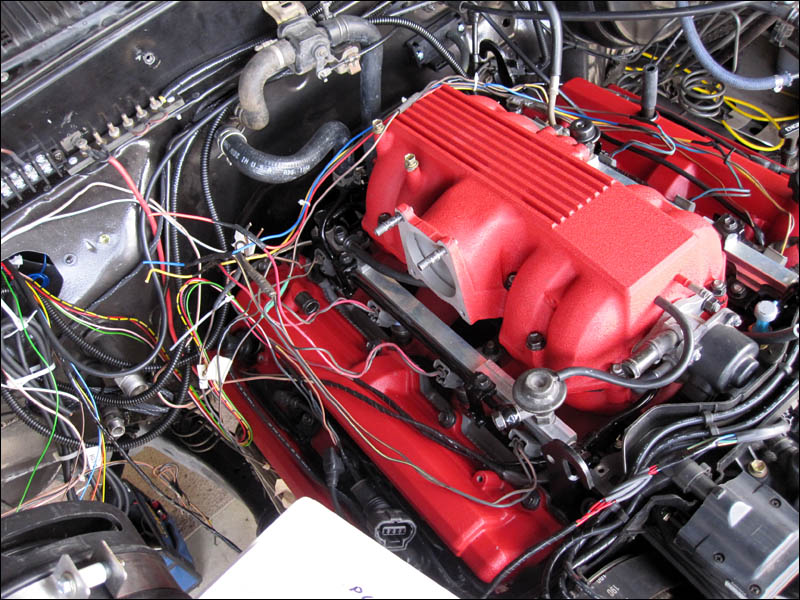
I'm basically just cleaning up the wiring here, cutting it to length and wrapping it up like it should be. Easier said than done. It just takes a long time to check and double check the lengths of wires. This means that you have to make sure every single component, sensor, power distribution block and splice is mounted exactly where it's going to stay.
Posted: Wed Feb 03, 2010 10:41 pm
by Smithers
Just for fun a little before and after.

It just makes me laugh when I think about how much time I have into wiring this computer up beginning from the first moment I began researching it when I first saw it. Comparing it to other computers and reading about installations that other have done with it on their engines. I don't even want to guess how much time I have doing the homework from beginning to end using this computer. And I have much more to learn while I adjust and tune it.
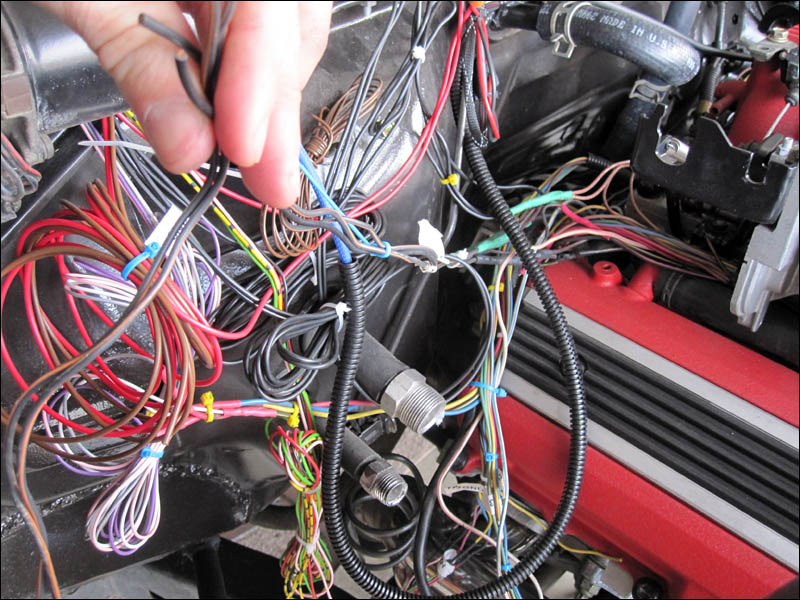 And keep in mind that all this wiring actually DOES work.
 =]
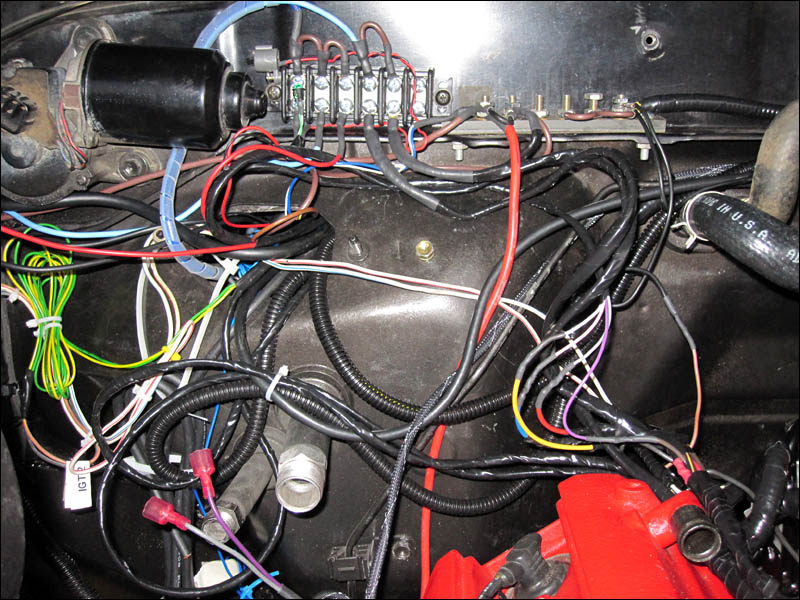
There are still just a few wires that aren't cut to length in this picture. I wasn't sure if their components were in the exact place that I wanted to leave them. The last thing you want to do it cut some wires too short. Well it's no big deal but I just don't want wires with any extra breaks in them if they don't have to have them.
Posted: Fri Feb 05, 2010 11:16 pm
by Smithers
And all of that wiring goes right on through the firewall to the Adaptronic e420c computer. Now that things are connected up and working properly the computer sure does work great. I'm pretty impressed with how well it runs here in the garage without hardly any tuning from me at all so far. I know it's not under load yet and hasn't been driven at this point but it's amazing how well the engine idles up and then idles down when the ECU senses that the temperature has risen to operating level. I don't even have to give the engine any throttle at all it just does it all with the turn of a key. I know it sounds like I'm amazed and that's because my old 3RZ didn't idle near as good because of the wide open intake system that I made. I did sacrifice some idle control and low rpm drive ability when I made the intake and connected that to an engine that already had a wide open exhaust system. But it did make a huge difference under WOT (wide open throttle) on the freeway and offroad. Once you get some good power you'll sacrifice other things. If I had all the time in the world I would have put the Adaptronic on the 3RZ Tacoma engine! That would have been really interesting. I would have loved to see what kind of results that e420c would have running the 2.7L 3RZ engine.
Posted: Fri Feb 05, 2010 11:20 pm
by Smithers
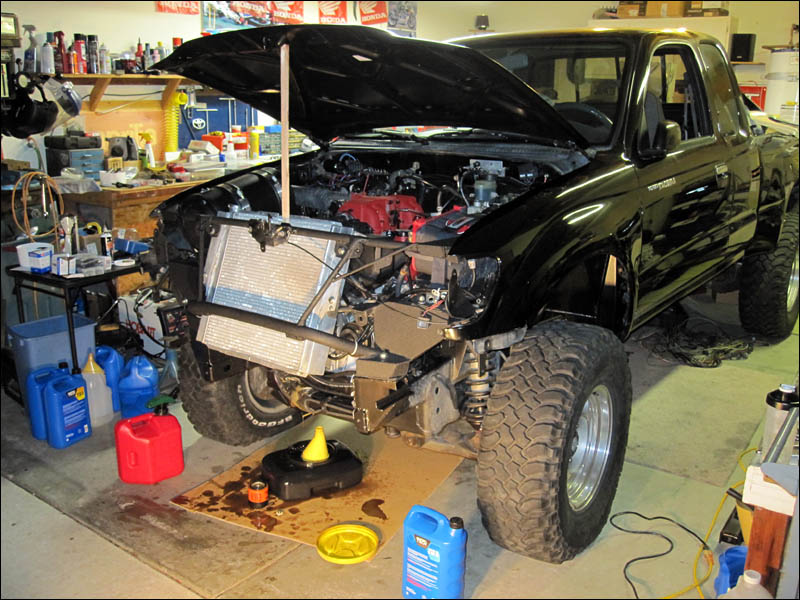
So late last night I was able to put the driveshafts back under the truck and put the tires back on it. I really miss driving this thing. Of course there is still water in the engine from the head bolts not holding down the Cometic MLS gaskets when I fired up the engine for the first time. So now that the ARP head studs and hardware is holding everything down nice and tight I had to go ahead and start flushing the engine. I had to work a lot in the last couple of days but tonight I was able to get to flushing out the water.
So off to the Wal-Mart to get a few bottle of cheap oil and also to the station to get some diesel fuel.
Posted: Fri Feb 05, 2010 11:33 pm
by Smithers
How to flush and engine clean of water after you fix the water problem of course.
- Get a couple gallons of diesel fuel. Drain the engine completely and replace plug.
- Pour in 3-4 quarts of oil and a new filter. Warm up the engine for a couple minutes and then drain it and throw away the filter.
- Put in a gallon of fuel then let it drain after a couple minutes.
- Then pour through the engine a little more diesel fuel and let it drain out.
- Put in another change of oil and new filter.
- Run engine for a couple minutes again to warm it up good then drain it all again but this time pour some diesel into the filter to rinse it out a couple times.
- Put another change of oil into the engine and re-use oil filter. Run engine again to warm it up good then drain it again. Your oil should be pretty decent by now.
The oil won't be clear oil yet but will look like coffee with cream in it. BUT the oil SHOULD act like oil now and if you pour some on a piece of cardboard or the side of an oil container it should stick to it like oil and run down the side of it with the same consistency as if you poured oil out of a new bottle.
It will take a few oil changes to get it completely clear of water. Keep in mind that just a tiny bit of water will make ALL of the oil change color to what might look like coffee with cream. Then the more water that gets in there the more it will turn white until it finally looks like straight half and half coffee cream. If the oil is run with this much water in it then it will soon turn to a consistency similar to Elmers Glue! This is what I had coming out of the drain hole when I ran new oil through it after I changed my head gaskets out and installed the ARP head studs. Now that was scary. But I just bought all of the stuff to flush it and did the above procedure to evacuate as much water out as possible. Now I'm pretty comfortable knowing that just about all of the water it out. I'll drive it easy to get the computer familiar with the engine and then change it out after a day of running it.
Looks like fun huh!?
Posted: Fri Feb 05, 2010 11:35 pm
by Smithers
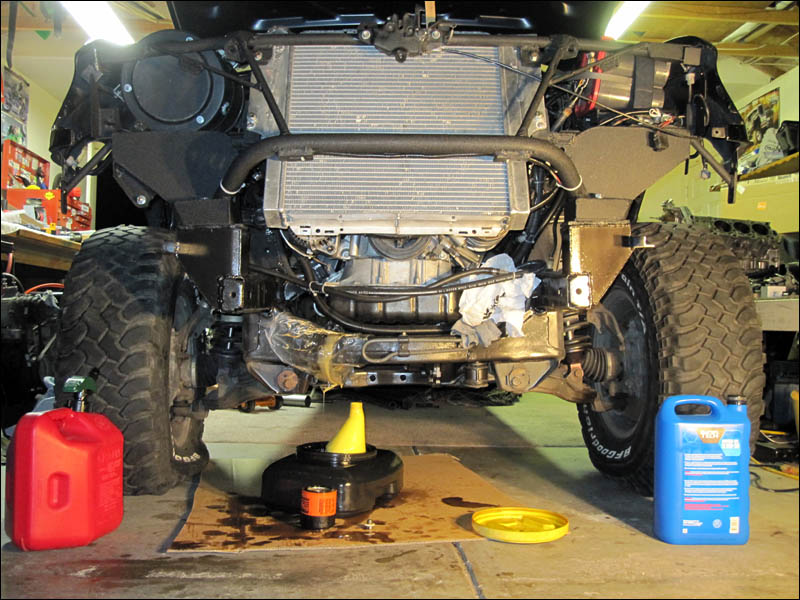
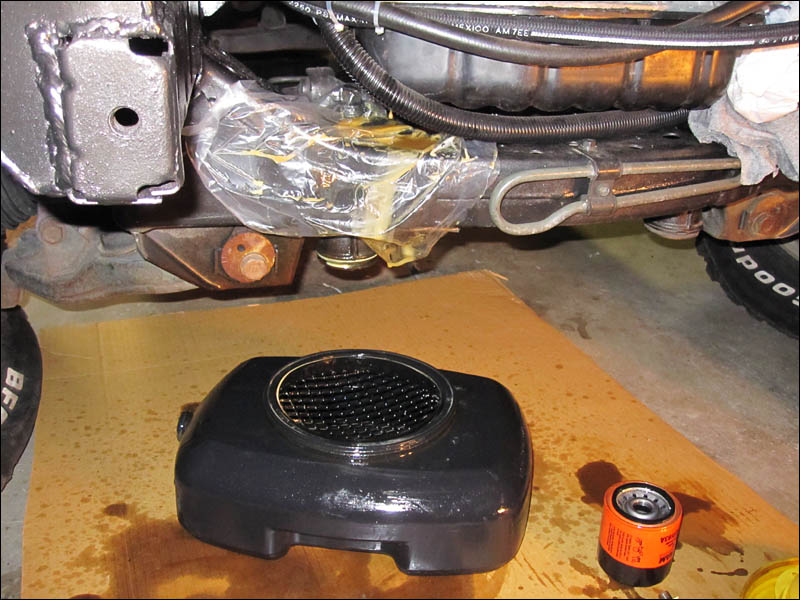
Here you can see the operation in effect. I have plastic over the crossmember so oil won't fall inside of it and I have a bag to catch the oil filter when I unscrew it. This way not a drop of oil gets on anything underneath when I swap it out for a new one. This wasn't too much fun but at least I have good piece of mind that the Cometic gaskets + the ARP hardware is all holding down like it should! The engine really really sounds awesome when revving it up. I would have taken a video but my hands were soaked in oil and I didn't have much time to do all of this earlier this evening. Tomorrow I might even get time to drive the thing.