I'll have the passenger tubing done tomorrow and off to the powdercoaters. I'll be making it detachable with tabs to bolt to the frame and body. If I was running the rollcage tubing then I would mount it permanently but it's not at this point.
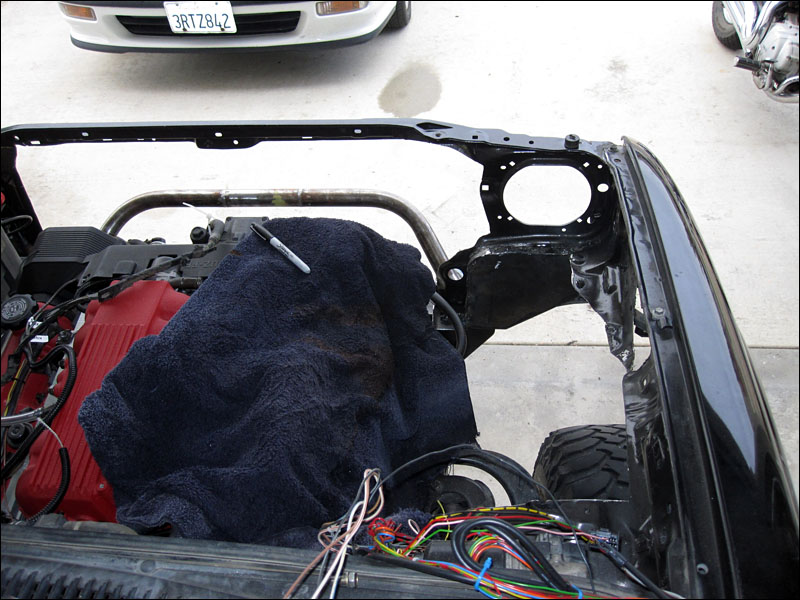
The only reason I'm keeping the headlight surround is to save time. When the permanent rollcage goes in then all that will be coming out for sure. It serves as a great reference point for now.
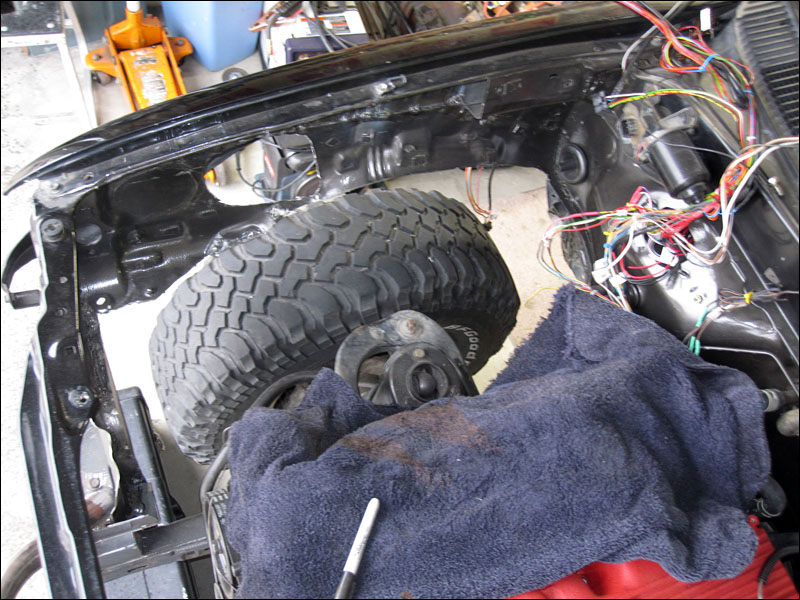
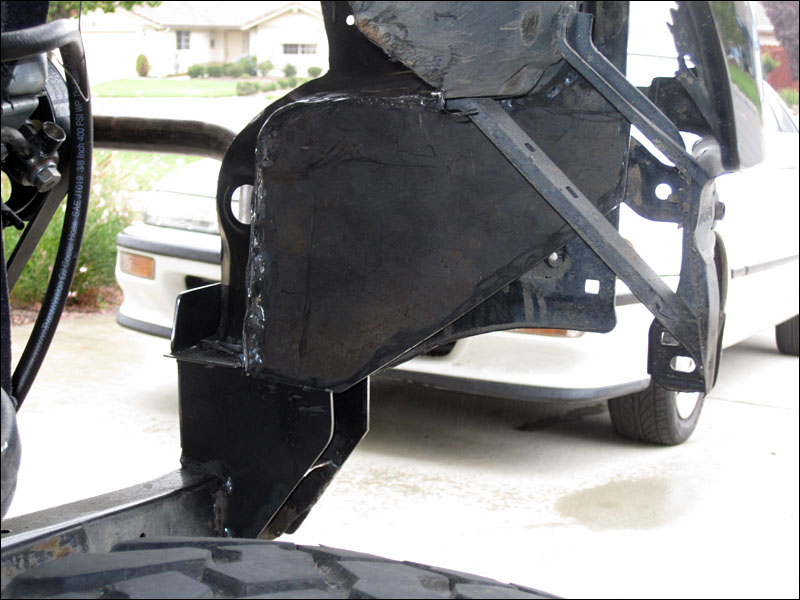
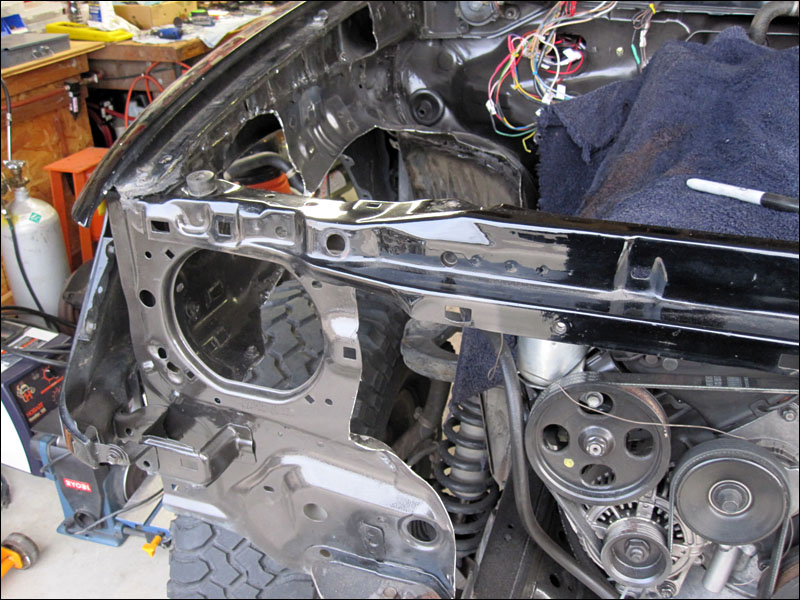
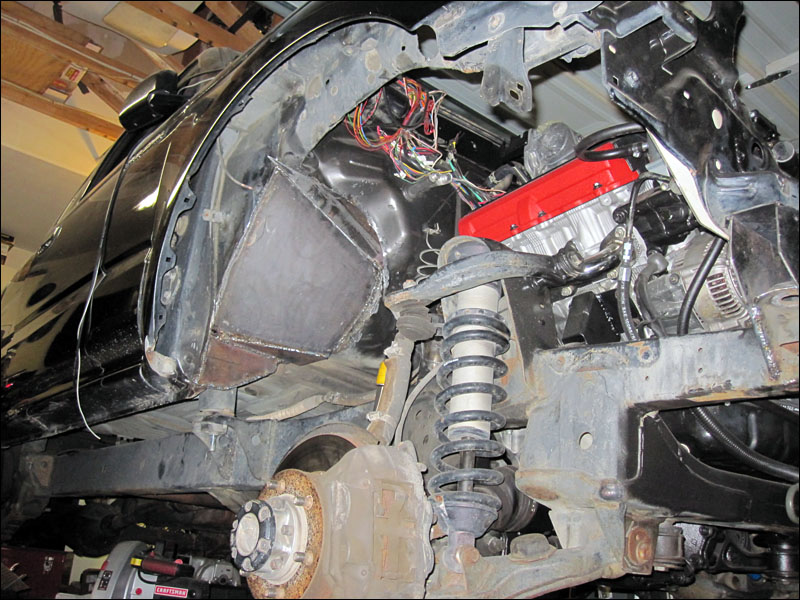
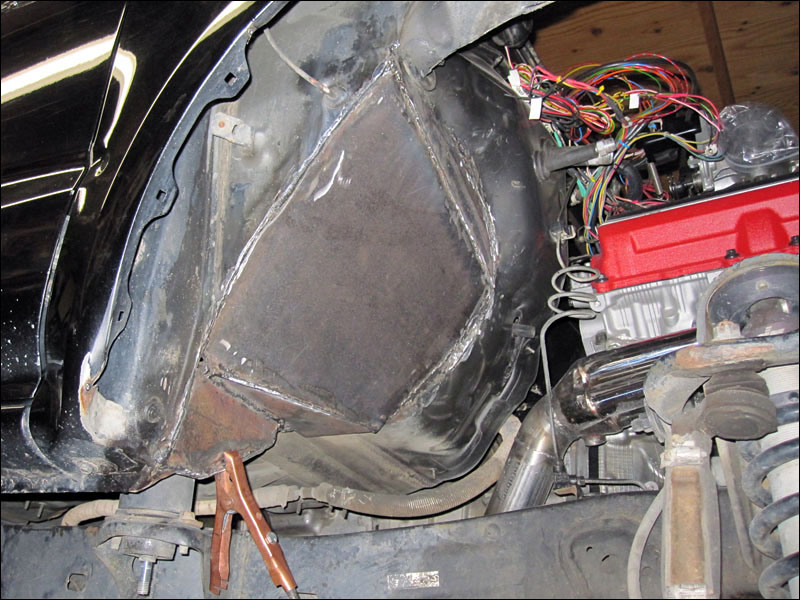
I also put some plating just behind the flimsy stock body work in the front corners. The stock stuff is seriously flimsy even when all the bodywork is original. If you see a stock Tacoma with the grill removed from the front you can grab onto it and pull it back and forth! Now it doesn't move a bit. And don't worry. The final welds over the whole front end will looks like artwork. Right now things are just being mocked up. I love this stuff. Yeah some fabricators would kinda laugh at it but all the steel is free and it will be functional for sure. Anything is better than stock.
The frame mounts and the body attachment points just have a bolt resting inbetween them. Thing's aren't squared up at they look in this picture. It's together but there will be more material added that will hold things where they are meant to be. Then the chromoly tubing will definitely square everything up.
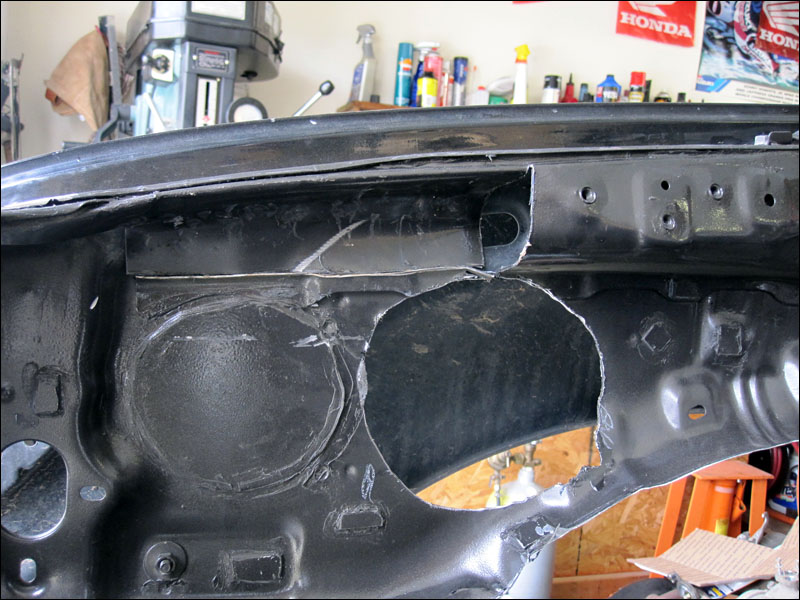
Here is a neat trick. I made a vertical cut and then a long horizontal one underneath the fender rail. Then I pounded it in to collapse the support. It's still adds much more strength than simply cutting it out completely. I tack welded it for now and I'll be finishing it up with some tubing to support it soon. If you do shorter sections it conforms to the fender line much better.
Everything front under that upper fender rail will be removed as soon as the tubing it mocked up. It provides a good point of reference for the time being.
Here is a small section that shows the detail of what I did. I went and did the rest of it too.
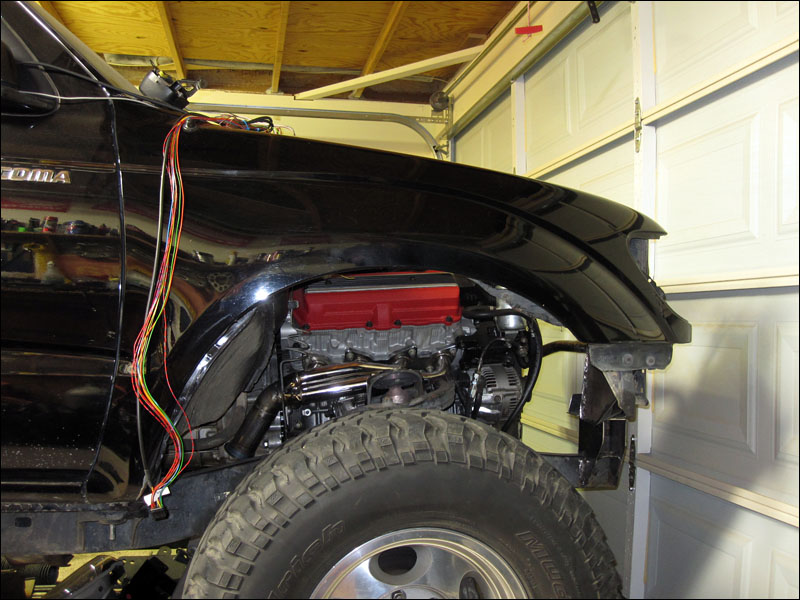
Here is what the front looks like at this point. It looks stock still under the headlight but there is that plate of steel backing the formed Toyota steel body. And you can see more of the fender rail looking concave and almost tack welded all the way back. I can't wait to see what the Icon upper suspension arms will look like with everything done.
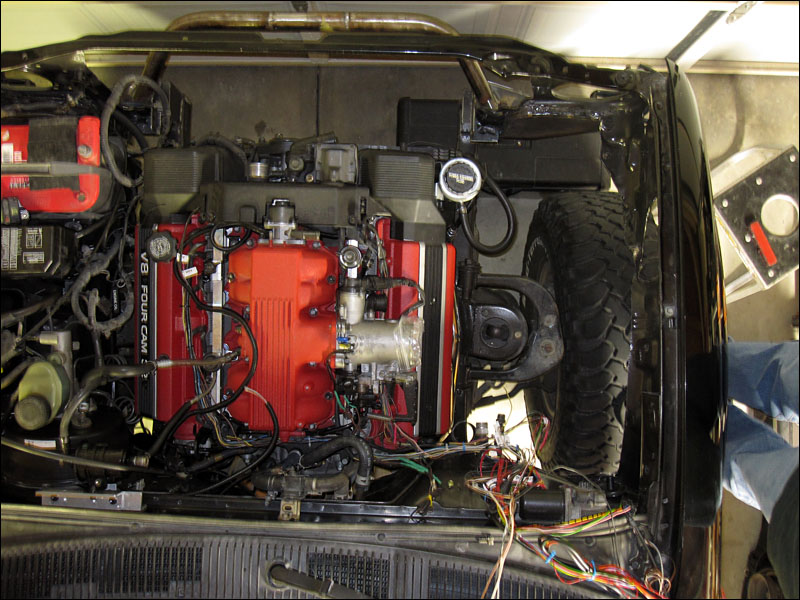
Going ahead and cutting out the fenders was a good move. I'll be able to see the engine a lot more now, even when I put on some panels there will be more space for the engine so be seen. I can't wait to start putting the radiator in. Then with that and the intake canister in things will really start looking nice.
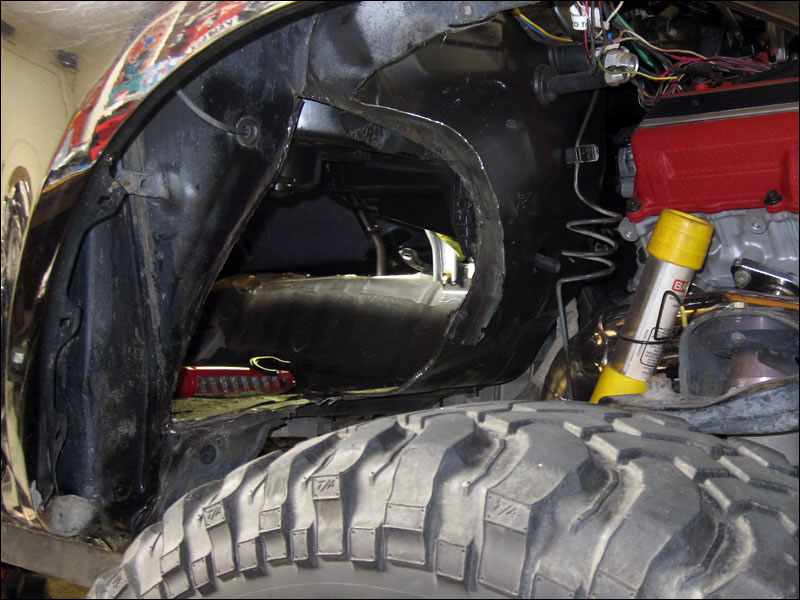
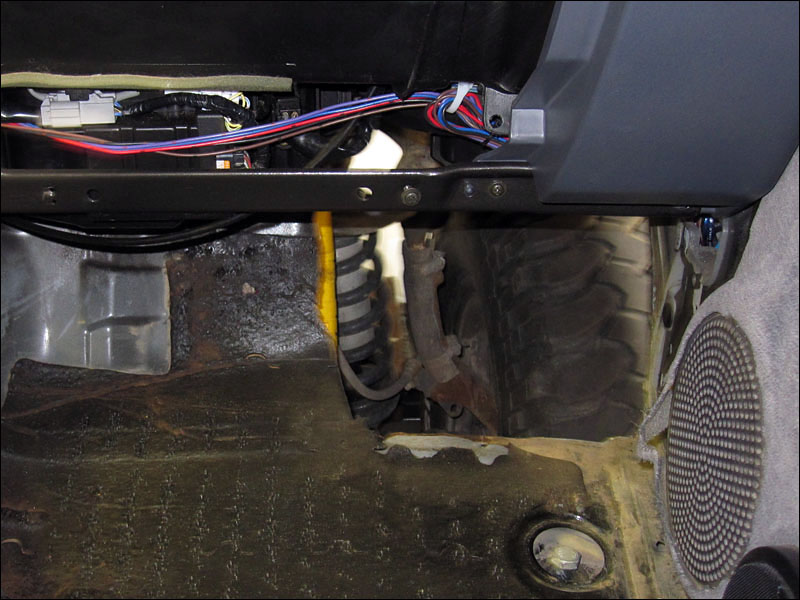
To get a solid foundation to mount the fender tubing I had to modify the cab. Since all the fender is cut out and the tubing needs to attach to the cabin I need a solid plate of steel welded somewhere. The footwell area is approximately where it needs to be so I cut that part out real quick.
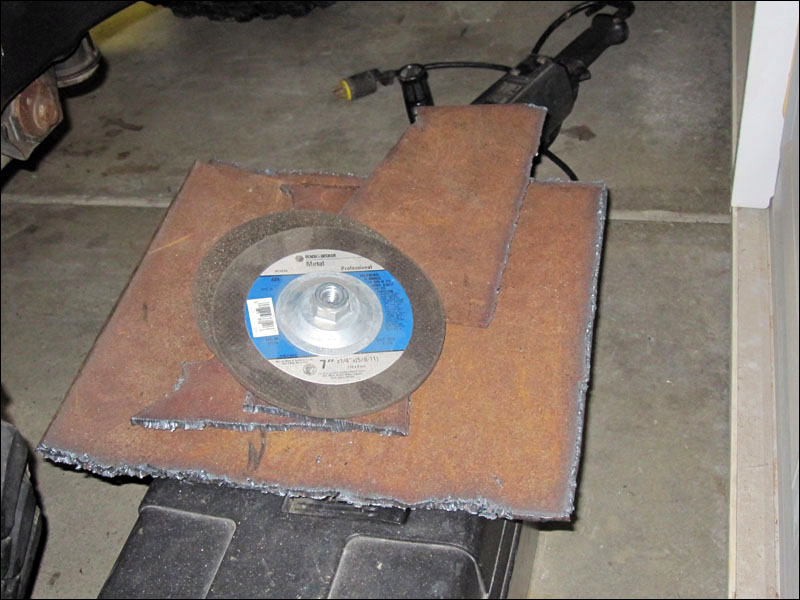
Of course I cut it out from outside the cab leaving just enough excess material around the edge to crimp to the new plate of steel once it is time to weld it in. I got this steel from a friends shop today and spend a good half hour plasma cutting it off of a large sheet. This area has been subject to abuse from large rocks and stuff so I wanted some really thick steel and I found some. Once welded in it will provide much more protection and a perfect mounting base for the fender tubing. I couldn't be more happy with the pieces of steel I found.
The iron might look crappy right now but it will be awesome once it's brushed off and painted after the install.
Here is a view of the missing footwell from outside the cab. I've had a few big impact in this area in the past and the blows from the rocks actually have come through the fenders in a couple places. Now that I have plenty of clearance I'll be able to put the straight steel plating in place compared to the curved stock Toyota piece.
You can't see it so much but the middle body mount is just underneath the void. I'll be cutting and welding a small piece of steel to the front of that to strengthen that up as well. It will only take a few minutes and will help the body mount stay straight. This thing needs to be strong as reasonably possible. Stock stamped steel just can't hold up for too long.
Ok I'm sorry for stalling on starting the engine with all of this fender work! It just needs to be done. I have been working on it everyday though. I welded in some super thick steel for the cab fender material because that is where all the big rocks spin off the tire and I remember hearing huge impacts in that area while offroading. I actually had a couple holes in the upper fenders. So I didn't mind putting some super heavy plating and it also will make a tiny bit more foot room inside as the plating is more straight then the curved portion I cut out.
I reinforced the bottom of the cab corner as well while I was at it. The stock stuff was just all warped and glued together. It didn't look strong at all so now I won't have to think about it. The fender support tubing will be quick... but this cab reinforcing stuff takes forever. It's such a pain to weld the flimsy cab steel together with the heavy steel plate.
I really want to box in the body mounts that extend off the frame but that will take too much time. It's not totally necessary at this point so I'll do that later on when I'm doing roll cage stuff.
Little 110 welder makes a mess but it gets the job done. Have to lay cold welds on the cab sheet metal then go back again and put some hotter welds from that to the steel plate.I need a small TIG in my garage one of these days.
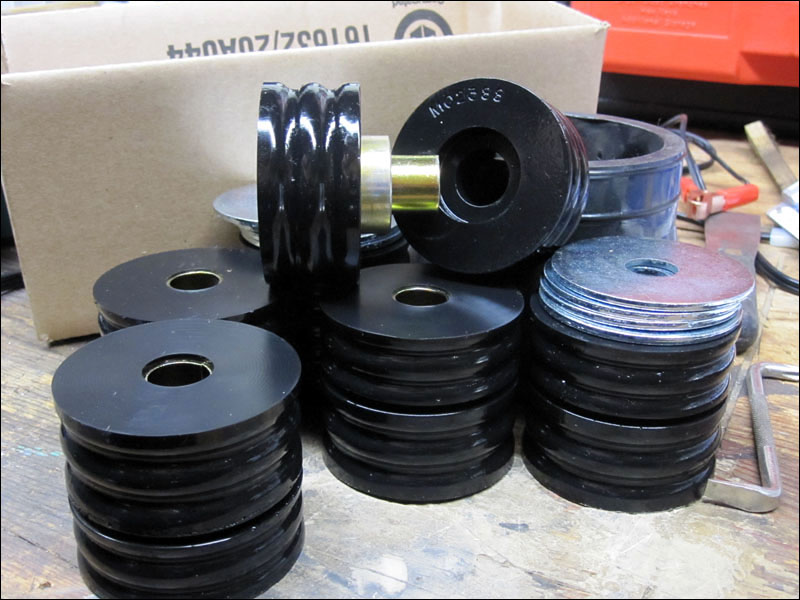
With the cab corners so strong I can move ahead and clean up some welds and paint things in the morning. It feels good having the cab supported so much better and I'll be picking up some poly cab mounts/spacers in the morning that I'll integrate under the cab and I'll use some for the transmission crossmember also. Advanced Adapters has some that they sell exclusively that they have showed me and invited me to use. They should help out immensely with any vibration and road noise but they are still tight and won't deform like rubber.
Fun stuff. Just getting things out of the way that I've always dreamed of doing.
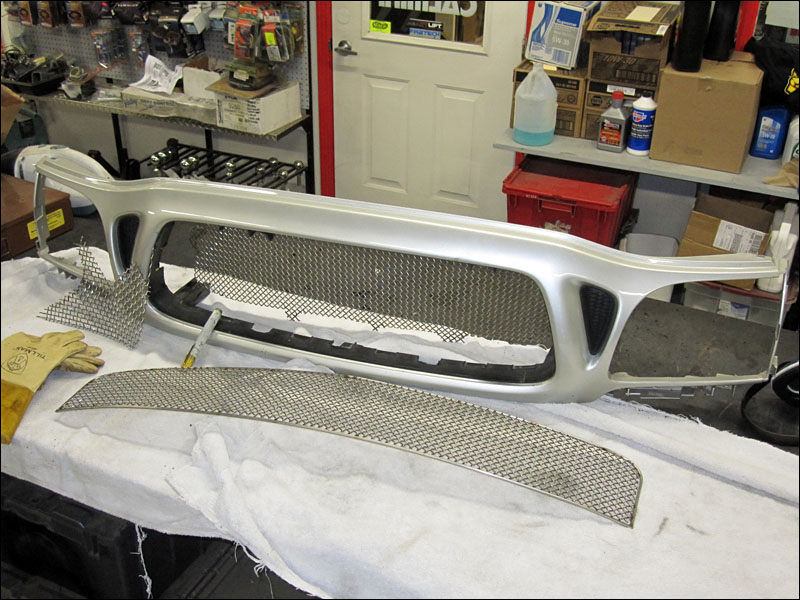
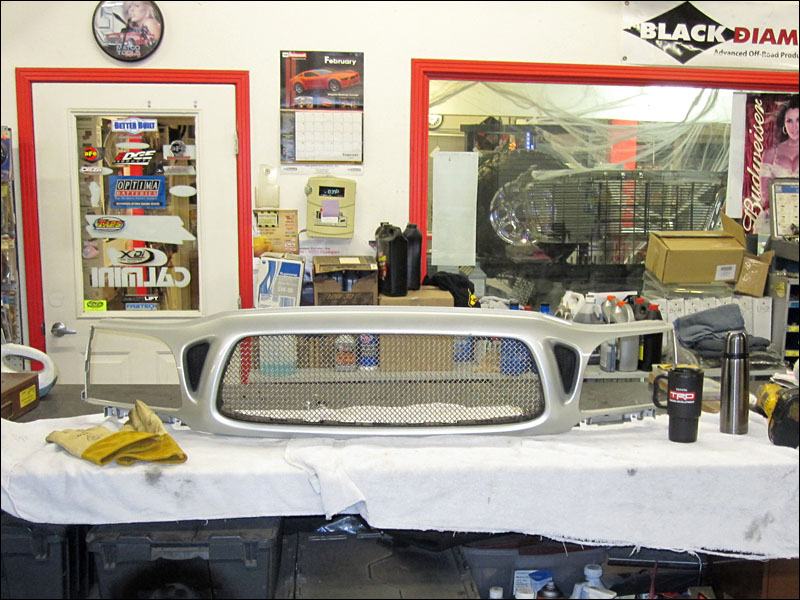
Me and a friend bought a sheet of stainless mesh for making grills for a 350Z and also my Tacoma grill. It's really strong stuff and was kind of expensive but it's the only way to make a nice quality grill - and the grills that you buy made from this stainless are a grand.
He used 3/16 stainless bar to trim the edges of his grill but I think for my grill it looks better without.
I will be edging and smoothing the plastic to look better tomorrow but for now I got the grill cut to the exact shape and adapted to the stock grill surround just perfect. I probably would have left the grill stock but I happened to get this beat up grill for free. It's way better looking than the original and I'm really happy to have the H4 headlight enclosures which are better too.
I visited Advanced Adapters this afternoon and picked up a box full of trick polyurathane mounts/ spacers. I saw these in a friends garage and had to go get some! I'll mount the cabs 4 main attachment points on these and the front will just have rubber matt for isolation. I also got enough for the bed too. I'll probably split them in half and use the little ones for the bed mounting. This should make a big difference but last a long long time still.