|
|||||||
| LEXUS 1UZ-FE Engine Swap My blood sweat and tears. It will be worth it!! |
 |
| Thread Tools |
|
#1
|
||||
|
||||
|
So starting out from a short block with the heads on it you really have quite a few things that go on before you put the lower intake manifold on your Lexus engine.
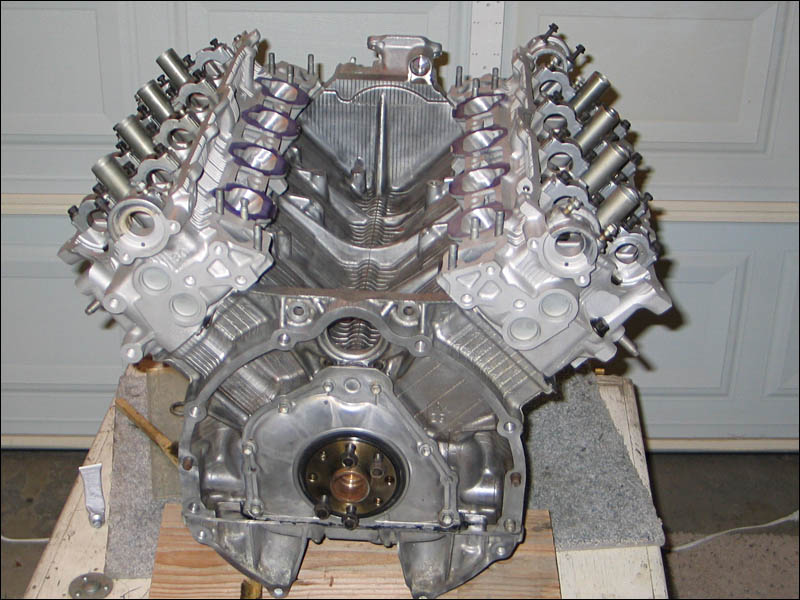 First we throw on the cams and the covers. To check out how easy that process is head over to the *thread that shows the details* (on hold) 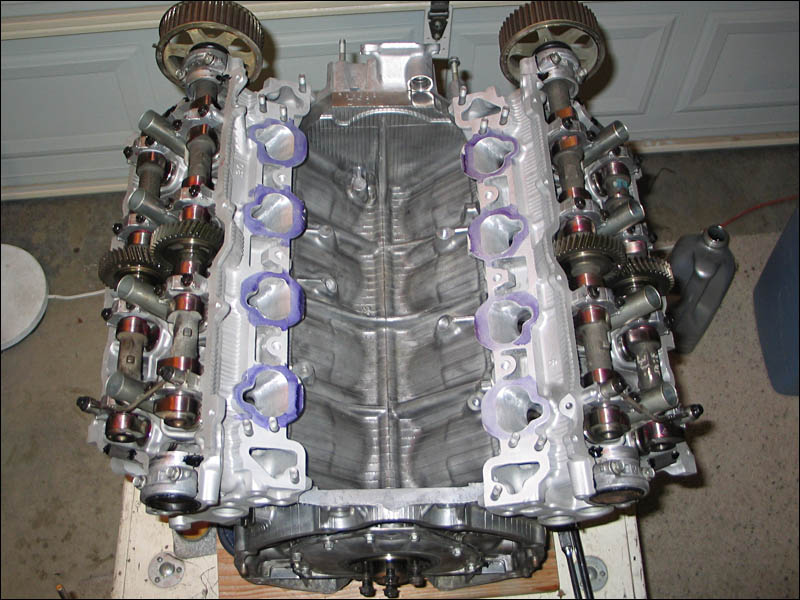 Then since I'm in a hurry just to see what the engine looks like with the manifolds on I put them on the engine without tightening them down just to see.  It looks so nice and simple but yeah, it will take a lot more components to make this engine run. It looks so nice and simple but yeah, it will take a lot more components to make this engine run.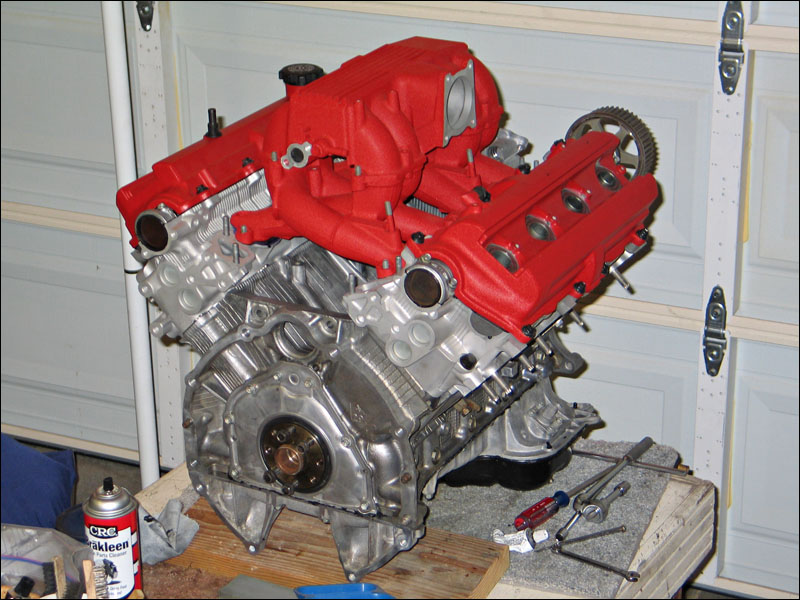 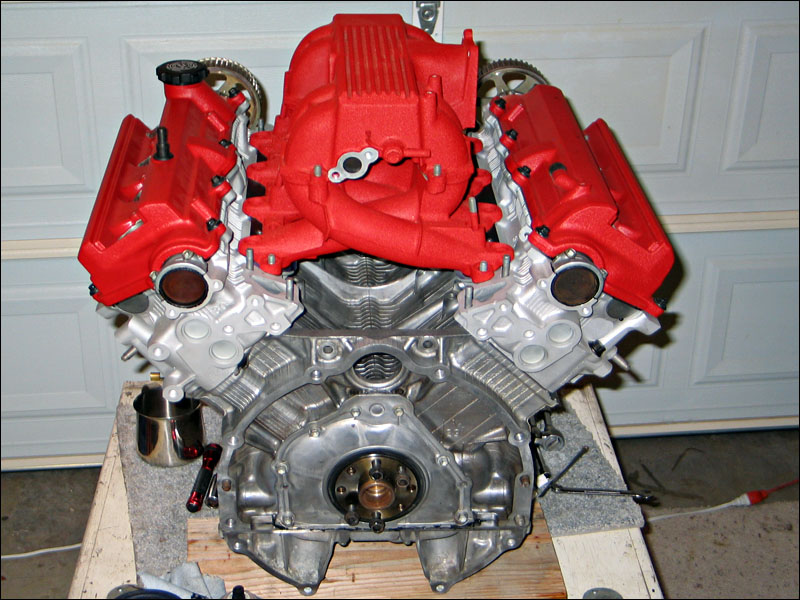 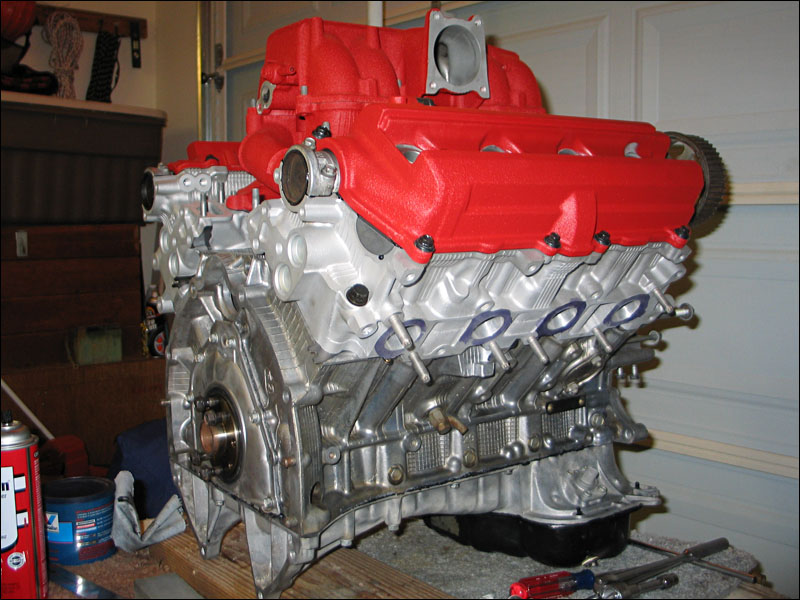

|
|
#2
 01-22-2008, 10:53 AM
|
||||
|
||||
|
Back to the business. Here is what things should look like going all back together.
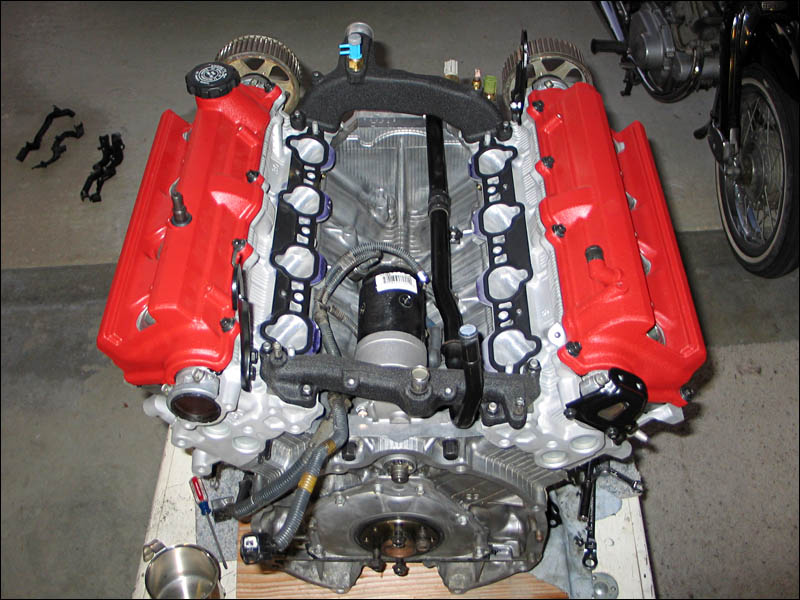 The water passageways are sealed in tight. The water pipe is in there (don't forget that one!). The starter and knock sensors are wired in ti the sub-harness that goes along the drivers side of the block. The gaskets are in correctly and next you must install the front mini-harness that plugs into the distributors but also clips onto the drivers side fuel rail for support. This harness screws onto the front water passage and is also held into place by the guard for the drivers side timing belt pulley. All of these parts are easily put in place at the same time. But if you install them out of order it just takes 3x as long. Here is a picture of the wiring in place just before the manifold was put on.  And with it set in place it's hard to see how the wiring goes inbetween all of that stuff. 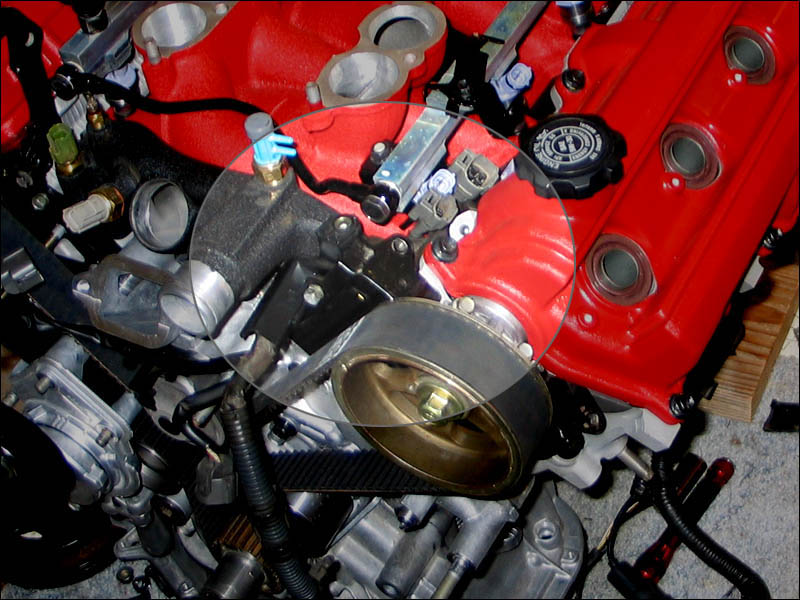
|
|
#3
01-22-2008, 11:06 AM
|
||||
|
||||
|
Here is all my fuel injection rails installed on the lower. Getting the injectors in and cleaned was a whole different day of work. I hope you had separated all the little nuts, bolts, washers, regulators, lines and other pieces or you will be scratching you head for quite some time. These pictures should help out a ton if you forgot how things went together. It's quite a little puzzle.
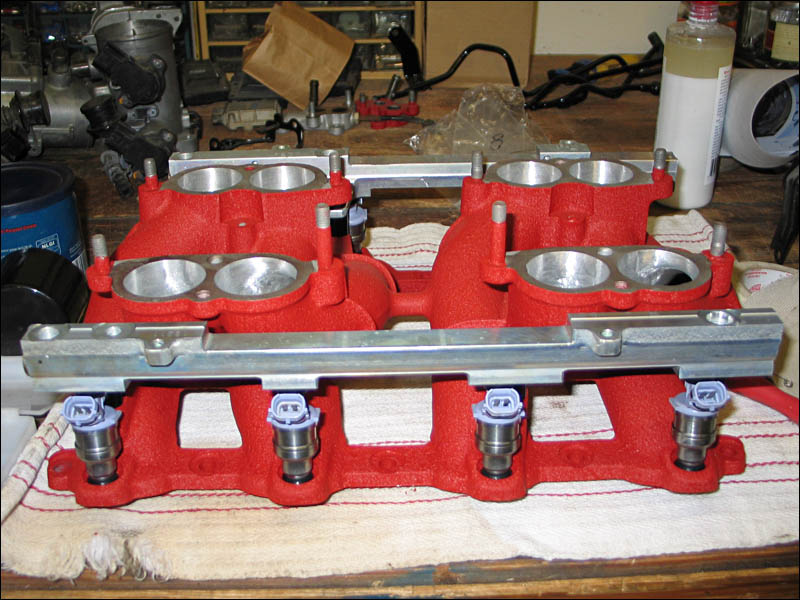 I use Rustoleum Hammerite paint on the things that were too delicate to put in the powdercoating oven. Hammerite is awesome and very strong. It only takes a few minutes to dry and looks great. All the lines and the bolts to secure them to the fuel rails were powdercoated gloss black and taping them off took a long long time. I used spare bolts and washers to cover up the banjo fittings while they were coated. What a bunch of work. 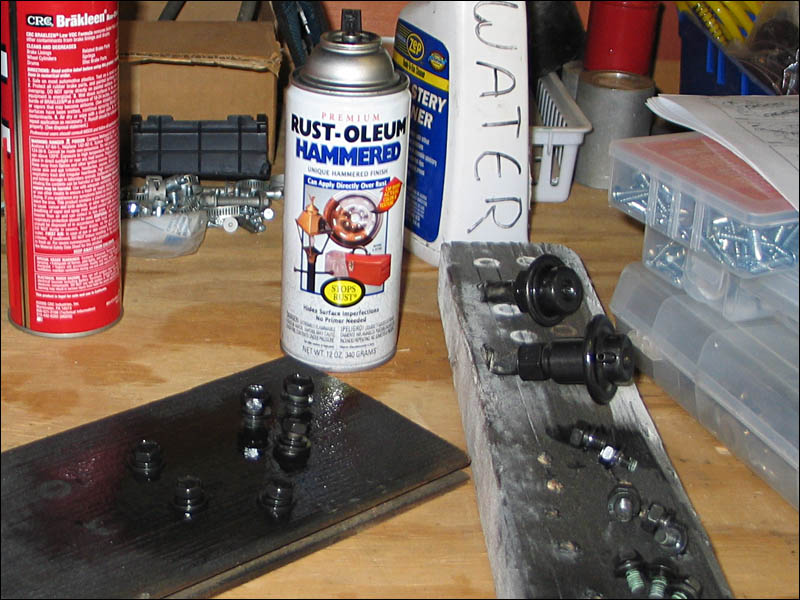 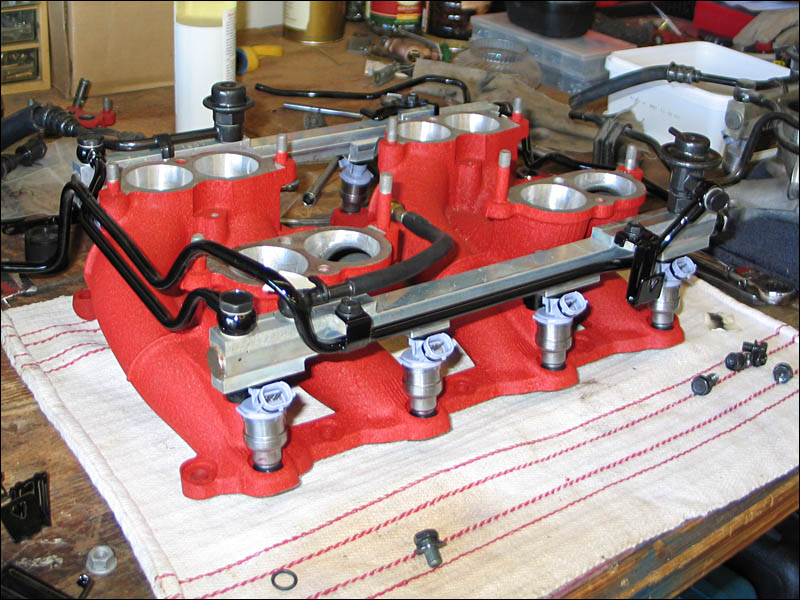 And there she is ready to plop down into place on top of the engine.
|
|
| Thread Tools | |
|
|


