|
#1
|
||||
|
||||
|
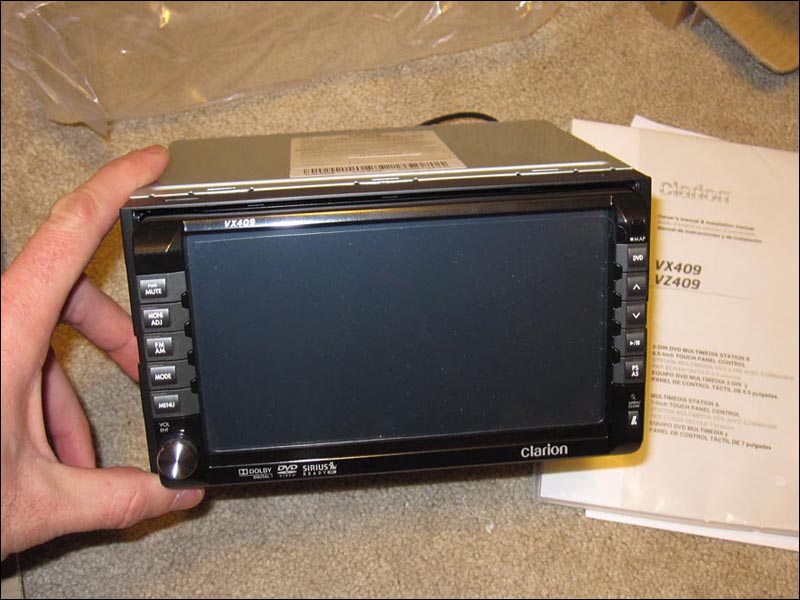
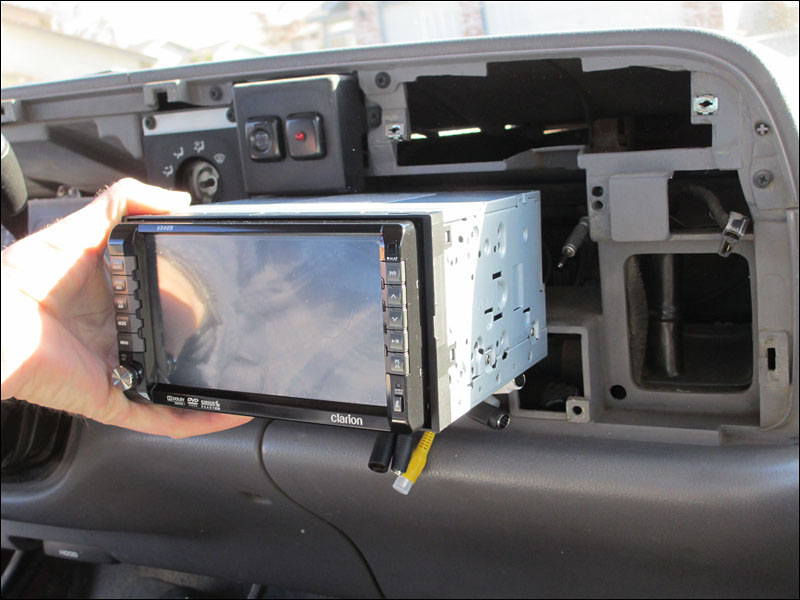
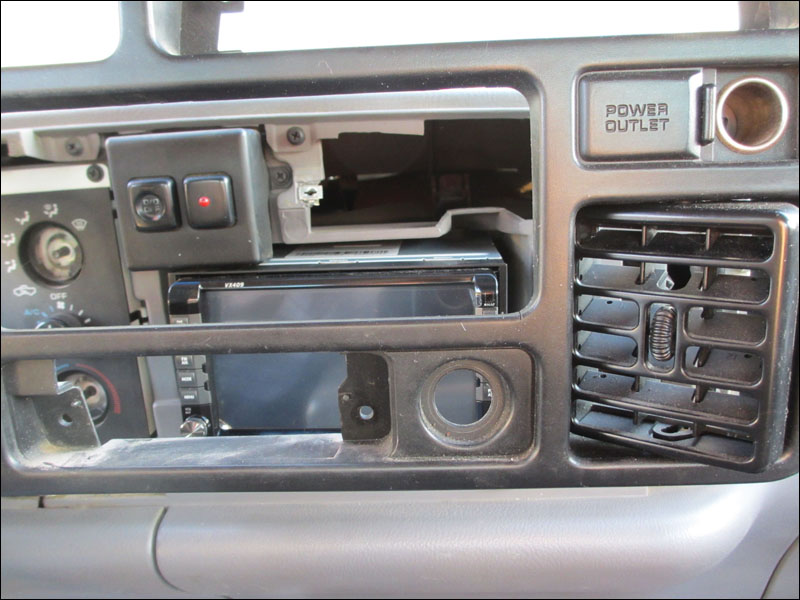
This VZ409 is one thick car stereo and it's not something I want to put into a truck that will be going offroad and in the sand. It's also much larger then the dash will allow in the space designated for the radio but I'll have to make it fit somehow. I know it will take some cutting and trimming but I'm sure I can make it work. I haven't seen hardly ANY other Dodge guys fit something like this in their dash boards so I thought I would share how I go about installing this in my 1995 Dodge 2500 pickup.

|
|
#2
 01-17-2012, 12:34 AM
|
||||
|
||||
|
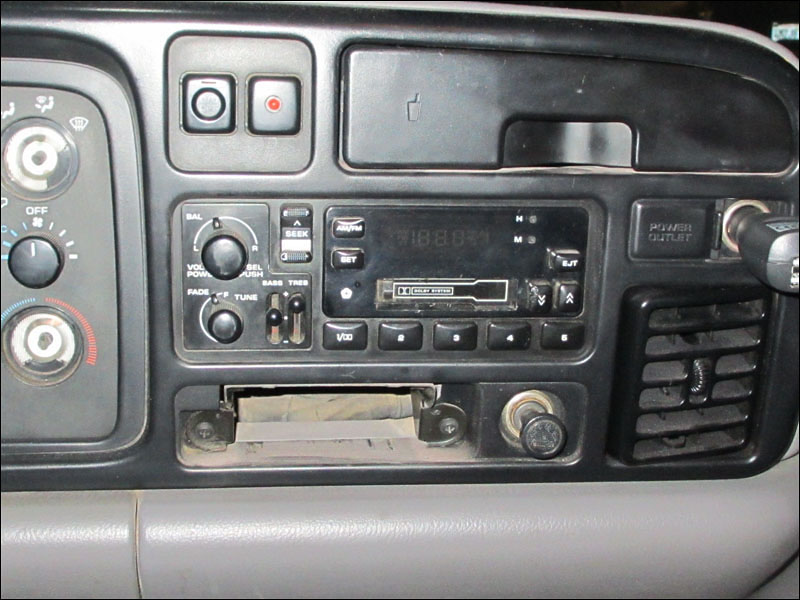
This is nothing new. Just the stock Din & 1/2 size stereo FM tape player. This unit has seen better days. It barely puts out any sound and the buttons don't work half the time. It has to go.
 Out it goes! Just a couple of plugs and then unscrew the bolt holding on the ground wire. 
|
|
#3
01-17-2012, 12:39 AM
|
||||
|
||||
|
Here are both the old stocker and the new Clarion side by side. The factory deck is much wider and not quite as deep as the new one. It's nothing close to a plug and play install. I knew this would be a chore.
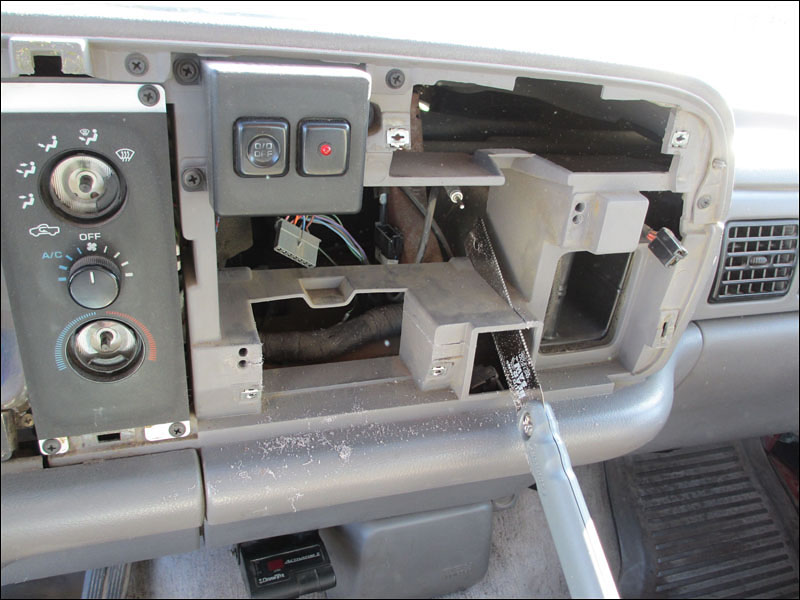
 And just for fun I held the mounting plate up to the stock stereo to get a feel for how much work was ahead of me. I don't mind ditching the ash tray and lighter. There is a power supply up to the right of that one and the ash tray won't be missed. I would rather build a shelf to put a cell phone or Ipod or something below. 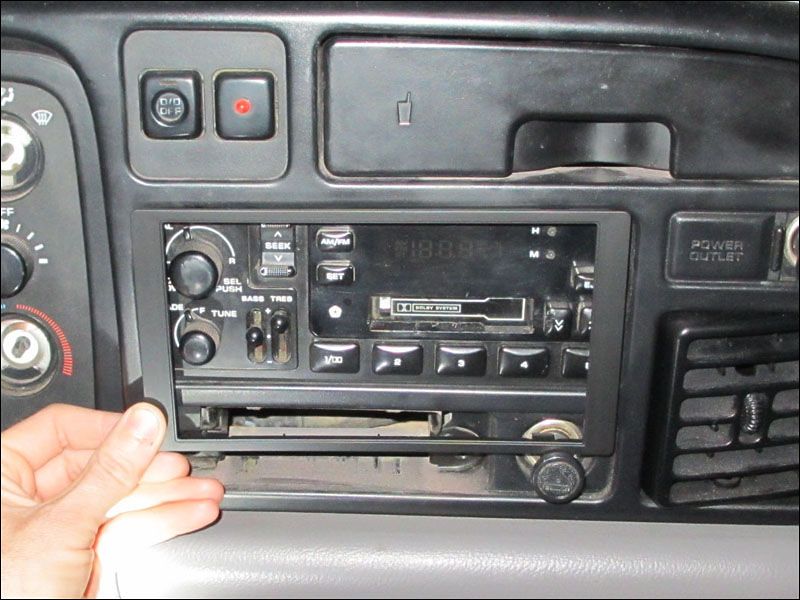 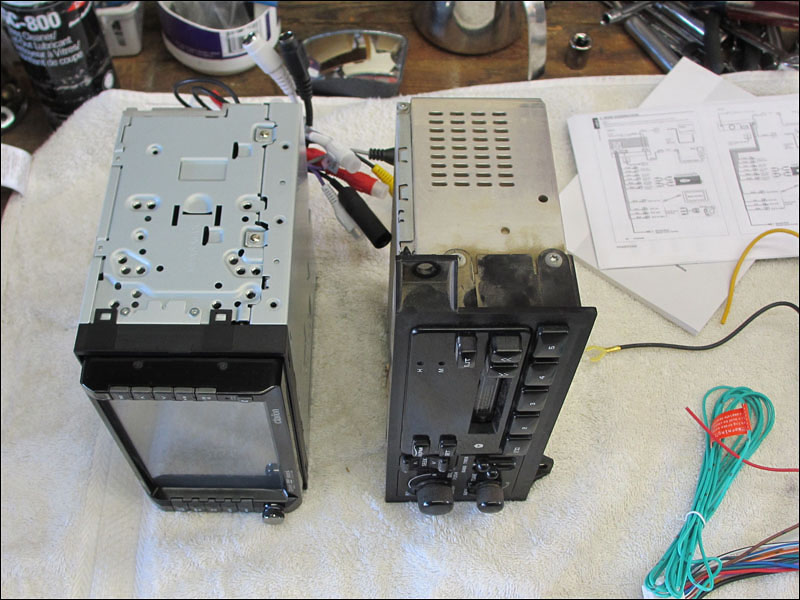
|
|
#4
01-17-2012, 12:43 AM
|
||||
|
||||
|
Yeap I got some work ahead of me at this point. I just made a couple of marks on each side to give me a starting point to start cutting. Just hold the unit up to the opening then line it up right up to the little switch panel on the upper left. I used that as a reference point to start.
 I did some more checking by holding the trim piece up to the hole. Of course to center it you won't line it up with the switch panel above it. You just have to jump in and start cutting. 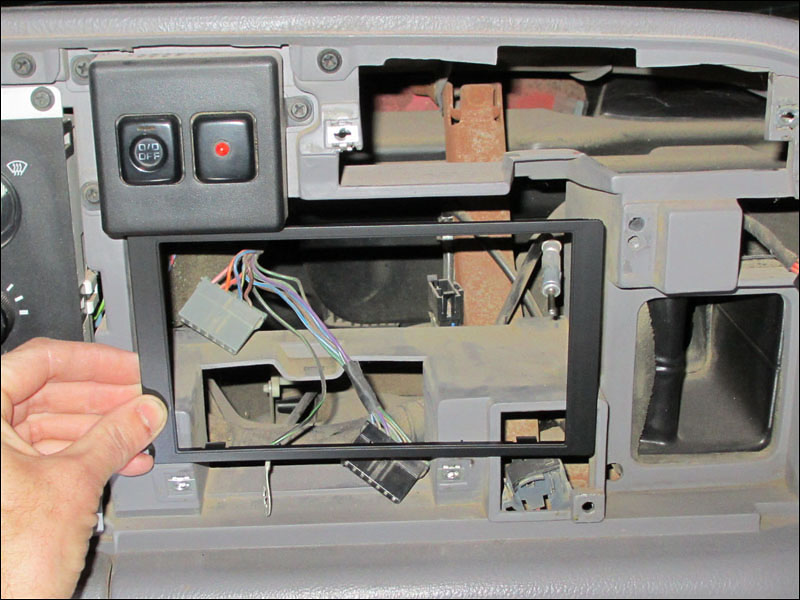
|
|
#5
01-17-2012, 12:47 AM
|
||||
|
||||
|
I use a Bear Saw brand flush cutting saw that I picked up from the hardware store. You can pick these up at the major box stores and they work the BEST for making nice thin and quick cuts in plastic. I use these all the time.
 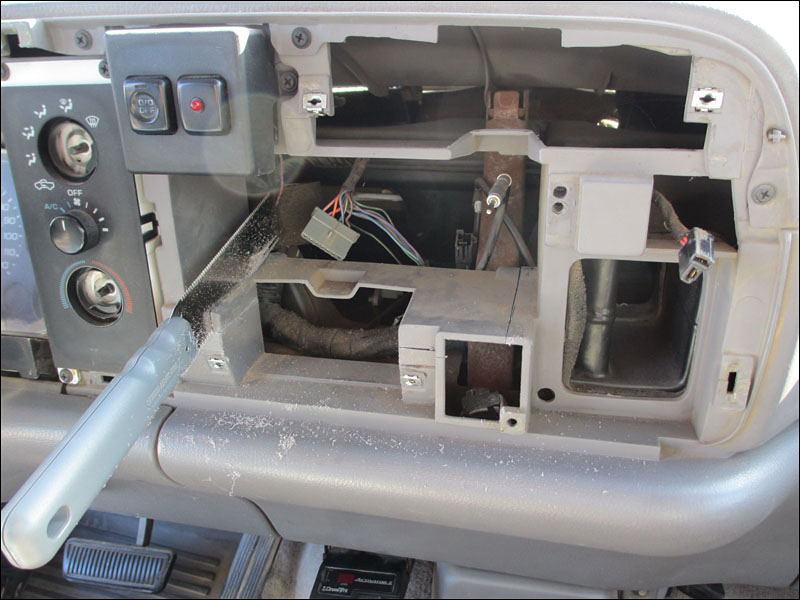 I ended up with a nice hole that the stereo can slide into. If you cut it just right the new double din stereo can sit right in there without anything to hold it in. 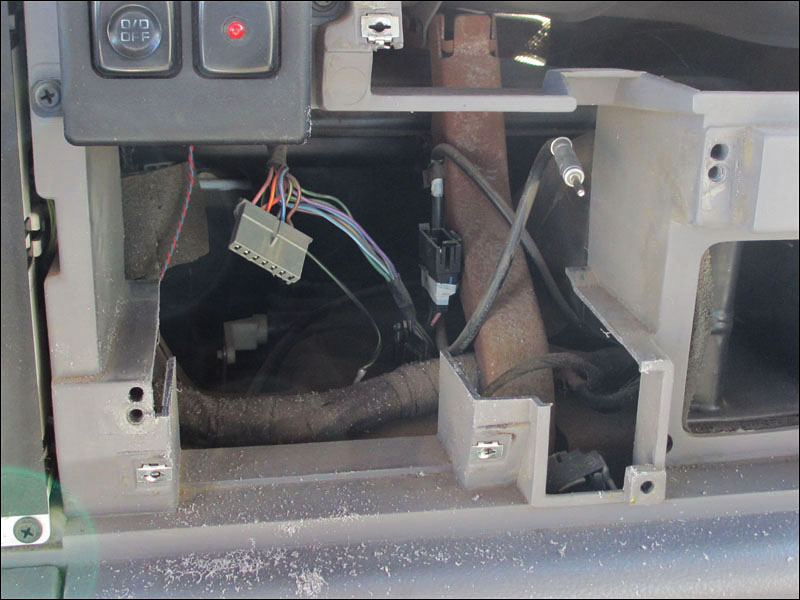
|
|
#6
01-17-2012, 12:50 AM
|
||||
|
||||
|
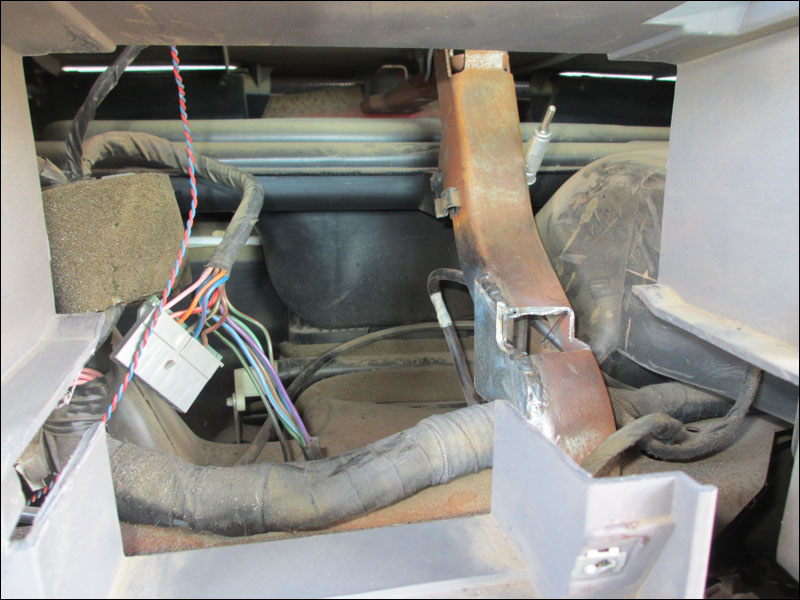
Then we have a problem here. The Dodge has a heavy duty dash support back there which is a huge obstacle to any stereo installer. This is probably why I can't find any double din install pictures for the early 1994-2002 Ram trucks.
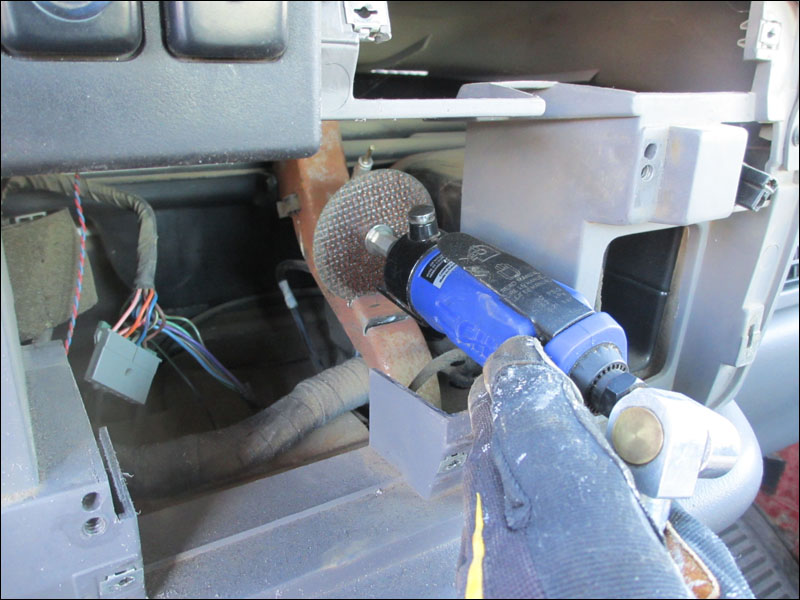 Some of my favorite cutting tools. I get a lot of use out of these guys. They can be had for really cheap online, in Walmart or where ever. 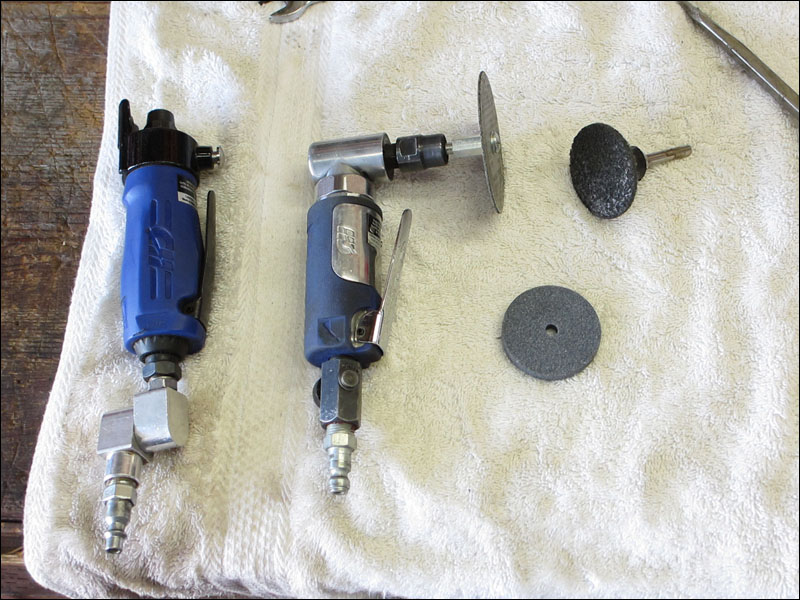 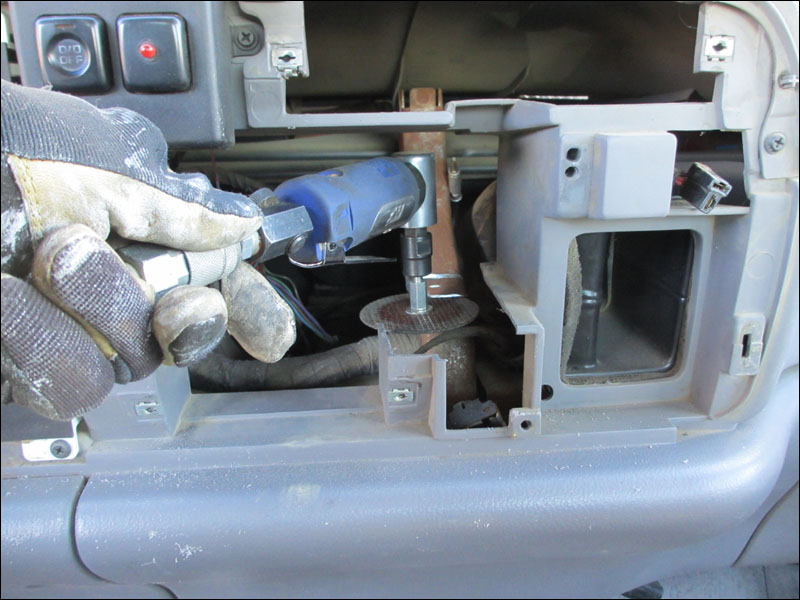
Last edited by Smithers; 01-17-2012 at 12:57 AM.
|
|
#7
01-17-2012, 12:52 AM
|
||||
|
||||
|
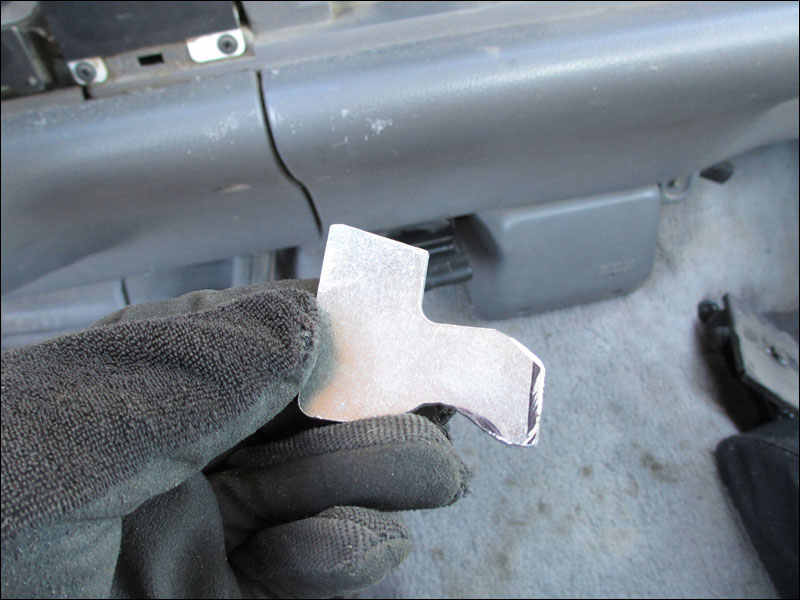
Now that we have a notch cut in the support for clearance I wanted to add some support around the side of the bracket just in case. I just found a little l-bracket and cut some notches into it to make sure it cleared the wiring harness.
|
|
#8
01-17-2012, 12:56 AM
|
||||
|
||||
|
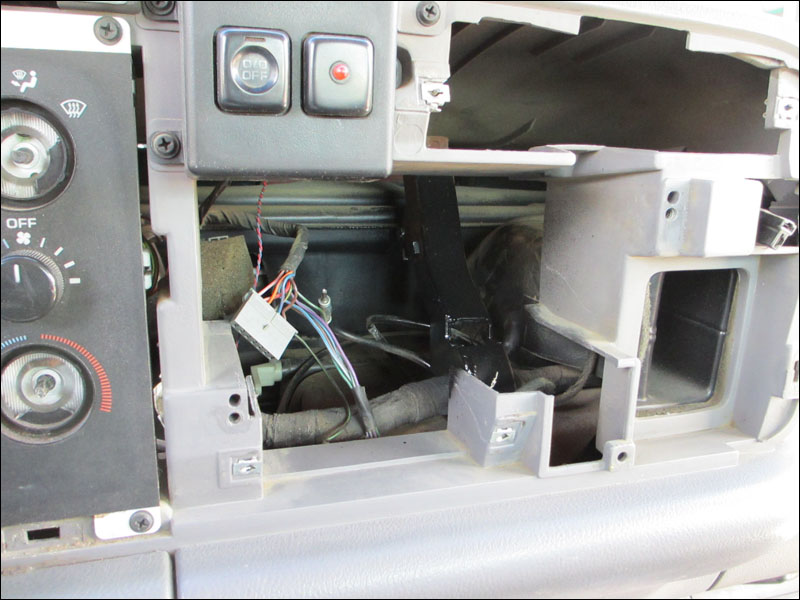
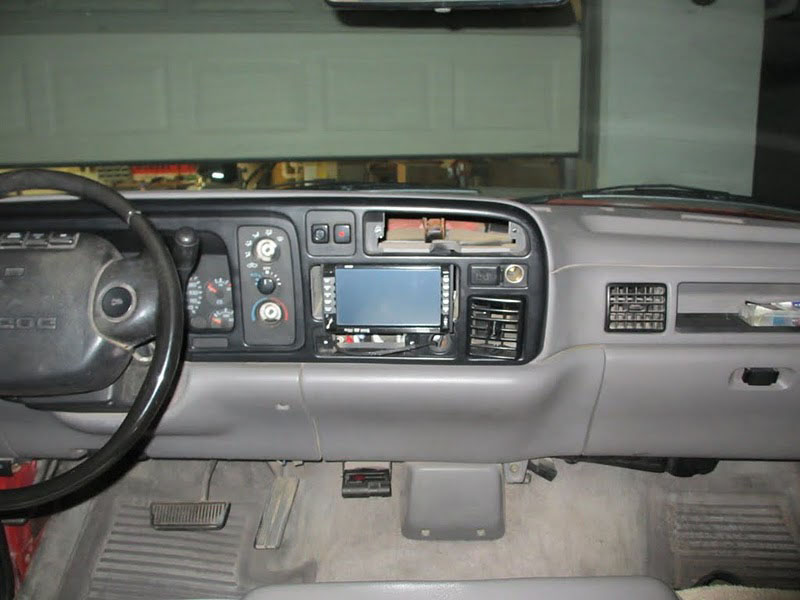
Now that the dirty work is done time to check to see how the double-din stereo is fitting in the Dodge dashboard.
  Now after we get the wires soldered together we're almost home free. I hope these pictures can help some other people get their own stereos installed. I had no idea how all this would turn out so these pics should give you a lot of confidence in how your own stereo can be installed. It does take some tricky tools to make the cuts but even after buying the tools it is still cheaper than paying someone to install a double-din in your Dodge dash location. And you know it most likely will not be as good as you can install it yourself! 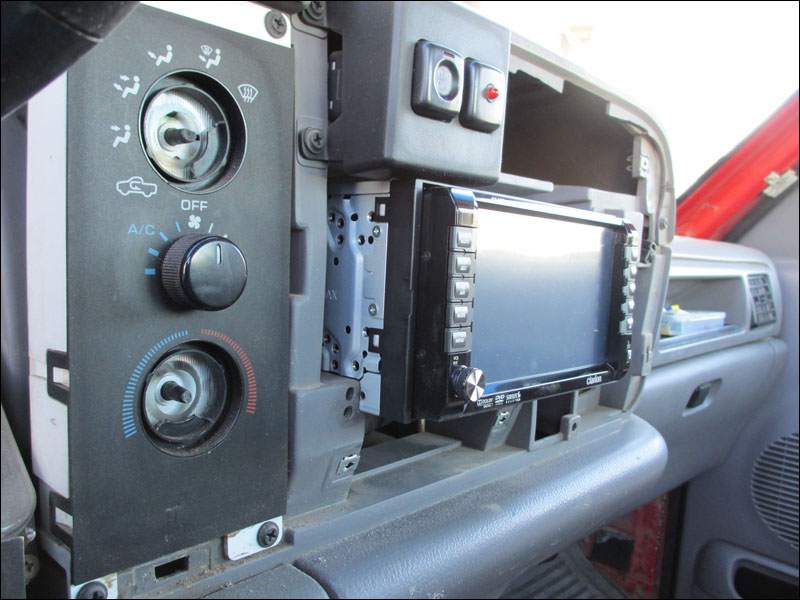
Last edited by Smithers; 01-17-2012 at 01:04 AM.
|
|
#9
01-17-2012, 01:04 AM
|
||||
|
||||
|
On with the install. In order to get the trim piece around the new stereo you have to get cutting on it. I just put the panel up in front of the Clarion and made a couple small cuts to get the ball rolling. Then I pulled it back and removed the plastic enough so it would fit around the deck. I did cut it really close because if you cut it back too much it won't look so good and you can't go back once the cut is made. It fits too tight for now but I'll go back and make some final adjustments later. Once I cut some more plastic back I'll be able to open and close the motorized faceplace without a problem.
|
|
#10
01-17-2012, 01:10 AM
|
||||
|
||||
|
Now for soldering together the wiring harness. I bought a wire harness adapter from Walmart for around 10 bucks. This plugs into the stock wire harness and then lets me connect the Clarion wire harness to it one wire at a time. You just have to solder or connect the power wire, illumination wire, ground wire, ACC (ign turn on) wire then the 8 speaker wires. I used a computer power source connector to make the power wires detachable for safety. Then I was able to simply solder each of the speaker wires easily. Those were all color coded the same so it's a no-brainer.
 Here is a pic of soldering the power wires first and then the picture below shows the finished product ready for plug-in. 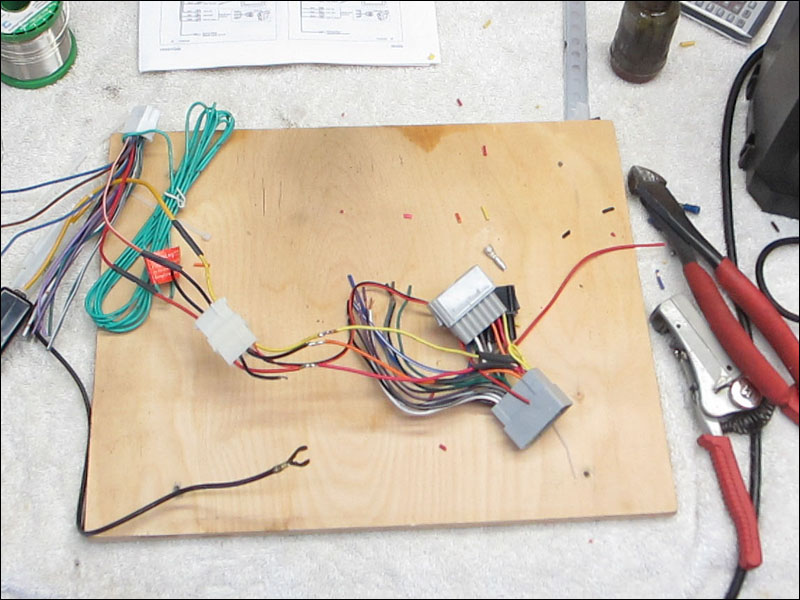 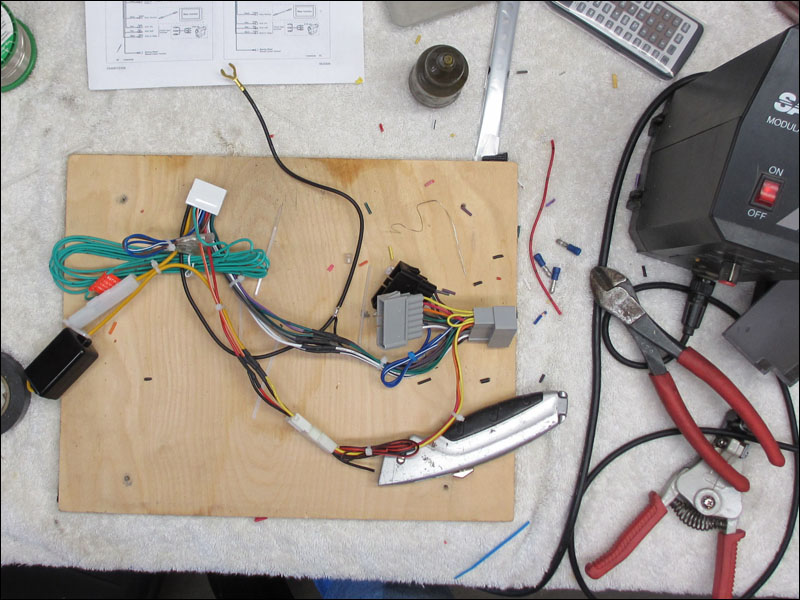
|
|
#11
01-17-2012, 01:13 AM
|
||||
|
||||
|
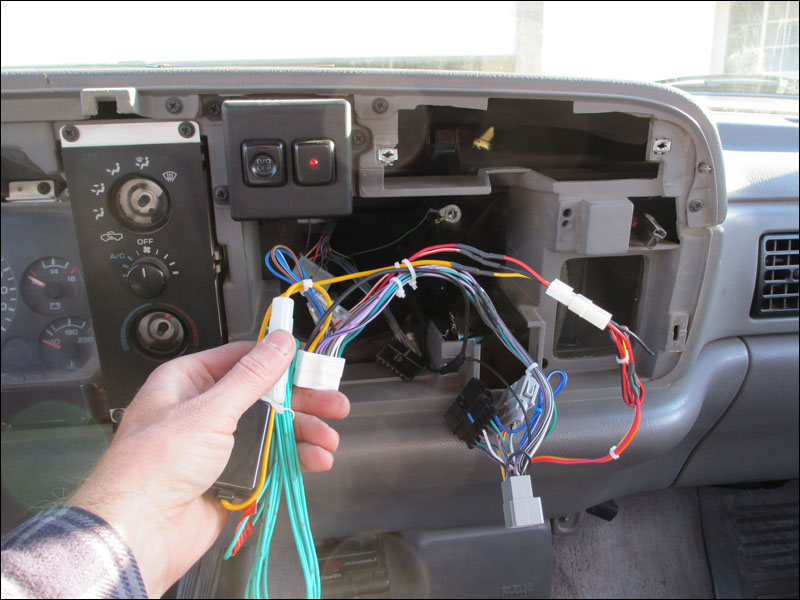
The wire harness simply plugs in and is then tucked in back in the dashboard. There is a ton of room to place all these wires and connecters. I'm used to working on much more compact vehicles so working on this Dodge dashboard is a huge relief.
|
 |
| Thread Tools | |
|
|


