|
|||||||
| LEXUS 1UZ-FE Engine Swap My blood sweat and tears. It will be worth it!! |
 |
| Thread Tools |
|
#151
|
||||
|
||||
|
And to continue I needed to address the connection between the Toyota master clutch cylinder and the new hydraulic throwout bearing I installed for the clutch. I wrote up all the glorious details of this task on a separate thread is it is quite a chore with many steps. You can find out yourself how to make a double flare end on a tube end here: I hate flaring tube ends.

|
|
#152
 06-15-2009, 10:15 PM
|
||||
|
||||
|
I'm pretty happy with how the alternator wiring came out. The Lexus wiring is easily twice as adequate as the Tacoma wiring. The Lex alternator is a higher output unit that has two larger wires connecting it to the main power junction as compared to the much less powerful Tacoma alternator and wiring. The Lexus has to push many more accessories and gadgets than the Tacoma will ever see. So I'm pretty happy to have much more power to run my GPS, Satellite receiver and all my other electronics. I can't wait to see how well everything runs.
Other than that:
|
|
#153
06-21-2009, 10:01 PM
|
||||
|
||||
|
Well things are progressing for sure. I will be using a much more ideal aluminum radiator. It will be plenty efficient, it won't hang so low as the original, it's stronger and doesn't span so wide across the front of the truck. With the intentions of keeping the AC and also mounting an electric fan behind the radiator I'll be taking out some of the original Toyota steel. Some tubing will strengthen up the front end a whole lot. So the next time you see more pictures the front will be supported with tubing across it on the top of the radiator and along the bottom. The lower tubing will be extended out forward a couple inches and the upper will be forward slightly from the factory position as well. The hood latch up front will remain of course but thing will be moving around besides that. The mounts for the body just were never very strong from the get go. The body lift is working great but I'll be redoing those and the ears that hold them up from the frame in the future when I build a bumper. For now the cross supports just need to be replaced for radiator mounting and strength. The stock front end is so flimsy that it seems like the stock radiator itself makes up for some of the rigidity. It's really that bad. Just looking at these pictures you can see how thin the body is up front. Keep in mind there are 4 small bolts (and 2 smaller bolts around the sides) that hold on the front bumper!! Yeah this is going to change.
The trucks frame was lifted on one side for easier access while bleeding the hydraulic throwout bearing. 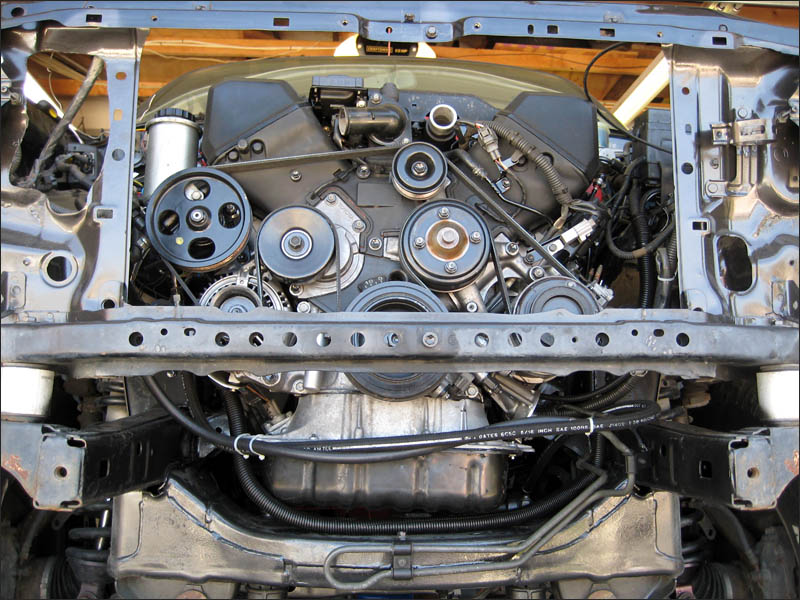 
|
|
#157
06-24-2009, 10:03 PM
|
||||
|
||||
|
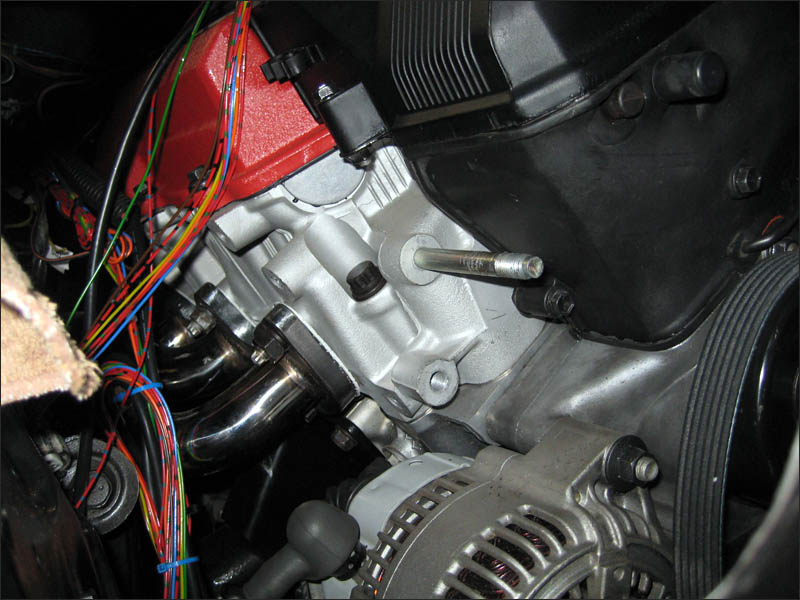
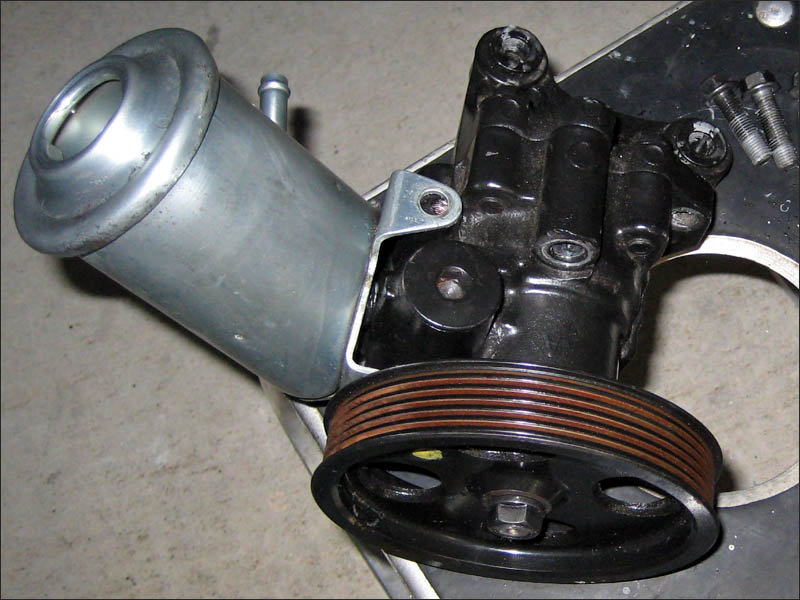
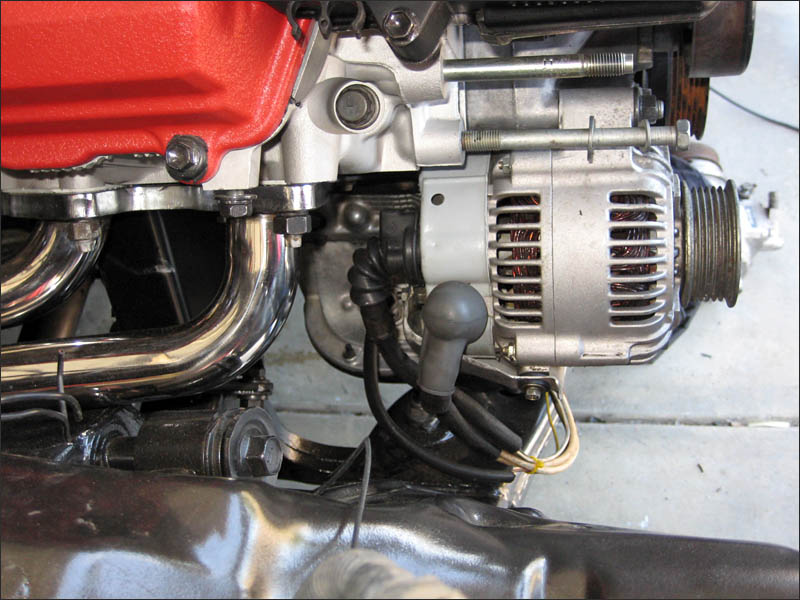
And here is what it looks like all hooked up and installed on the engine. If you are needing more info on Lexus power steering pumps then check out this link that contains info on rebuilding them: http://planetsoarer.com/Power%20steering%20pump.htm
|
|
#158
06-24-2009, 10:06 PM
|
||||
|
||||
|
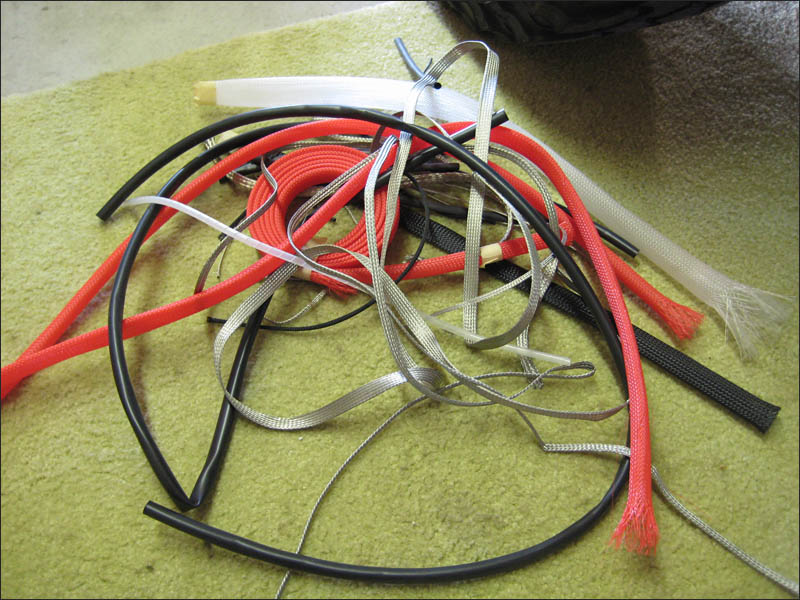
I DIDN'T have any fun connecting the high pressure power steering line up at all. The one I had was straight and there was no way that it was going to go on the engine nicely. So I had to bend it pretty good in order to get it to want to fit correctly.
Before: 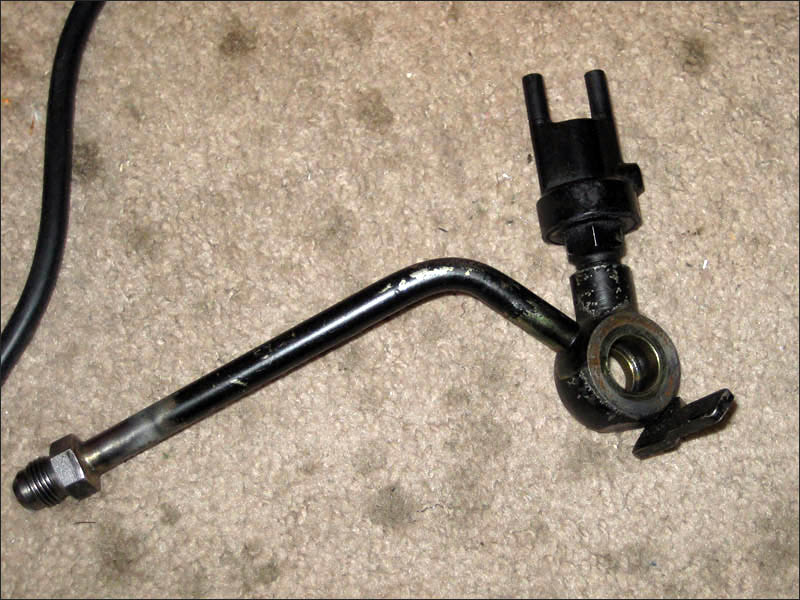 After: 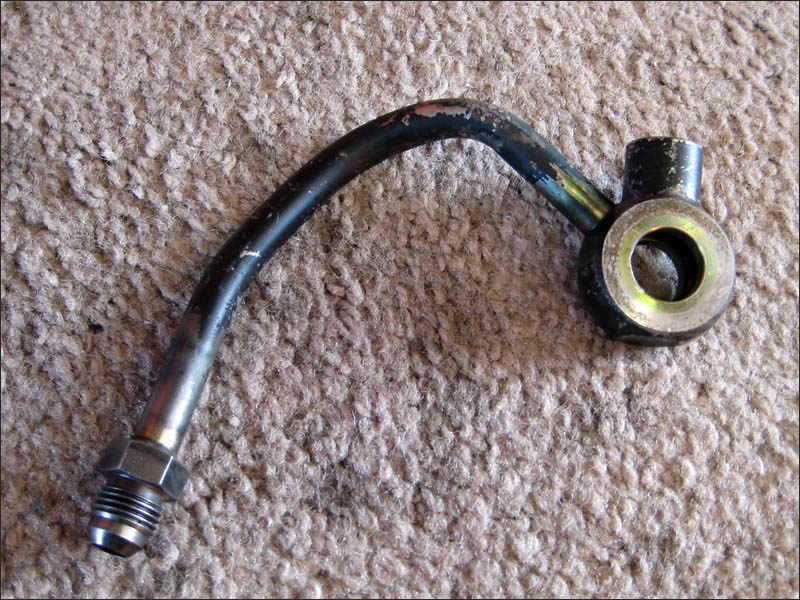
|
|
#159
06-24-2009, 10:08 PM
|
||||
|
||||
|
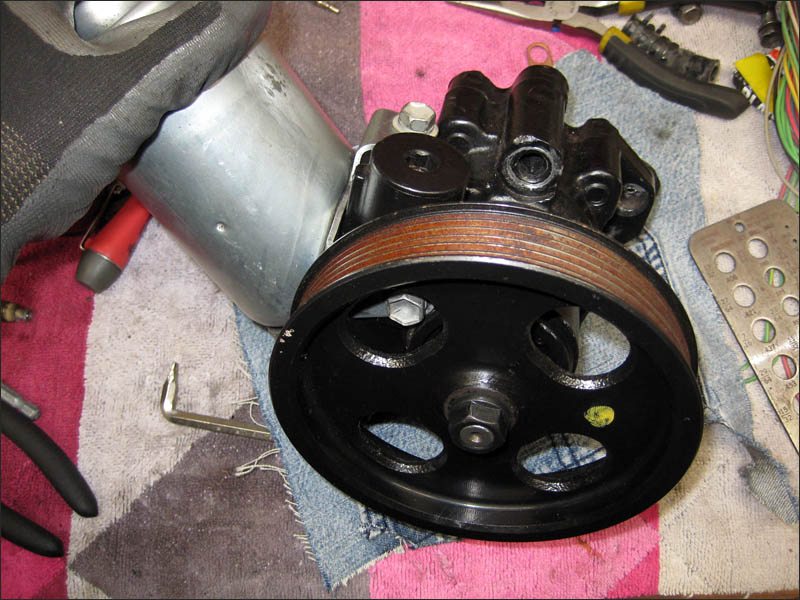
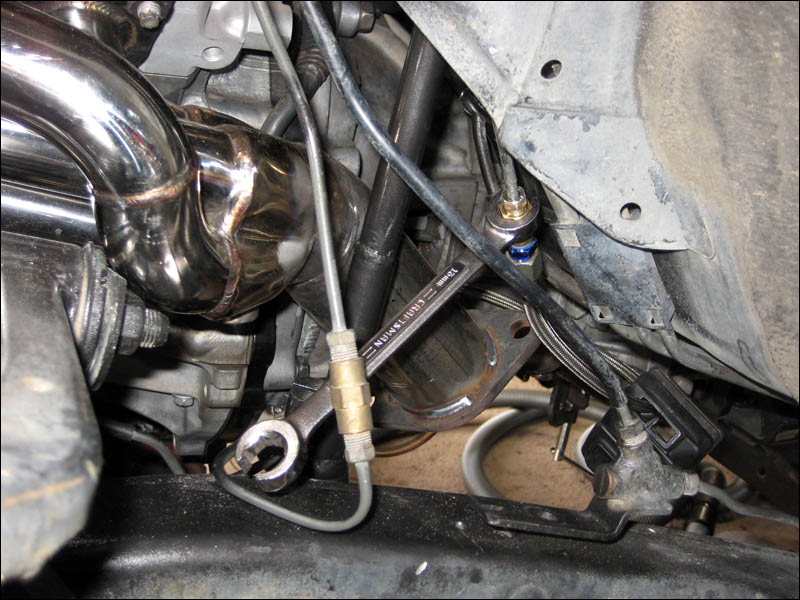
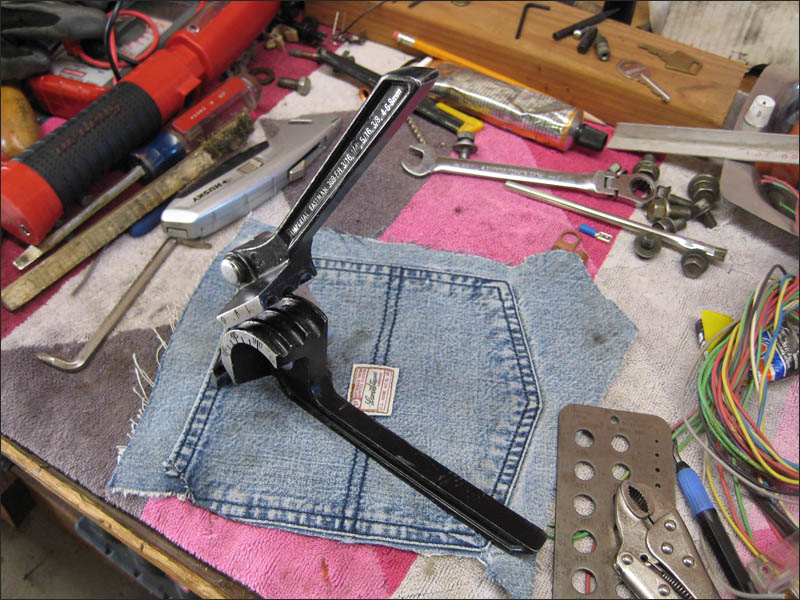
This is the closeup shot so you can get a view at how much if a pain in the butt it was.
 And how did I bend this high pressure line? It wasn't easy but thank goodness I had a tubing tool that I borrowed from a friend for this occasion. 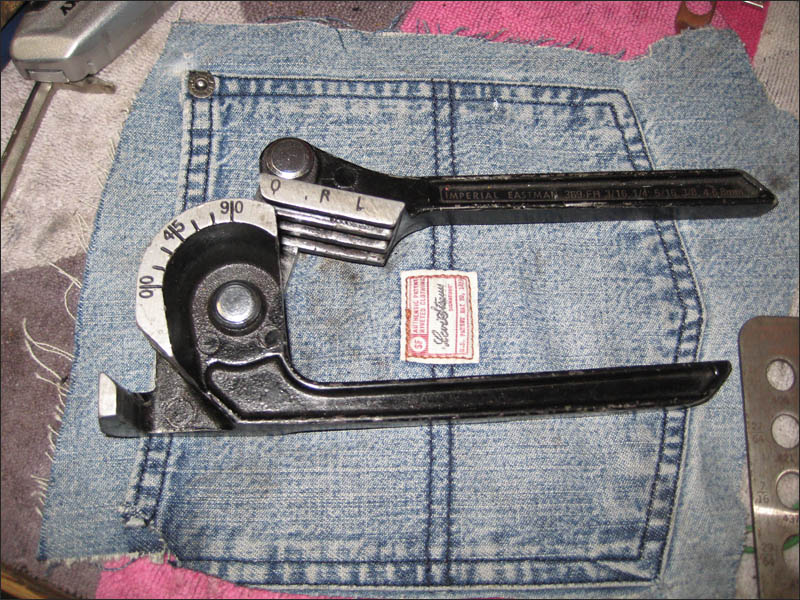
|
|
#160
06-24-2009, 10:10 PM
|
||||
|
||||
|
The clamping jaws of this small tube bender moves quit a bit in a cantilever movement which allows it to work with multiple tube sizes. This tool worked just fine. I wish it was mine. I borrowed it so I'll have to keep a lookout for one of my own.
|
|
#161
06-24-2009, 10:14 PM
|
||||
|
||||
|
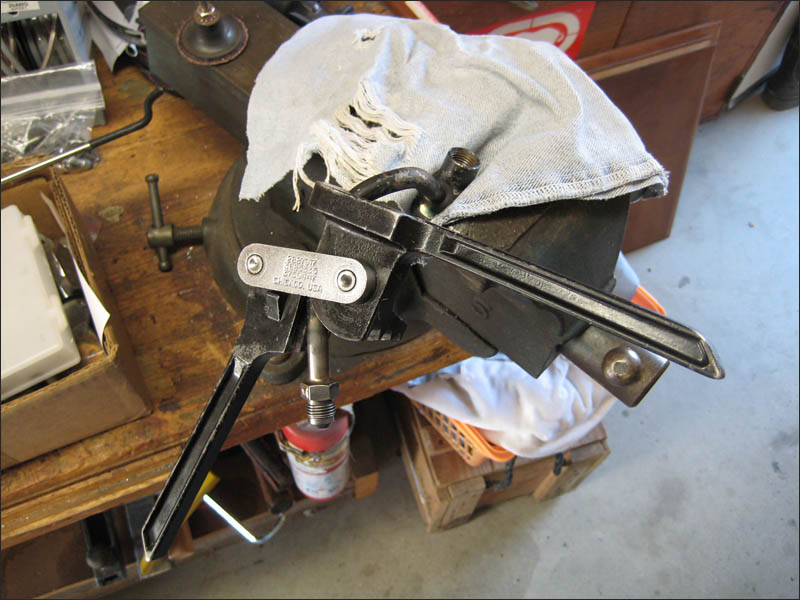
Here is the business getting done in the vice. It wasn't easy and I was sweating it since it could have easily broke. Mine has the standard end that I had welded on to it. That way if the line breaks out cruising around offroad I would be able to replace it with a standard fitting steering line instead of a metric fitting line (which is next to impossible to find, try it). So if that broke while bending I would have had to have a different one made again.
|
|
#162
06-25-2009, 09:43 AM
|
||||
|
||||
|
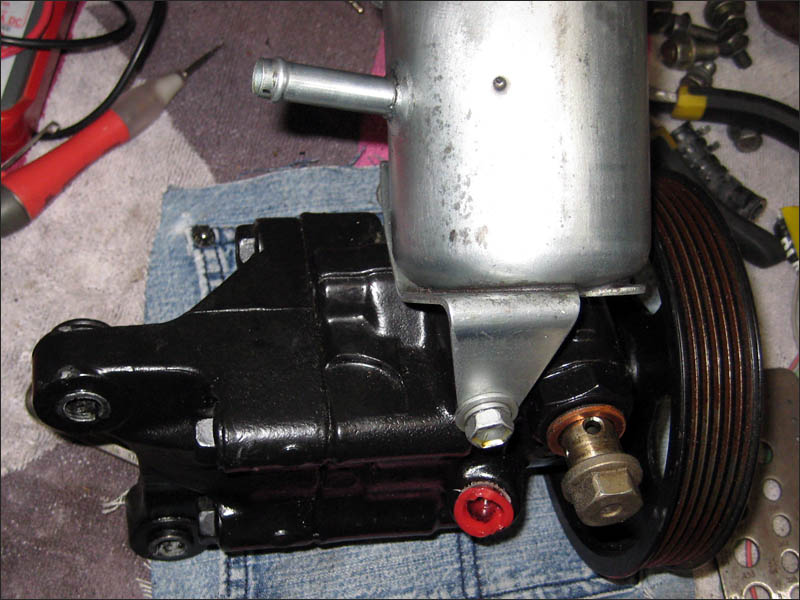
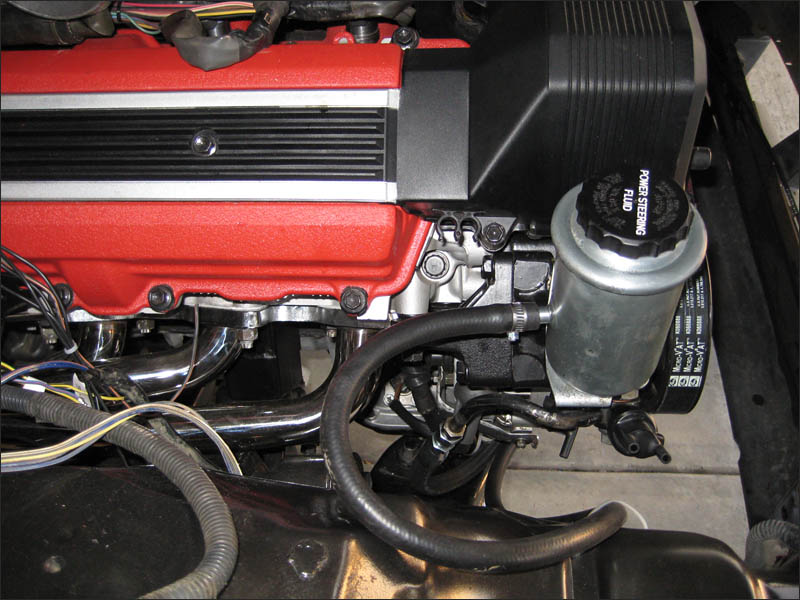
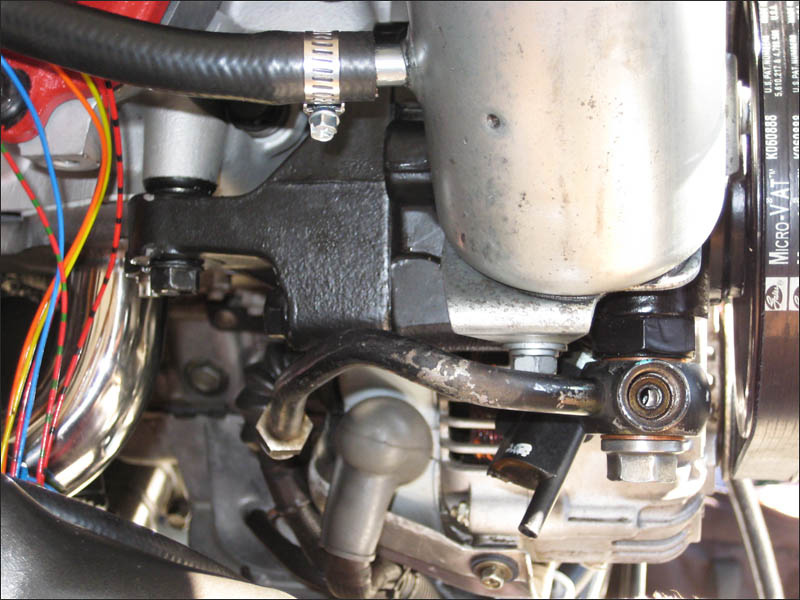
And here is some of the details down underneath the power steering pump. The alternator is much larger and is connected with over 2x the wire to the chassis fuse panel. I'm very happy about that upgrade over the 3RZ engine's alternator.
 I'm very thankful for the second engine that I bought from my buddy Kirk down south. That deal included most of all the accessories and the accessory wires that I didn't get with my original engine that I bought (and got a bad deal in the process). Thanks Kirk, you saved me a LOT of time and misery by selling me your engine and everything with it. If anyone wants to do an engine swap with this kind of detail I highly recommend you take a couple days and outline EVERY SINGLE engine accessory to make sure that you get them all included with your engine that you purchase. The Engine Accessories include things such as:
|
|
#163
06-25-2009, 09:45 AM
|
||||
|
||||
|
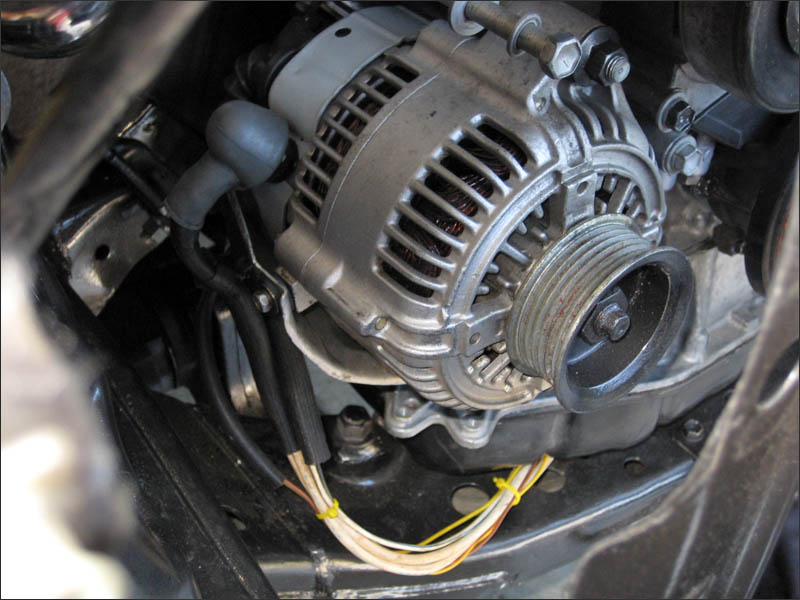
Here is a good shot of the alternator without the power steering pump covering it up. Because the power steering pump goes just above the alternator its been known for the pump to leak on the alternator and cause accelerated wear in that unit. 1UZ builders have been known to actually build small shields above the alternator to deflect any oil dripped from the power steering pump. I might consider making one. But in my build I have already replaced all the seals and the power steering pump is reman unit so it better be tight! It has a super long warrenty too so I'm good I hope.
|
|
#164
06-25-2009, 09:59 AM
|
||||
|
||||
|
I'll be grounding everything around the engine compartment in many more spots than any other vehicle on the road. Grounds are most important and you can actually see the difference on a dyno sheet. I've seen it myself on different race cars. At one point a ground wire broke that grounded the chassis to the rear of the engine a long time ago. The dealership couldn't figure out the problem and started replacing parts under warranty and kept the truck for a week. It was ridiculous. Well I finally took the truck back and found the problem within an hour. They whole crappy running condition was caused by the broken ground. I doubled the size of the ground and life was much better. But this fact and my electronic background has proved to me that the ground is the most often overlooked thing and a lot of improvements come from additional grounds.
To get this good of a solder it took FULL power from my industrial soldering iron. But damn what a good one. This is a small ground of like 12ga that goes from the wiring harness that comes from the starter and knock sensor loom which comes from the drivers side of the engine. It might be connected to the shielding material that is incorporated in the knock sensor wiring... I'm not sure but at least it's taken care of now. 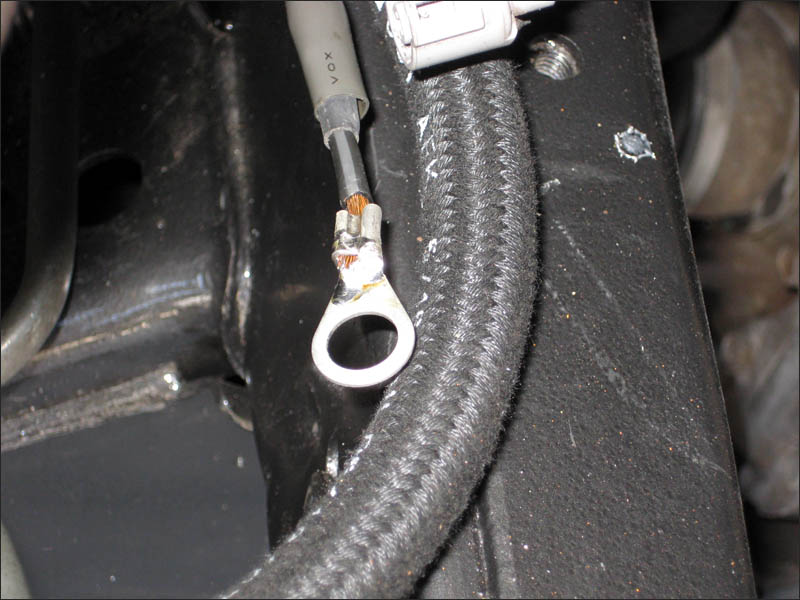
|
|
#165
06-26-2009, 12:42 AM
|
||||
|
||||
|
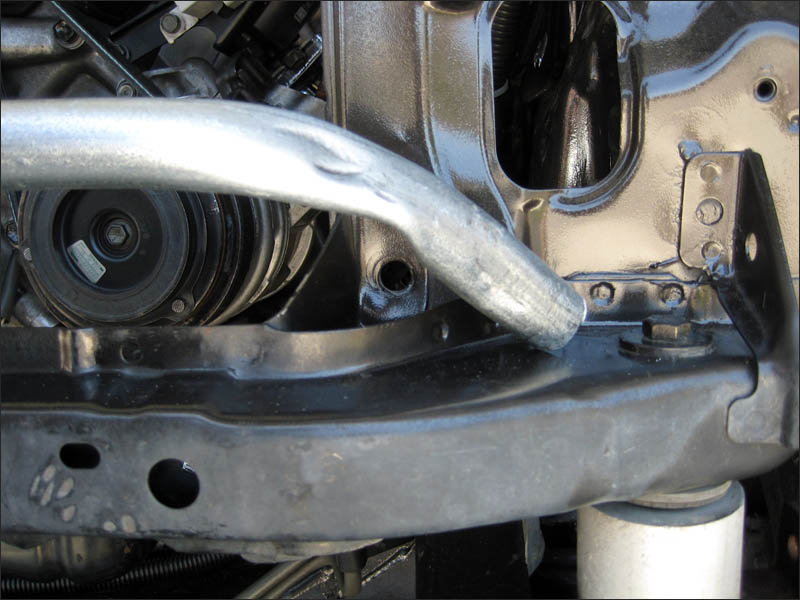
Here we go... On with some more progress. The tubing has been delivered so tomorrow afternoon I should be done with running tube across the top and bottom of the front end. It goes pretty quick once I get started. This stuff has been on the back of my mind for years now. I'm really happy about reworking the front. Here is the basic idea. This is a piece of conduit I just grabbed and whacked into s rough shape real fast. The tubing will extend forward a little bit more forward and it will be welded to a metal plate that will go on top of the crossmember which is the mounting location for the front body mount as you see here. I made that body spacer out of a piece of aluminum of course for my body lift. A small body lift is MANDATORY IMO for all Tacomas and 4 Runners. It's the best bang for the buck ever (since you can easily make it).
|
|
| Thread Tools | |
|
|