With electric service restored after a 3 day weather-related outage, Ive jumped back into the CA95 project. Ive set a goal to have the engine put back together before the end of March, assuming that the
machine shop doesnt take too long to bore and hone the cylinders. Meanwhile, I decided to tackle the job of rebuilding the rear shocks.
Spokes did an awesome job
in this thread describing and illustrating the proper process to disassemble the rear shocks. Lacking his mechanical prowess and breadth of tools, my
supplemental method of disassembling the old Honda shock is illustrated below, along with a handy guide to the
special tools required for the job.
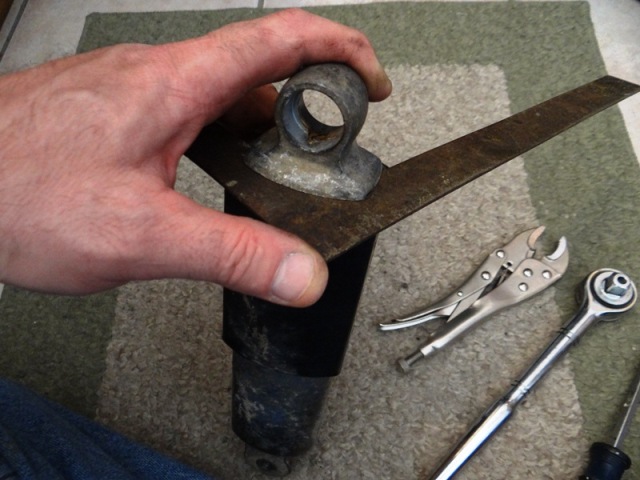
Step 1: Gently insert a rusty framing square under the upper cap
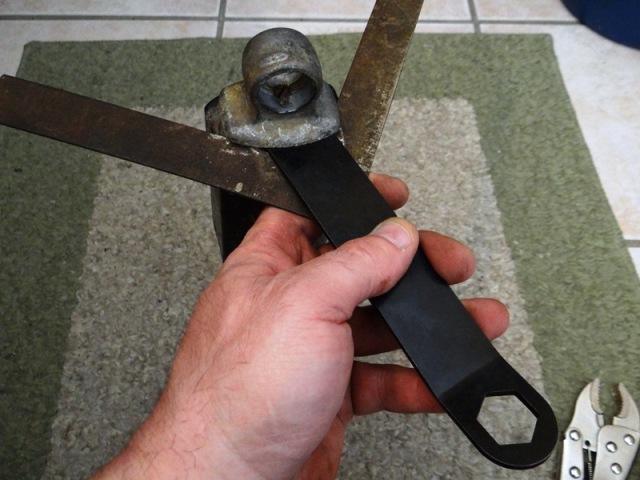
Step 2: With a garbage disposal wrench, slowly pry the upper end away from the framing square
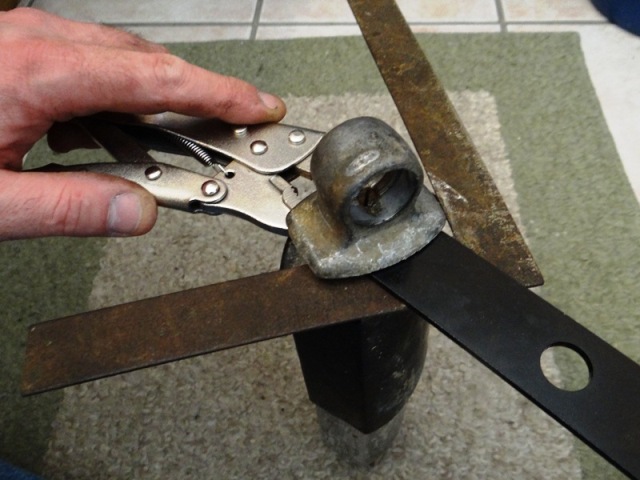
Step 3: Since the next step requires a 17mm wrench but my set stops at 16mm, insert a locking pliers and lock it tight around the flat sides of the nut
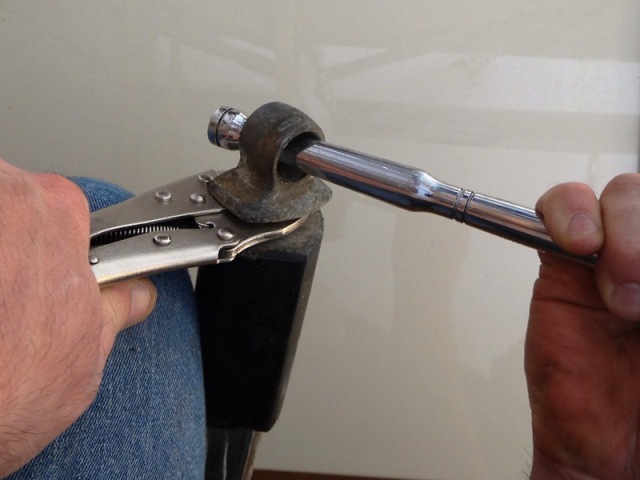
Step 4: With a ratchet handle, unscrew the upper cap
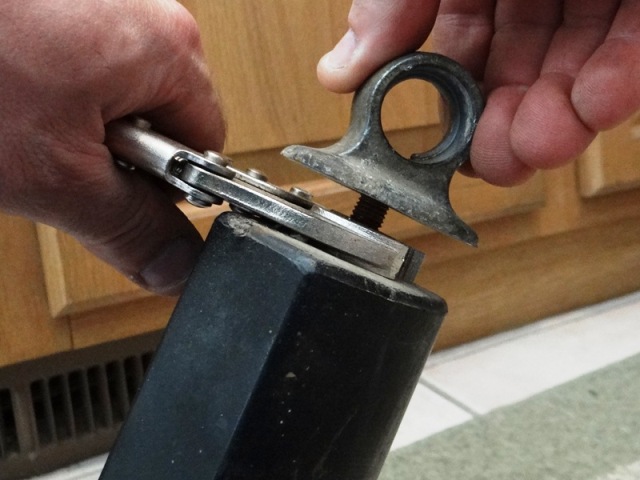
Step 5: Finish unscrewing the upper cap
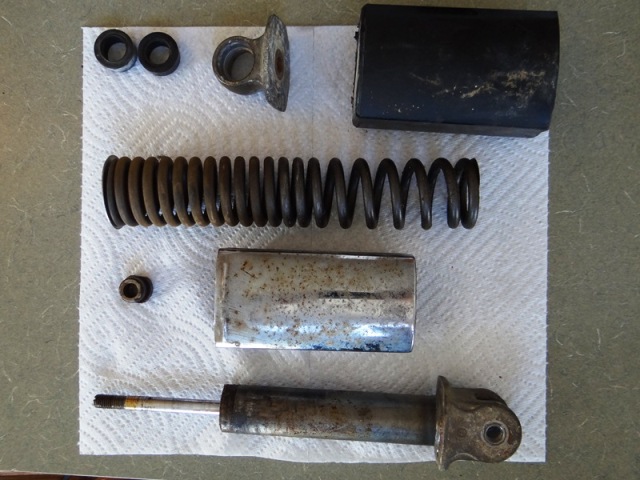
Step 6: Observe the corroded mess of parts
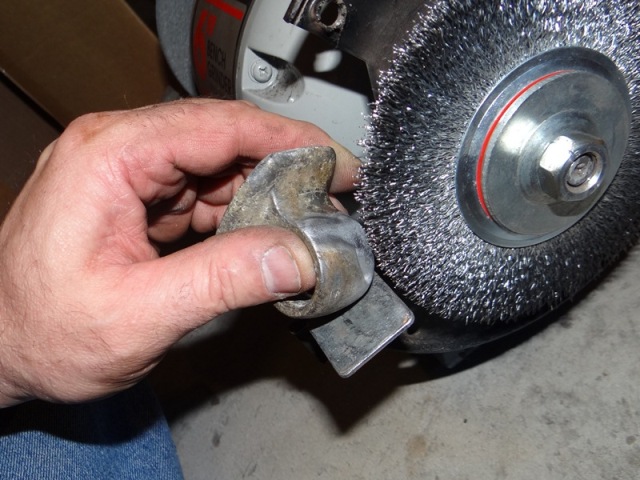
Step 7: Clean parts with a wire wheel and steel wool as needed

Step 8: Observe the shiny happy parts.
Since the black plastic housing will be painted when the rest of the bike gets painted, I'll defer the reassembly of the shocks until then.
Meanwhile, I thank Spokes for illustrating
the correct way to disassemble the shocks, since I don't expect most restorers will have my special set of tools.
